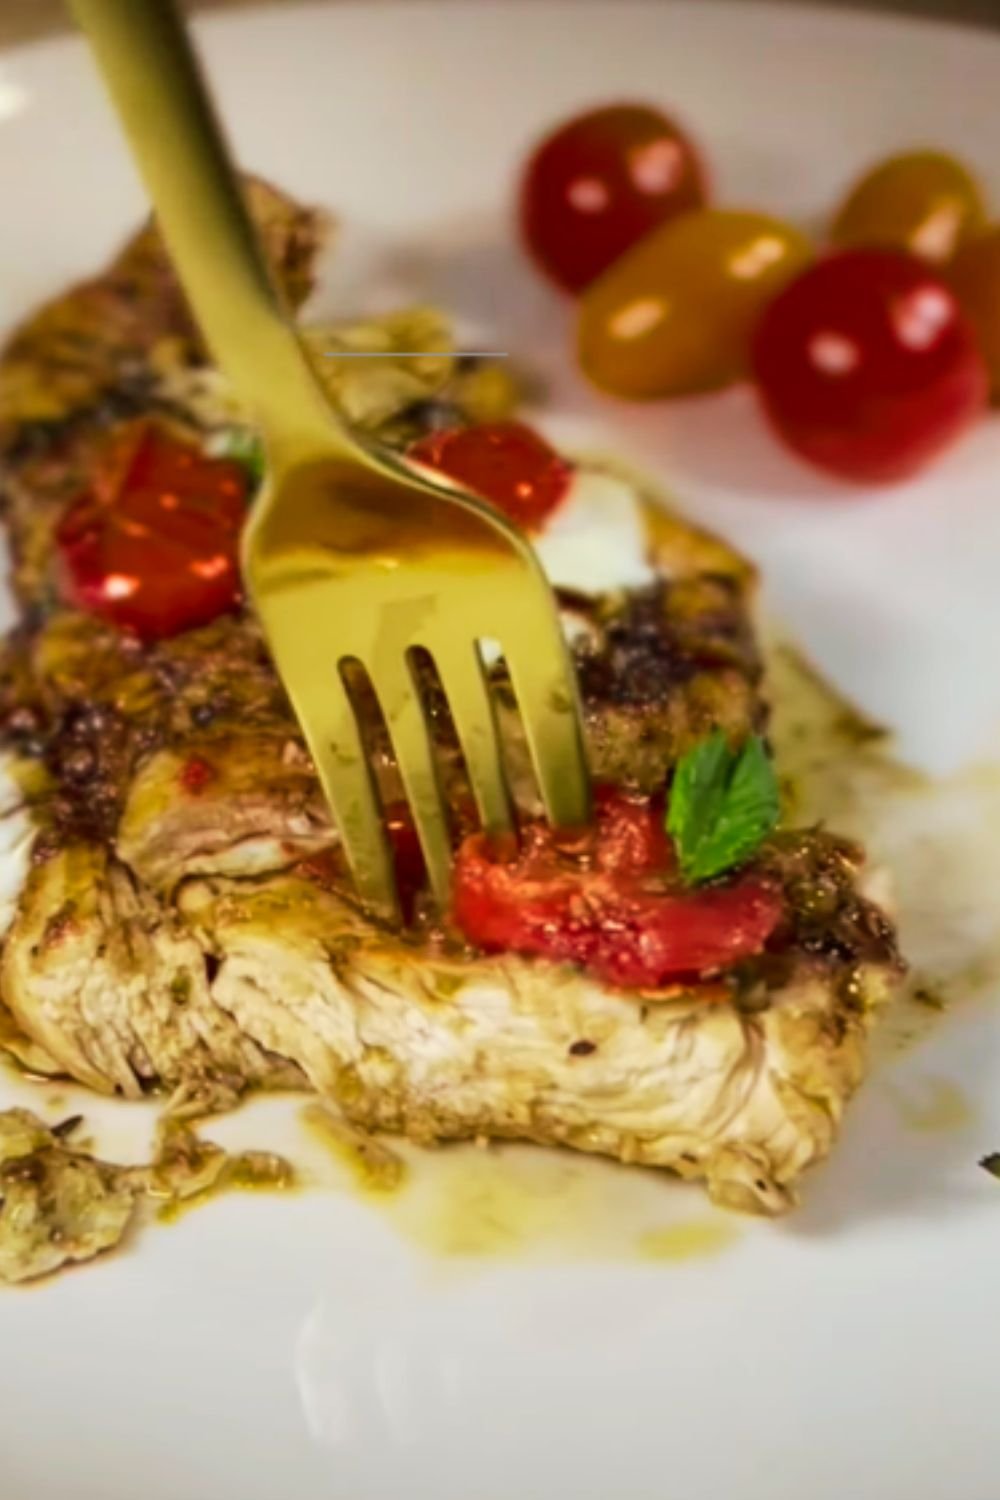
Have you ever wished for a dinner that’s both impressive and effortless? I’ve discovered the perfect solution: a Parmesan crusted chicken sheet pan dinner that’s transformed my weeknight cooking routine. This one-pan wonder combines crispy, cheesy chicken with perfectly roasted vegetables, creating a meal that looks like you spent hours in the kitchen – when in reality, your oven did most of the work.
Why You’ll Love This Recipe
After years of experimenting with sheet pan dinners, I’ve perfected this particular combination. The magic lies in the timing and layering of ingredients, ensuring everything finishes cooking at the same time. The Parmesan crust creates a protective layer that keeps the chicken juicy while adding an irresistible savory crunch.

Key Features
- Prep Time: 15 minutes
- Cook Time: 35 minutes
- Total Time: 50 minutes
- Servings: 4
- Calories: 425 per serving
Equipment Needed
- Large rimmed sheet pan (18×13 inches)
- Parchment paper or aluminum foil
- Three shallow dishes for breading
- Meat thermometer
- Mixing bowls
- Kitchen tongs
Ingredients
For the Chicken
- 4 boneless, skinless chicken breasts (6-7 oz each)
- 1 cup freshly grated Parmesan cheese
- 1 cup seasoned breadcrumbs
- 2 teaspoons Italian seasoning
- 1 teaspoon garlic powder
- 1/2 teaspoon black pepper
- 1/2 teaspoon sea salt
- 2 large eggs
- 2 tablespoons Dijon mustard
- 3 tablespoons olive oil
For the Vegetables
- 1 pound baby potatoes, halved
- 2 cups cherry tomatoes
- 1 pound fresh green beans, trimmed
- 2 medium bell peppers, sliced
- 1 red onion, cut into wedges
- 4 tablespoons olive oil
- 4 cloves garlic, minced
- 1 tablespoon fresh rosemary, chopped
- 1 teaspoon dried oregano
- Salt and pepper to taste
Nutritional Information
| Nutrient | Amount per Serving |
|---|---|
| Calories | 425 |
| Protein | 38g |
| Carbohydrates | 28g |
| Fat | 22g |
| Fiber | 5g |
| Sugar | 6g |
| Sodium | 685mg |
| Calcium | 280mg |
| Iron | 3mg |
Step-by-Step Instructions
Preparing the Chicken
- Preheat your oven to 425°F (220°C). Line your sheet pan with parchment paper for easy cleanup.
- Create your breading station:
- Bowl 1: Mix eggs and Dijon mustard
- Bowl 2: Combine Parmesan, breadcrumbs, Italian seasoning, garlic powder, salt, and pepper
- Bowl 3: Keep olive oil ready for drizzling
- Pound chicken breasts to even thickness (about 1/2 inch) between plastic wrap.

Preparing the Vegetables
- In a large bowl, toss potatoes with 2 tablespoons olive oil, half the minced garlic, rosemary, salt, and pepper.
- In another bowl, combine remaining vegetables with 2 tablespoons olive oil, remaining garlic, oregano, salt, and pepper.
Assembly and Cooking
- Place seasoned potatoes on one third of the sheet pan.
- Bread the chicken:
- Dip in egg mixture
- Coat thoroughly in Parmesan mixture
- Place in middle of sheet pan
- Drizzle with olive oil
- Arrange remaining vegetables around the chicken and potatoes.

Cooking Process
- Bake for 20 minutes at 425°F.
- Remove from oven, turn vegetables, return to oven for 15 minutes.
- Check chicken temperature (should reach 165°F).
- If needed, broil for 2-3 minutes to achieve golden crust.
Pro Tips from My Kitchen
After making this dish countless times, I’ve discovered several secrets to guarantee success:
- Pat chicken dry before breading for better crust adhesion.
- Let breaded chicken rest for 5 minutes before cooking to help coating stick.
- Use freshly grated Parmesan – pre-grated won’t create the same crispy crust.
- Cut potatoes uniformly for even cooking.
- Don’t overcrowd the pan – vegetables need space to roast, not steam.
Variations and Substitutions
- Chicken Options: Works great with chicken tenderloins (reduce cooking time) or thighs (increase time slightly).
- Vegetable Swaps: Seasonal variations include:
- Spring: Asparagus and peas
- Summer: Zucchini and eggplant
- Fall: Brussels sprouts and butternut squash
- Winter: Carrots and parsnips
- Cheese Options: Try Romano or Asiago for different flavor profiles.
Storage and Reheating
Store leftovers in an airtight container:
- Refrigerator: Up to 3 days
- Freezer: Up to 2 months (vegetables may become softer)
To reheat:
- Oven (preferred): 350°F for 10-15 minutes
- Microwave: 2-3 minutes (crust won’t be as crispy)
Serving Suggestions
- Fresh herb garnish (parsley, basil, or thyme)
- Lemon wedges for brightness
- Light side salad with vinaigrette
- Crusty whole grain bread
- Sparkling water with citrus
Common Questions and Answers
Q: Can I prepare this ahead of time?
A: You can bread the chicken up to 4 hours ahead and store in the refrigerator. Prep vegetables up to 24 hours in advance.
Q: Why isn’t my crust as crispy as expected?
A: Ensure your oven is fully preheated, use freshly grated Parmesan, and don’t skip the oil drizzle. Consider patting the chicken extra dry before breading.
Q: How do I prevent the vegetables from getting soggy?
A: Don’t overcrowd the pan, cut pieces uniformly, and ensure they’re well-coated with oil. High temperature roasting is key.
Q: Can I make this dairy-free?
A: Replace Parmesan with dairy-free alternatives like nutritional yeast mixed with breadcrumbs and seasonings.
Q: What’s the best way to reheat leftovers?
A: Use a 350°F oven for 10-15 minutes to maintain the crispy crust. Avoid microwaving if possible.
Recipe Success Tips
- Temperature Matters
- Bring chicken to room temperature before cooking
- Ensure oven is fully preheated
- Use meat thermometer for perfect doneness
- Preparation Success
- Mise en place (prepare all ingredients before starting)
- Create an organized breading station
- Use separate bowls for vegetable seasoning
- Cleanup Shortcuts
- Line pan with parchment paper
- Clean as you go
- Soak breading dishes immediately
This sheet pan dinner has become my go-to recipe for busy weeknights and casual entertaining alike. The combination of crispy, cheesy chicken and perfectly roasted vegetables never fails to impress, while the easy cleanup makes it a practical choice for any occasion. Give it a try, and I’m confident it will earn a permanent spot in your recipe collection too.