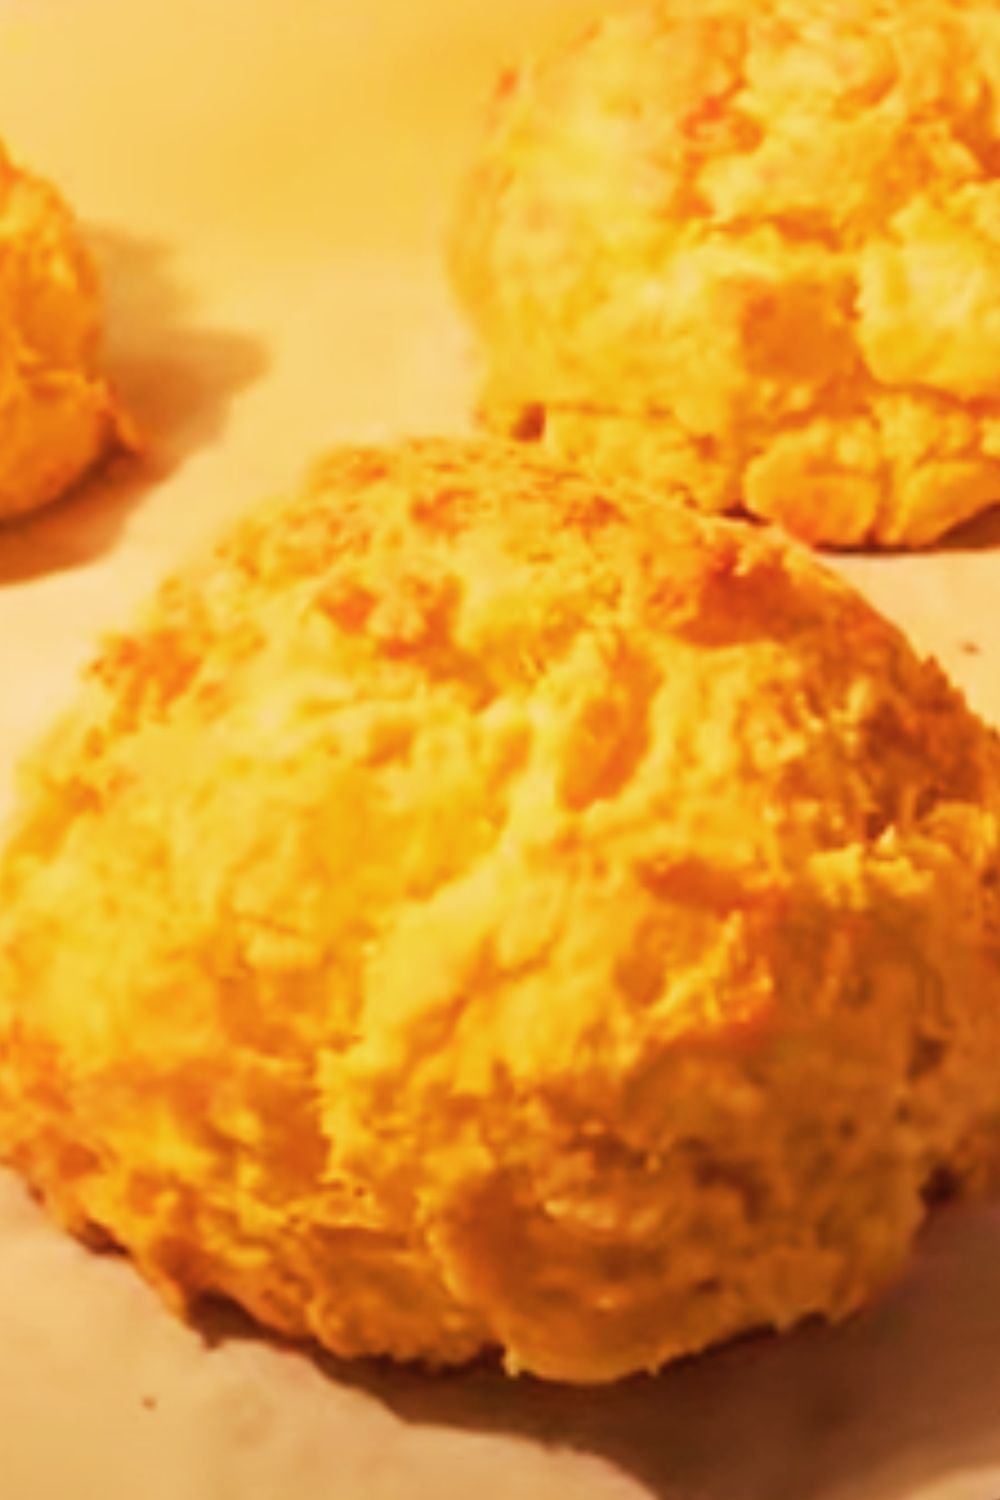
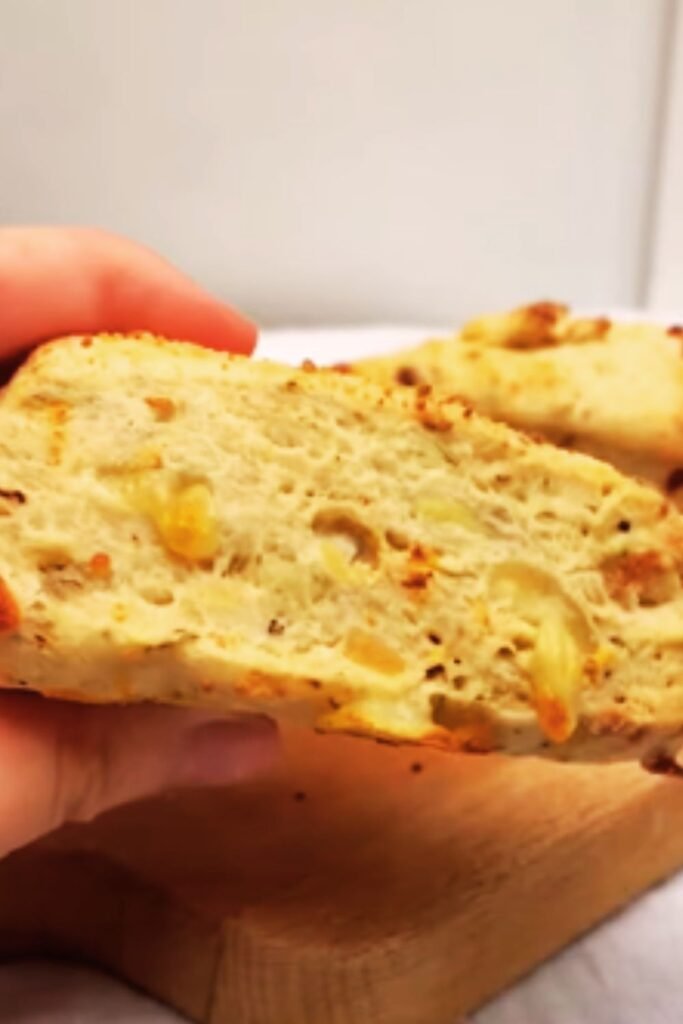
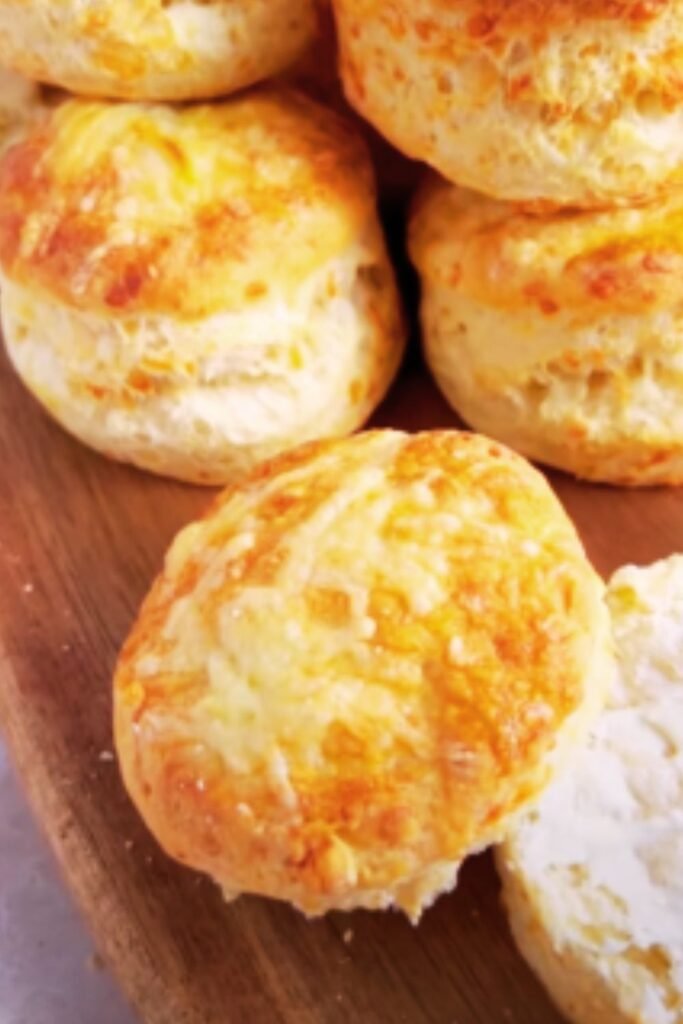
There’s something undeniably comforting about biting into a warm cheese scone fresh from the oven. That moment when the buttery, flaky exterior gives way to reveal a soft, cheesy center is pure culinary bliss. I’ve spent years perfecting my cheese scone recipe, and today I’m excited to share all my secrets with you.
Whether you’re hosting afternoon tea, looking for a savory breakfast option, or simply craving a delicious snack, these ultimate cheese scones will hit the spot every time. They strike the perfect balance between richness and lightness, with a golden crust that makes your mouth water before you’ve even taken the first bite.
What Makes a Cheese Scone Truly Ultimate?
Before we dive into the recipe, let’s talk about what sets an extraordinary cheese scone apart from a merely good one. The ultimate cheese scone has:
- A light, fluffy interior with visible layers
- A crisp, golden exterior that provides textural contrast
- Rich cheese flavor that permeates throughout
- Just the right level of saltiness to enhance the cheese without overwhelming
- A buttery richness that doesn’t feel heavy or greasy
Getting all these elements right requires attention to detail, quality ingredients, and a few special techniques that I’ve discovered through much trial and error. The good news? I’ve done all the experimenting so you don’t have to!
The Science Behind Perfect Scones
Understanding why certain techniques work helps create consistently excellent scones. The key lies in the interaction between fat and flour, and how we manipulate the dough.
When butter is cold and cut into flour, it creates small pockets within the dough. During baking, these butter pockets melt, creating steam that pushes the dough upward and creates those beautiful flaky layers. This is why temperature control is so crucial in scone-making.
Additionally, limiting gluten development ensures tenderness rather than toughness. That’s why I always emphasize minimal handling of the dough—we want it just barely combined, not smooth like bread dough.
Now, let’s get to the part you’ve been waiting for: my ultimate cheese scones recipe.
Essential Ingredients
Quality ingredients make all the difference in creating truly outstanding cheese scones. Here’s what you’ll need:
| Ingredient | Quantity | Notes |
|---|---|---|
| All-purpose flour | 350g (2¾ cups) | For structure and lightness |
| Baking powder | 15g (1 tablespoon) | Fresh baking powder ensures maximum rise |
| Salt | 5g (1 teaspoon) | Enhances all flavors |
| Cold unsalted butter | 85g (6 tablespoons) | Must be very cold, cut into small cubes |
| Mature cheddar cheese | 150g (1½ cups) | Reserve 25g for topping |
| Whole milk | 150ml (⅔ cup) | Cold from the refrigerator |
| Large egg | 1 | For binding and enrichment |
| Dijon mustard | 5g (1 teaspoon) | Optional but recommended for flavor depth |
| Black pepper | 2g (1 teaspoon) | Freshly ground is best |
| Paprika | 2g (½ teaspoon) | Adds subtle warmth |
| Additional egg | 1 | For egg wash |
Special Equipment Needed
- Digital kitchen scale (for precise measurements)
- Box grater (for cheese and possibly butter)
- Pastry cutter or two knives (for cutting in butter)
- Baking sheet
- Parchment paper
- Pastry brush (for egg wash)
- 7cm (2¾ inch) round cutter
- Cooling rack
Step-by-Step Instructions
Preparation Phase
- Preheat your oven to 220°C (425°F). Position the rack in the upper third of the oven.
- Line a baking sheet with parchment paper.
- Place butter in the freezer for 10 minutes before starting to ensure it’s very cold.
- Grate 125g of the cheese (about 1¼ cups) and set aside the remaining 25g for topping.
Making the Dough
- In a large mixing bowl, whisk together the flour, baking powder, salt, black pepper, and paprika.
- Add the cold butter cubes to the flour mixture. Using a pastry cutter or your fingertips, work quickly to cut the butter into the flour until the mixture resembles coarse crumbs with some pea-sized pieces of butter still visible. This varied texture creates those lovely layers we’re after.
- Gently stir in the grated cheese, being careful not to overmix.
- In a separate small bowl, whisk together the cold milk, egg, and Dijon mustard if using.
- Make a well in the center of the dry ingredients and pour in about ¾ of the liquid mixture.
- Using a fork, gently combine the ingredients with a folding motion. Add more liquid as needed until the dough just comes together. It should be slightly sticky but not wet.
Shaping and Cutting
- Turn the dough out onto a lightly floured surface. Dust your hands with flour to prevent sticking.
- Very gently pat the dough into a rectangle about 2.5cm (1 inch) thick. Don’t use a rolling pin as it compresses the dough too much.
- Fold the dough in thirds, like a letter. This creates even more layers. Turn the dough 90 degrees and gently pat it out again to 2.5cm thickness.
- Using a 7cm round cutter, cut straight down into the dough without twisting. Twisting seals the edges and prevents proper rising.
- Place the scones on the prepared baking sheet, leaving about 3cm between each.
- Gather the scraps and gently press together to cut additional scones. Note that these may not rise quite as well as the first batch.
Final Touches and Baking
- Beat the additional egg in a small bowl.
- Brush the tops of the scones with the egg wash, being careful not to let it drip down the sides (this can prevent proper rising).
- Sprinkle the remaining grated cheese on top of each scone.
- Place the baking sheet in the preheated oven and immediately reduce the temperature to 200°C (400°F).
- Bake for 12-15 minutes until the scones are well-risen and golden brown on top.
- Transfer to a wire rack to cool for at least 10 minutes before serving.
Critical Techniques for Success
Understanding these key techniques will elevate your cheese scones from good to extraordinary:
Temperature Control
Temperature is perhaps the most crucial factor in successful scone-making. Here’s why:
- Cold ingredients: Keep your butter, milk, and even the bowl cold. On hot days, I sometimes chill my flour and bowl in the freezer for 10 minutes before starting.
- Cold hands: If your hands run warm, periodically run them under cold water and dry them while working with the dough.
- Working quickly: The longer you handle the dough, the warmer it gets, so efficiency is key.
- Resting time: If your kitchen is particularly warm, consider resting the shaped scones in the refrigerator for 15-20 minutes before baking.
The Minimal Handling Method
Overworking the dough develops gluten, which makes scones tough rather than tender. To avoid this:
- Use a light touch when mixing the dough
- Stop combining ingredients as soon as the dough just comes together
- Pat the dough gently rather than kneading it
- Cut straight down with the cutter without twisting
The Art of Proper Cutting
How you cut your scones significantly impacts their rise:
- Use a sharp cutter with clean edges
- Cut straight down and up without any twisting motion
- Flour the cutter between cuts to prevent sticking
- Avoid touching the cut edges with your fingers

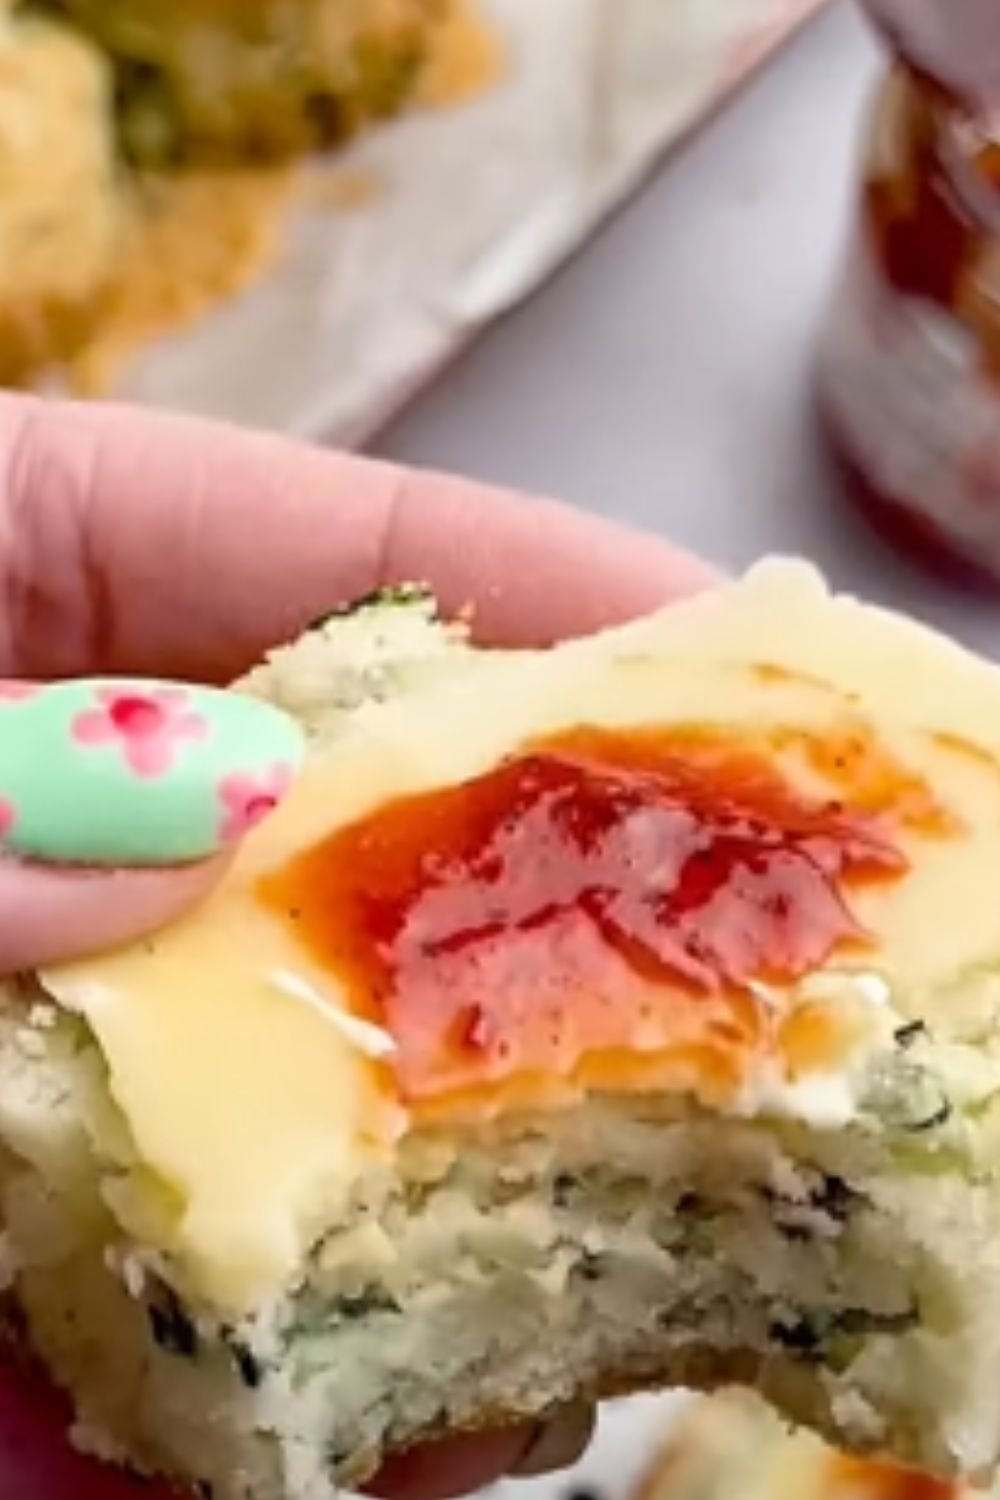
Variations to Try
Once you’ve mastered the basic ultimate cheese scone, you might want to experiment with these delicious variations:
| Variation | Additional Ingredients | Special Notes |
|---|---|---|
| Triple Cheese | Replace half the cheddar with Parmesan and Gruyère | Reduces the moisture content, may need slightly more milk |
| Herb & Cheese | Add 2 tablespoons fresh chives or thyme | Fold herbs in gently after adding cheese |
| Caramelized Onion | Add ⅓ cup cooled caramelized onions | Drain well and cool completely before adding |
| Jalapeño Cheese | Add 2 tablespoons finely diced jalapeños | Remove seeds for less heat |
| Bacon & Cheese | Add ⅓ cup crispy bacon pieces | Ensure bacon is cool and well-drained |
| Sun-dried Tomato | Add ¼ cup chopped sun-dried tomatoes | Pat dry if oil-packed to remove excess oil |
Common Problems and Solutions
Even experienced bakers encounter issues sometimes. Here’s how to troubleshoot the most common scone problems:
Scones Didn’t Rise Properly
Potential causes and solutions:
- Old baking powder: Test baking powder by adding a small amount to hot water—it should bubble vigorously
- Dough too wet: Add a bit more flour next time
- Oven not hot enough: Use an oven thermometer to verify temperature
- Cutter twisted during cutting: Remember to press straight down and lift straight up
Scones Too Dense
Potential causes and solutions:
- Overworked dough: Handle more gently next time
- Too much flour: Measure carefully or weigh ingredients
- Butter not cold enough: Freeze butter for 10 minutes before using
- Liquid ingredients too warm: Use cold milk straight from the refrigerator
Scones Spreading Too Much
Potential causes and solutions:
- Butter too warm: Make sure it stays cold throughout the process
- Too much liquid: Reduce liquid by 1-2 tablespoons next time
- Dough not chilled: Try chilling shaped scones for 15 minutes before baking
- Oven temperature too low: Check with an oven thermometer
Serving Suggestions
Cheese scones are incredibly versatile. Here are my favorite ways to serve them:
For Breakfast or Brunch
- Split and spread with good quality butter
- Top with scrambled eggs and chives
- Serve alongside a hearty vegetable soup
For Lunch
- Split and fill with ham and extra cheese
- Use as a base for a sophisticated eggs benedict
- Serve with a crisp garden salad
For Afternoon Tea
- Offer with herb butter
- Pair with cucumber sandwiches and fruit
- Serve with a chutney selection
For Dinner
- Present in a bread basket as an alternative to dinner rolls
- Serve alongside hearty stews or chilis
- Use as a topping for pot pies
Storage and Freezing
Fresh is always best with scones, but if you need to make them ahead, here’s how to keep them at their best:
Short-term Storage
- Store completely cooled scones in an airtight container at room temperature for up to 2 days
- To refresh, warm in a 150°C (300°F) oven for 5-7 minutes
Freezing Baked Scones
- Cool completely
- Wrap individually in plastic wrap, then place in a freezer bag
- Freeze for up to 3 months
- Thaw at room temperature, then reheat in a 150°C (300°F) oven for 8-10 minutes
Freezing Unbaked Scones
- Follow the recipe up to the point of egg wash and cheese topping
- Place shaped scones on a baking sheet and freeze until solid
- Transfer to a freezer bag and store for up to 3 months
- Bake directly from frozen, adding 3-5 minutes to the baking time
- Apply egg wash and cheese topping just before baking
Nutritional Information
While cheese scones are a treat rather than an everyday food, it’s helpful to know what you’re consuming:
| Nutrient | Amount per Scone | % Daily Value* |
|---|---|---|
| Calories | 285 | – |
| Total Fat | 15g | 19% |
| Saturated Fat | 9g | 45% |
| Cholesterol | 62mg | 21% |
| Sodium | 390mg | 17% |
| Total Carbohydrate | 29g | 11% |
| Dietary Fiber | 1g | 4% |
| Sugars | 1g | – |
| Protein | 9g | 18% |
| Calcium | 180mg | 14% |
| Iron | 1.8mg | 10% |
*Based on a 2,000 calorie diet
Q&A Section
Q: Can I use a food processor to cut in the butter? Yes, you can use a food processor for cutting butter into flour, but be extremely careful not to overprocess. Use short pulses just until the mixture resembles coarse crumbs with some pea-sized butter pieces still visible. Transfer to a bowl before adding wet ingredients.
Q: Why did my scones turn out flat? If your scones are flat, the most likely culprit is warm butter. When the butter melts before baking begins, you lose those steam pockets that create lift. Make sure all your ingredients are cold, work quickly, and consider chilling the shaped scones before baking if your kitchen is warm.
Q: Can I make these gluten-free? Yes, you can use a good quality gluten-free flour blend that contains xanthan gum. You may need to add a bit more liquid as gluten-free flours tend to absorb more moisture. The texture will be slightly different, but still delicious.
Q: My scones always seem dry. What am I doing wrong? Dry scones usually result from either too much flour or overbaking. Try measuring your flour by weight rather than volume for accuracy, and check your scones a minute or two before the recipe suggests. They should be golden on top but not overly browned.
Q: Can I use pre-grated cheese? While convenient, pre-grated cheese often contains anti-caking agents that can affect both flavor and texture. For the best results, I strongly recommend grating your own cheese from a block.
Q: Is it possible to make these ahead for a brunch party? Absolutely! I suggest freezing the unbaked, shaped scones as described in the storage section. On the day of your brunch, bake them directly from frozen. Your guests will enjoy fresh-baked scones without you having to prepare them at the last minute.
Q: What type of cheese works best? A mature or sharp cheddar provides the best flavor, but you can experiment with other firm cheeses like Gruyère, aged Gouda, or a combination. Avoid very soft cheeses as they can make the dough too wet.
Q: My scones didn’t have flaky layers. What went wrong? Flaky layers come from visible pieces of butter in the dough and proper folding. Make sure you leave some pea-sized butter pieces when mixing, and don’t skip the letter-fold step, which creates additional layers.
Final Thoughts
Making truly exceptional cheese scones is both a science and an art. The science involves understanding the role of each ingredient and how they interact, while the art comes from developing the touch and intuition that only practice can bring.
I encourage you to try this recipe and make it your own. Perhaps you’ll add a signature herb or spice, or discover that your family prefers them slightly larger or smaller than my suggested size. Cooking is about finding what works for you, and these ultimate cheese scones provide an excellent foundation for your own culinary creativity.
Remember that even if your first batch isn’t perfect, each attempt will teach you something valuable. Pay attention to how the dough feels, how the scones rise, and how the flavors develop. With each baking session, you’ll get closer to your own definition of the ultimate cheese scone.