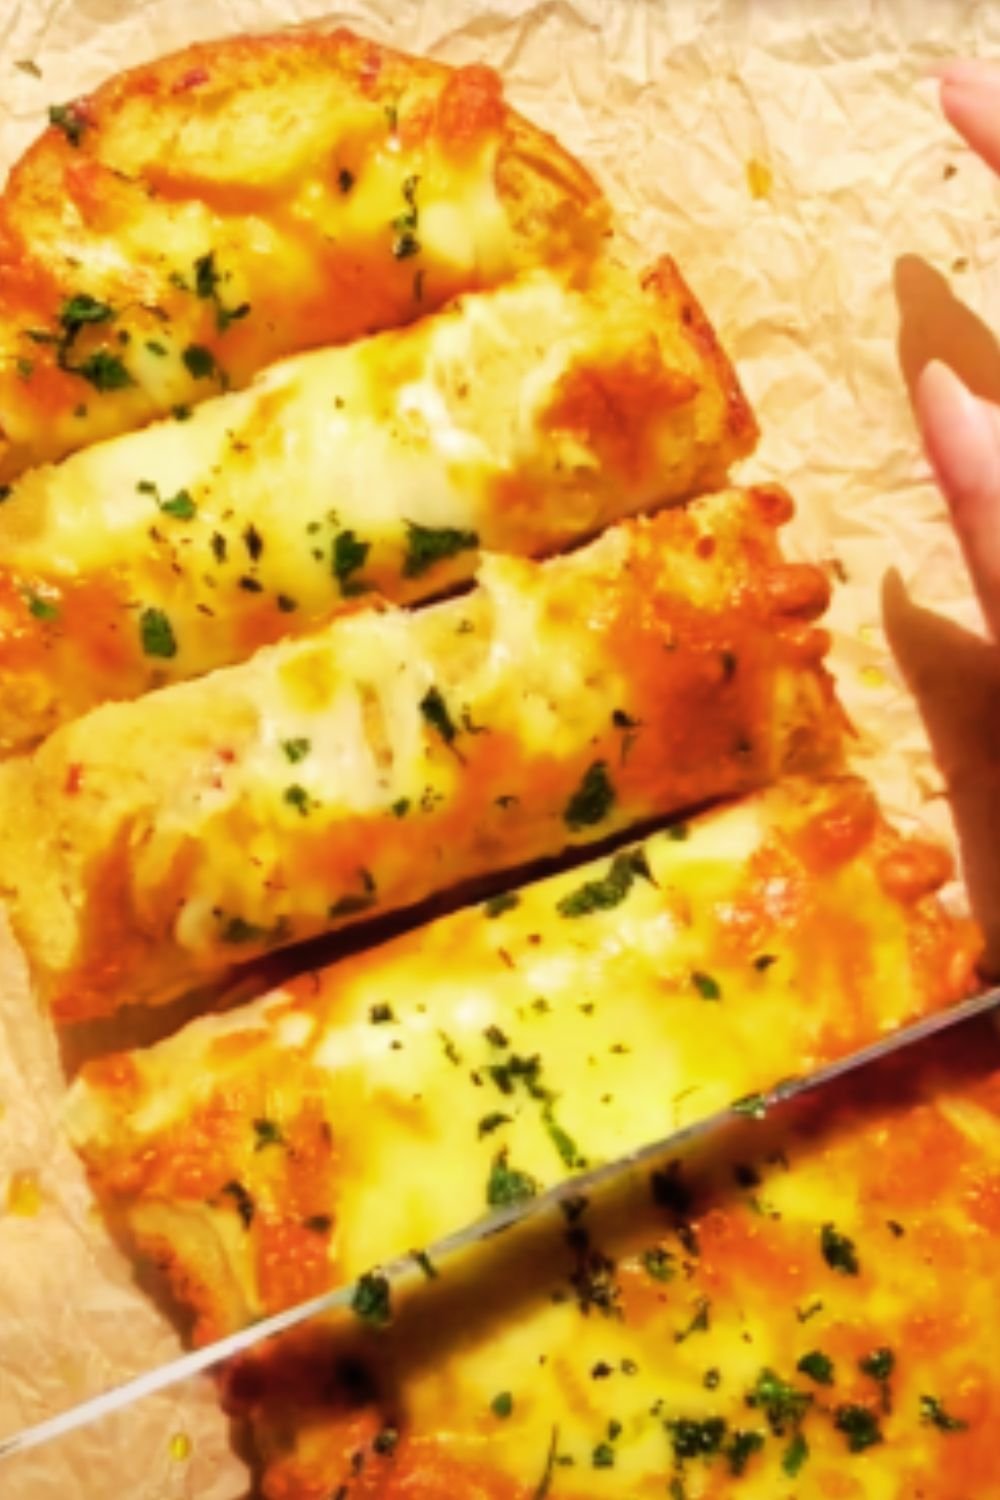
Have you ever craved garlic bread but didn’t want to wait for the oven to preheat or didn’t have a fresh baguette on hand? I’ve discovered an incredible hack that will revolutionize your garlic bread game – using tortillas in the air fryer! This unconventional yet genius method creates a perfectly crispy, garlicky treat in just minutes.
Why You’ll Love This Recipe
I’ve spent countless hours experimenting with different garlic bread recipes, and I can confidently say this tortilla version is a game-changer. It’s not just about convenience – the thin tortilla creates layers of texture you simply can’t achieve with traditional bread. The edges become delightfully crispy while the center stays tender, creating an addictive contrast that keeps you coming back for more.

Ingredients
| Main Ingredients | Amount per Serving | Notes |
|---|---|---|
| Flour tortillas | 2 (8-inch) | Room temperature |
| Butter | 2 tablespoons | Unsalted, softened |
| Garlic | 3-4 cloves | Freshly minced |
| Parsley | 1 tablespoon | Finely chopped |
| Parmesan cheese | 2 tablespoons | Freshly grated |
| Salt | 1/4 teaspoon | To taste |
| Black pepper | 1/8 teaspoon | Freshly ground |
| Italian seasoning | 1/2 teaspoon | Optional |
Equipment Needed
| Essential Items | Optional Items |
|---|---|
| Air fryer | Pastry brush |
| Cutting board | Microplane grater |
| Sharp knife | Garlic press |
| Small mixing bowl | Kitchen scissors |
| Measuring spoons | – |
Preparation Time
| Task | Duration |
|---|---|
| Prep work | 5 minutes |
| Cooking time | 4-5 minutes |
| Total time | 10 minutes |

Step-by-Step Instructions
- In a small bowl, I combine the softened butter, minced garlic, chopped parsley, grated Parmesan, salt, pepper, and Italian seasoning (if using). I make sure to mix everything thoroughly until well combined.
- I lay out my tortillas on a clean surface and evenly spread the garlic butter mixture over one side of each tortilla, making sure to reach the edges. The key here is not to spread the mixture too thickly – you want an even, thin layer.
- I preheat my air fryer to 350°F (175°C). This usually takes about 2-3 minutes.
- Working with one tortilla at a time, I place it butter-side up in the air fryer basket. I’ve found that cooking them individually yields the best results.
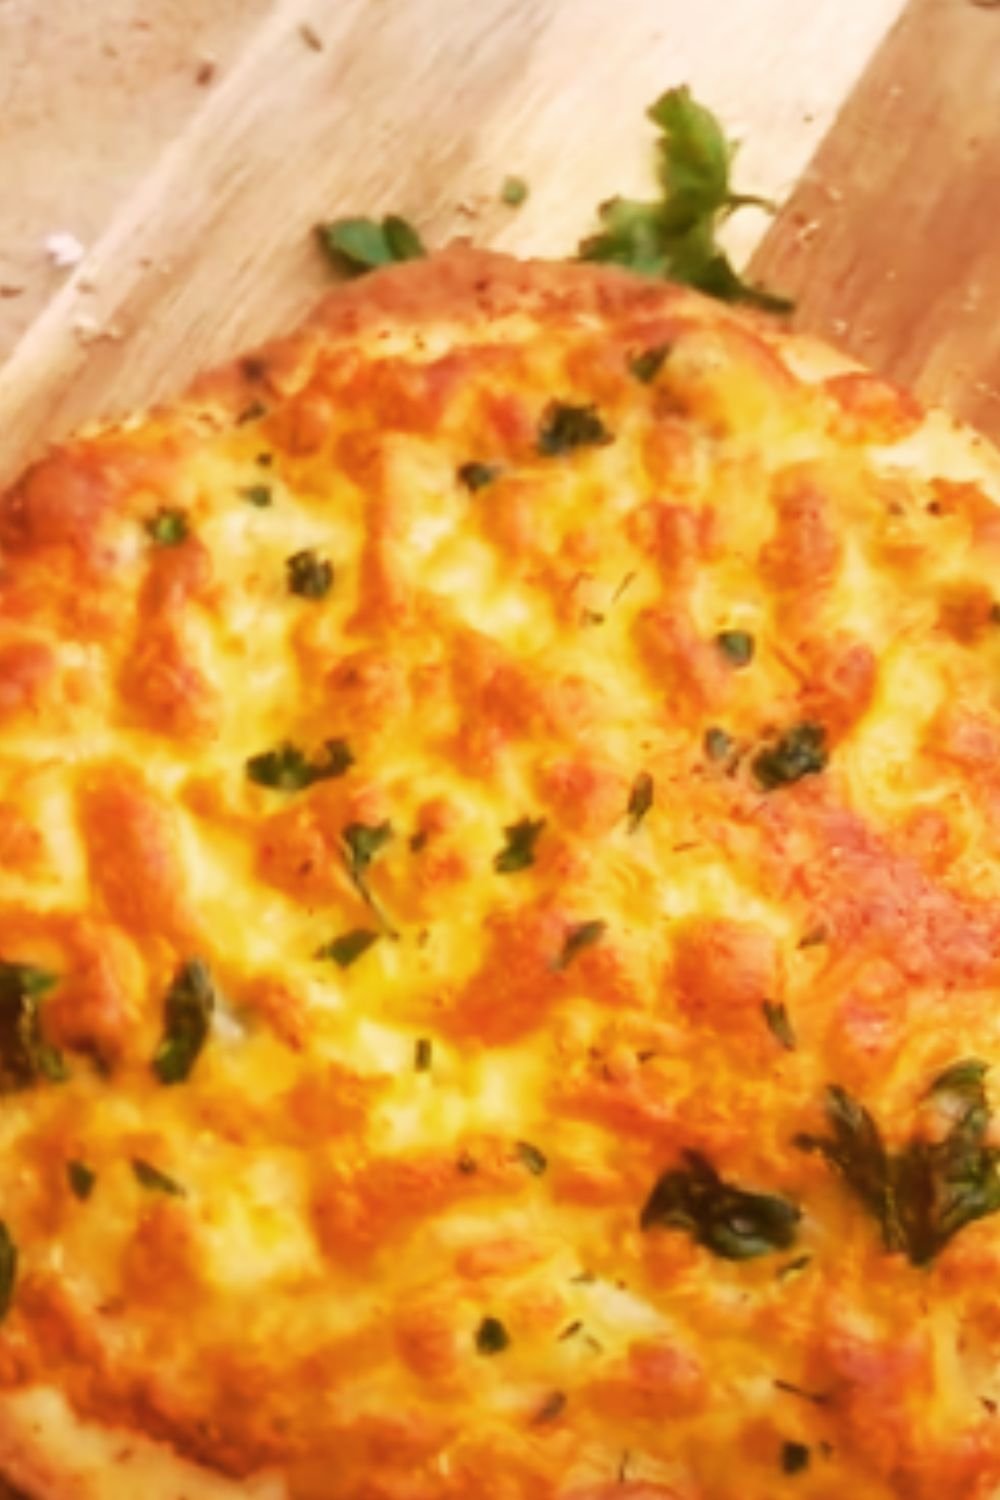
- I air fry each tortilla for 4-5 minutes, checking at the 3-minute mark. The edges should be golden brown and crispy, while the center should be lightly toasted.
- Once done, I remove the tortilla carefully (it will be hot!) and cut it into wedges while still warm.

Pro Tips From My Kitchen
After making this recipe countless times, I’ve discovered several tricks that make a huge difference:
- Always use room temperature butter for easier spreading
- Mince the garlic as finely as possible to prevent burning
- Don’t overcrowd the air fryer basket – cook one tortilla at a time
- Watch carefully after 3 minutes as they can go from perfect to burnt quickly
- Cut while still warm for the cleanest edges
Variations I Love
I’ve experimented with several delicious variations:
| Variation | Additional Ingredients | Special Notes |
|---|---|---|
| Mexican-Style | Add chili powder and cilantro | Perfect for taco night |
| Mediterranean | Add oregano and feta cheese | Pairs well with Greek dishes |
| Spicy | Add red pepper flakes | Adjust heat to taste |
| Herb-Loaded | Add fresh basil and thyme | Great with pasta |
| Cheesy | Add mozzarella on top | Air fry until cheese melts |
Storage and Reheating
While these are best enjoyed fresh, I’ve found they can be stored and reheated successfully:
| Storage Method | Duration | Reheating Instructions |
|---|---|---|
| Room temperature | Up to 2 hours | 1 minute in air fryer |
| Refrigerator | Up to 24 hours | 2 minutes in air fryer |
| Freezer | Up to 1 month | 3-4 minutes in air fryer |
Serving Suggestions
I love serving these versatile garlic bread tortillas with:
- Homemade tomato soup
- Fresh garden salad
- Pasta dishes
- As an appetizer with marinara sauce
- Alongside grilled vegetables
Nutritional Information
(Per serving – 1 tortilla)
| Nutrient | Amount |
|---|---|
| Calories | 180 |
| Total Fat | 12g |
| Saturated Fat | 6g |
| Cholesterol | 25mg |
| Sodium | 380mg |
| Total Carbohydrates | 15g |
| Dietary Fiber | 1g |
| Protein | 4g |
Common Questions and Answers
Q: Can I use corn tortillas instead of flour tortillas?
A: While you can use corn tortillas, I find that flour tortillas work better for this recipe as they crisp up more evenly and hold the garlic butter mixture better.
Q: My tortillas burned quickly. What went wrong?
A: Air fryer temperatures can vary between models. I recommend checking your tortillas at the 2-minute mark on your first try and adjusting the time accordingly.
Q: Can I make these ahead for a party?
A: Yes! You can prepare the garlic butter mixture in advance and store it in the refrigerator. However, I recommend air frying the tortillas just before serving for the best texture.
Q: How do I prevent the garlic from burning?
A: The key is to mince the garlic very finely and mix it well with the butter. The butter helps protect the garlic from direct heat and prevents burning.
Q: My tortillas didn’t get crispy. What’s the issue?
A: Make sure your air fryer is preheated properly, and don’t overload the butter mixture. Also, check that you’re cooking at the correct temperature (350°F/175°C).
Troubleshooting Guide
| Problem | Possible Cause | Solution |
|---|---|---|
| Uneven cooking | Overcrowded basket | Cook one tortilla at a time |
| Burning edges | Temperature too high | Reduce temp by 25°F |
| Not crispy enough | Too much butter | Use a thinner layer of butter |
| Garlic burning | Pieces too large | Mince garlic more finely |
| Soggy center | Insufficient preheating | Ensure proper preheat time |
Recipe Success Tips
I’ve learned that success with this recipe comes down to three key factors:
- Temperature Control
- Proper preheating is essential
- Monitor cooking time carefully
- Adjust temperature based on your air fryer model
- Ingredient Preparation
- Room temperature butter for easy spreading
- Finely minced garlic
- Even distribution of toppings
- Technique
- Don’t overcrowd the basket
- Check frequently during cooking
- Cut while still warm
Remember, practice makes perfect, and even if your first attempt isn’t Instagram-worthy, the results will still be delicious!