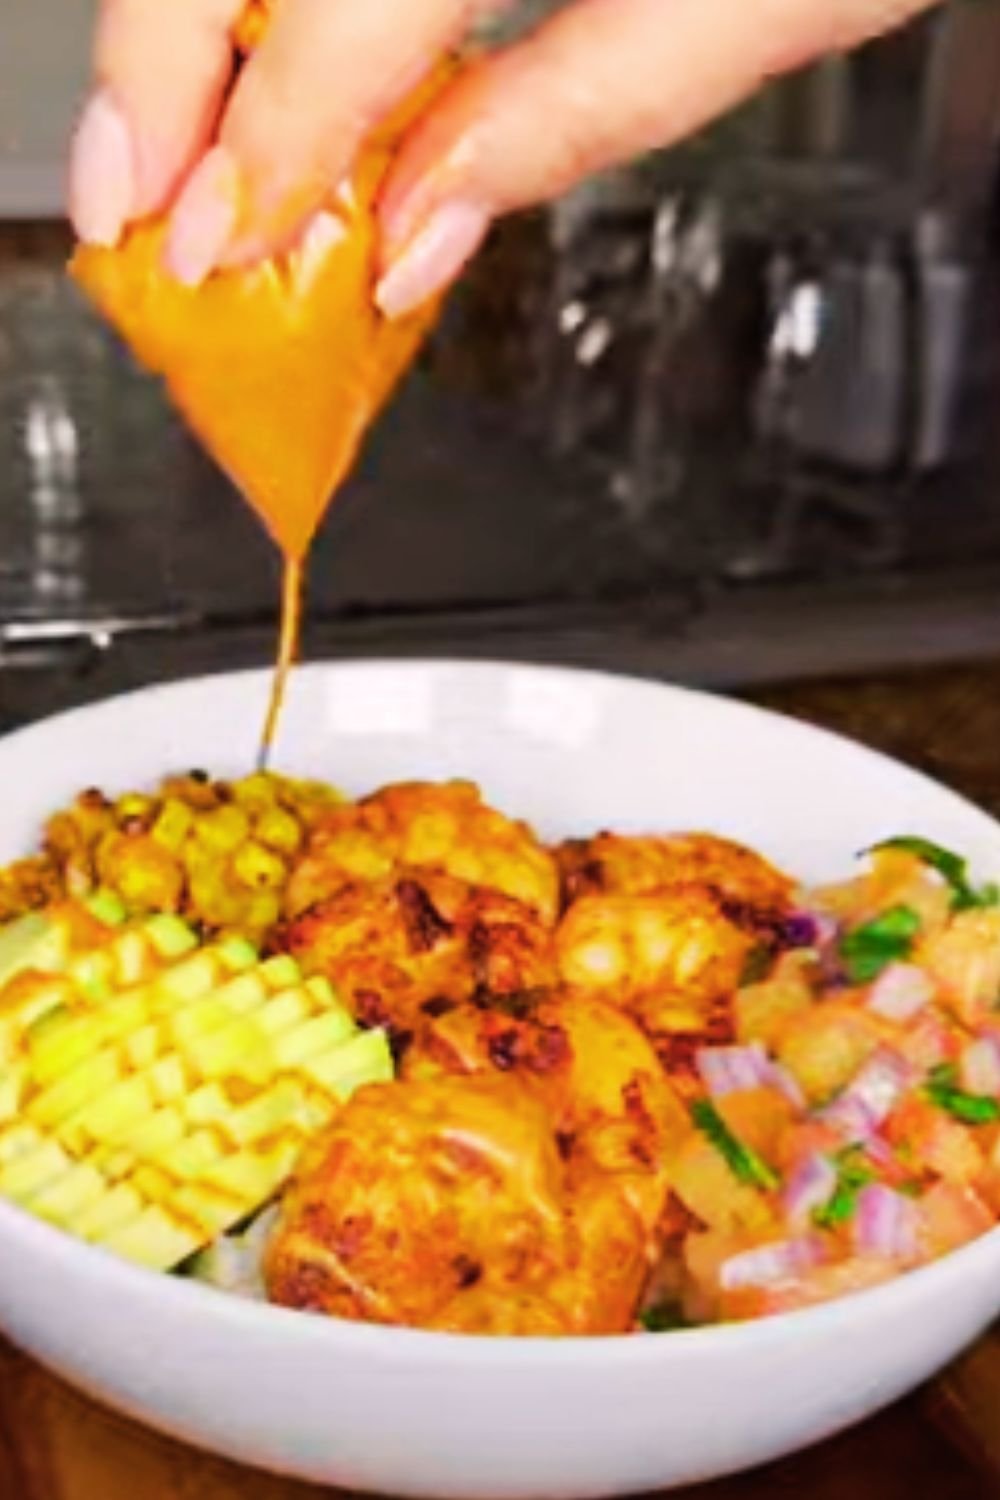
There’s something truly magical about the perfect balance of sweet, sour, and savory flavors that come together in a good Chinese lemon chicken dish. I’ve spent years perfecting this recipe, and I’m thrilled to share it with you today. This isn’t just any lemon chicken – it’s a sticky, glossy, flavor-packed delight that will have your family requesting it again and again.
The Secret to Perfect Lemon Chicken
When I first attempted to make Chinese lemon chicken at home, I was disappointed. The sauce was too thin, the chicken wasn’t crispy enough, and the lemon flavor was either too subtle or overwhelmingly sour. After many trials (and some memorable errors!), I discovered that the secret lies in three key elements:
- Double-coating the chicken for maximum crispiness
- Using both lemon juice AND zest for a more complex citrus flavor
- Reducing the sauce to that perfect sticky consistency
Let me take you through my journey to lemon chicken perfection, with a recipe that rivals any Chinese restaurant version I’ve tried.
Ingredients
For the Chicken:
- 1.5 pounds (680g) boneless, skinless chicken thighs, cut into 1-inch pieces
- 2 large eggs, beaten
- 1 cup (125g) all-purpose flour
- 1/2 cup (60g) cornstarch
- 1 teaspoon salt
- 1/2 teaspoon white pepper
- 1/2 teaspoon garlic powder
- 1/2 teaspoon baking powder (this is my secret for extra crispy chicken!)
- Vegetable oil for frying (about 3 cups)
For the Lemon Sauce:
- Zest of 2 lemons (about 2 tablespoons)
- 1/2 cup (120ml) freshly squeezed lemon juice (approximately 3-4 lemons)
- 3/4 cup (150g) granulated sugar
- 1/2 cup (120ml) chicken broth
- 2 tablespoons honey
- 3 tablespoons rice vinegar
- 2 tablespoons soy sauce (low-sodium preferred)
- 2 cloves garlic, minced
- 1 teaspoon ginger, freshly grated
- 1/4 teaspoon red pepper flakes (optional, for heat)
- 2 tablespoons cornstarch mixed with 3 tablespoons water (slurry)
For Garnish:
- 3 green onions, thinly sliced
- 1 tablespoon toasted sesame seeds
- Extra lemon zest
- Fresh cilantro leaves (optional)
Essential Equipment

Before we dive into the cooking process, make sure you have these kitchen tools ready:
| Equipment | Purpose | Recommendation |
|---|---|---|
| Wok or Deep Skillet | For frying the chicken and finishing the dish | 12-inch carbon steel wok or cast iron skillet |
| Thermometer | To ensure oil reaches the correct temperature | Digital instant-read thermometer |
| Spider Strainer | For removing chicken from hot oil safely | Stainless steel mesh spider |
| Microplane | For zesting lemons efficiently | Fine grater microplane |
| Heavy-bottomed Saucepan | For making the lemon sauce | 2-quart saucepan |
| Mixing Bowls | For breading station | Set of 3 various sized bowls |
| Paper Towel-lined Plate | For draining excess oil | Heat-resistant plate |
Step-by-Step Instructions
Preparing the Chicken
- Cut and Season the Chicken I always start with chicken thighs rather than breast meat. They stay juicier and more tender through the frying process. Cut the thighs into even 1-inch pieces, pat them dry with paper towels, and season lightly with salt and pepper.
- Prepare the Breading Station In a medium bowl, beat the eggs with 1 tablespoon of water. In another bowl, whisk together the flour, cornstarch, salt, white pepper, garlic powder, and baking powder.
- Double-Coat the Chicken This is where the magic happens! Working in batches, dredge the chicken pieces in the flour mixture, then dip in the beaten eggs, and then back into the flour mixture for a second coat. Place the coated pieces on a wire rack and let them rest for 10 minutes. This resting period helps the coating adhere better during frying.

- Heat the Oil In your wok or deep skillet, heat about 2 inches of vegetable oil to 350°F (175°C). Use a thermometer to monitor the temperature – this is crucial for achieving that perfect golden crispiness without the chicken absorbing too much oil.
- Fry in Batches Carefully lower 6-8 pieces of chicken into the hot oil at a time, being careful not to overcrowd the pan. Fry for 3-4 minutes until golden brown and crispy. The internal temperature should reach 165°F (74°C).
- Drain and Keep Warm Remove the chicken with a spider strainer or slotted spoon and place on a paper towel-lined plate to drain excess oil. Keep the fried chicken warm in a 200°F (93°C) oven while you prepare the sauce.
Creating the Lemon Sauce
- Prepare Lemon Juice and Zest One of my biggest revelations was the importance of using fresh lemons – not bottled juice. The vibrant flavor is incomparable. Zest your lemons before juicing them, and make sure to only get the yellow part of the peel, as the white pith can be bitter.
- Combine Sauce Ingredients In a heavy-bottomed saucepan, combine the lemon juice, lemon zest, sugar, chicken broth, honey, rice vinegar, soy sauce, minced garlic, grated ginger, and red pepper flakes (if using).
- Simmer and Reduce Bring the mixture to a gentle boil over medium heat, then reduce to a simmer for about 5 minutes. This allows the flavors to meld together and the sauce to reduce slightly.
- Thicken with Cornstarch Slurry In a small bowl, mix 2 tablespoons cornstarch with 3 tablespoons cold water to create a slurry. Slowly pour this into the simmering sauce while whisking constantly. Continue to cook for 2-3 minutes until the sauce thickens to a glossy, coat-the-back-of-a-spoon consistency.

Bringing It All Together
- Coat the Chicken This is the moment where it all comes together! If your sauce is in a saucepan, you can either add the fried chicken directly to the sauce and toss to coat, or transfer the sauce to a wok or larger skillet first if you need more room. I prefer using a wok for this final step, as the shape helps ensure every piece gets evenly coated. Gently toss the chicken in the sauce for about 1 minute until each piece is thoroughly glazed.
- Final Touch Once all the chicken pieces are coated, sprinkle half of your sliced green onions and sesame seeds into the wok and give it one final gentle toss.
- Garnish and Serve Transfer your masterpiece to a serving platter. Garnish with the remaining green onions, sesame seeds, a sprinkle of fresh lemon zest, and cilantro leaves if using.
Nutritional Information
For those keeping track of their dietary intake, here’s the approximate nutritional breakdown per serving (based on 4 servings):
| Nutrient | Amount per Serving |
|---|---|
| Calories | 520 |
| Protein | 32g |
| Total Fat | 24g |
| Saturated Fat | 4g |
| Carbohydrates | 45g |
| Dietary Fiber | 1g |
| Sugars | 26g |
| Sodium | 820mg |
| Potassium | 380mg |
| Vitamin C | 15% DV |
Serving Suggestions
This Sticky Chinese Lemon Chicken pairs beautifully with a variety of sides. Here are my favorite ways to serve it:
- Over steamed jasmine rice – the perfect canvas to soak up that delicious sauce
- With simple steamed broccoli or bok choy for a complete meal
- Alongside vegetable fried rice for an extra special dinner
- With thin egg noodles tossed in a little sesame oil
- In lettuce cups for a lighter option, topped with extra green onions and cilantro

Make-Ahead and Storage Tips
I often get asked if this dish can be prepared in advance or how to store leftovers. Here’s what works best:
- Make-Ahead: You can prepare the chicken and sauce separately up to a day in advance. Fry the chicken, cool completely, and store in an airtight container in the refrigerator. Make the sauce separately and refrigerate. When ready to serve, reheat the chicken in a 350°F (175°C) oven for 10-15 minutes until crispy again, warm the sauce, and combine.
- Storage: Leftover lemon chicken can be stored in an airtight container in the refrigerator for up to 3 days. Be aware that the chicken will lose its crispiness over time.
- Reheating: For the best texture when reheating, place the chicken on a baking sheet and warm in a 350°F (175°C) oven for 10 minutes. The microwave works in a pinch but will make the chicken softer.
- Freezing: While possible, I don’t recommend freezing this dish as the texture of the chicken significantly changes upon thawing and reheating.
Common Pitfalls and How to Avoid Them
After making this recipe countless times, I’ve encountered (and solved) many potential issues:
- Soggy Chicken
- Solution: Make sure your oil is hot enough (350°F/175°C) before adding the chicken. If the oil is too cool, the chicken will absorb more oil and become soggy.
- Also, don’t crowd the pan when frying – work in small batches.
- Sauce Too Thin
- Solution: Make sure to simmer the sauce long enough to reduce slightly before adding the cornstarch slurry. If it’s still too thin after adding the slurry, you can mix an additional teaspoon of cornstarch with a tablespoon of cold water and add it.
- Sauce Too Thick
- Solution: Thin it out with a little chicken broth or water, adding just a tablespoon at a time until you reach the desired consistency.
- Bitter Lemon Flavor
- Solution: Be careful when zesting the lemons to avoid the white pith, which can add bitterness. Also, balance the acidity with enough sugar and honey.
- Chicken Not Staying Crispy
- Solution: Add the chicken to the sauce just before serving, and only heat them together briefly.
Variations to Try
Once you’ve mastered the basic recipe, here are some delicious variations to experiment with:
- Orange Chicken: Substitute orange zest and juice for the lemon, and add a tablespoon of hoisin sauce to the mix.
- Honey Lemon Chicken: Double the honey in the sauce for a sweeter profile.
- Spicy Lemon Chicken: Increase the red pepper flakes to 1 teaspoon and add a tablespoon of chili garlic sauce.
- Lemon Chicken with Vegetables: Add stir-fried bell peppers, snow peas, and water chestnuts to the final dish.
- Sesame Lemon Chicken: Double the sesame seeds and add 1 tablespoon of toasted sesame oil to the sauce.

Why This Recipe Works
I’ve spent years refining this recipe, and I believe it stands out for several reasons:
- Double-coating technique: Creates an extra crispy exterior that stands up to the sauce better than single-coated recipes.
- Balanced sauce: Many lemon chicken recipes are either too sweet or too sour, but this one finds the perfect middle ground.
- Layered lemon flavor: Using both juice and zest provides a more complex, authentic lemon profile.
- Proper thickening: The sauce achieves that restaurant-quality sticky consistency that clings to every piece of chicken.
Q&A Section
Q: Can I use chicken breast instead of thighs?
A: Yes, you can use boneless, skinless chicken breast instead of thighs. Cut them into 1-inch pieces and reduce the frying time by about 1 minute, as breast meat cooks faster and can dry out more easily. Just be careful not to overcook it.
Q: Is there a way to make this dish less sweet?
A: Absolutely! You can reduce the sugar to 1/2 cup and the honey to 1 tablespoon. You might want to add an extra tablespoon of lemon juice to maintain the balance of flavors if you reduce the sweetness.
Q: Can I bake or air fry the chicken instead of deep frying?
A: Yes, though the texture will be different. For air frying, spray the coated chicken pieces with cooking oil spray and cook at 375°F (190°C) for about 12-15 minutes, turning halfway through. For baking, place on a parchment-lined baking sheet, spray with cooking oil, and bake at 425°F (220°C) for 15-18 minutes, turning once.
Q: How can I make this dish gluten-free?
A: Substitute the all-purpose flour with a gluten-free flour blend and use tamari or gluten-free soy sauce. Make sure your cornstarch is processed in a gluten-free facility if you have severe gluten sensitivity.
Q: What can I do if I don’t have rice vinegar?
A: Apple cider vinegar is the best substitute, followed by white wine vinegar. Regular white vinegar will work in a pinch, but use a bit less (about 2 tablespoons instead of 3) as it’s stronger.
Q: How can I make this dish ahead for a party?
A: I recommend frying the chicken up to 4 hours ahead and keeping it on a wire rack at room temperature (not in the refrigerator, which can make it soggy). Make the sauce in advance and keep it separate. When ready to serve, reheat the chicken in a 350°F (175°C) oven for 8-10 minutes until crispy and hot, then toss with the warmed sauce.
Q: Can I add vegetables to this dish?
A: Yes! Bell peppers, snow peas, broccoli, or water chestnuts are great additions. Stir-fry them separately until crisp-tender, then add them with the chicken when you combine with the sauce.
Q: How spicy is this dish with the red pepper flakes?
A: With 1/4 teaspoon of red pepper flakes, the dish has just a hint of heat that most people will find very mild. If you’re sensitive to spice, you can omit them entirely. If you love heat, feel free to increase to 1/2 or even 1 teaspoon.
A Personal Note
I remember the first time I tasted authentic Chinese lemon chicken at a small family-run restaurant in San Francisco’s Chinatown. The balance of flavors was nothing short of revelatory – tangy, sweet, with a depth that spoke of careful preparation and generations of culinary wisdom. That experience sparked my passion for recreating those flavors at home.
After many attempts (including one memorable disaster where I accidentally used twice the amount of cornstarch in the sauce, creating something closer to lemon-flavored cement than sauce!), I finally cracked the code. This recipe is the culmination of that journey, and I’m so excited for you to try it.
What I love most about this dish is how it brings people together. It’s impressive enough for guests but comforting enough for a family dinner. The bright, citrusy aroma that fills the kitchen as you cook promises something special, and the dish never fails to deliver.
I hope this Sticky Chinese Lemon Chicken becomes a favorite in your home, as it has in mine. Happy cooking!


