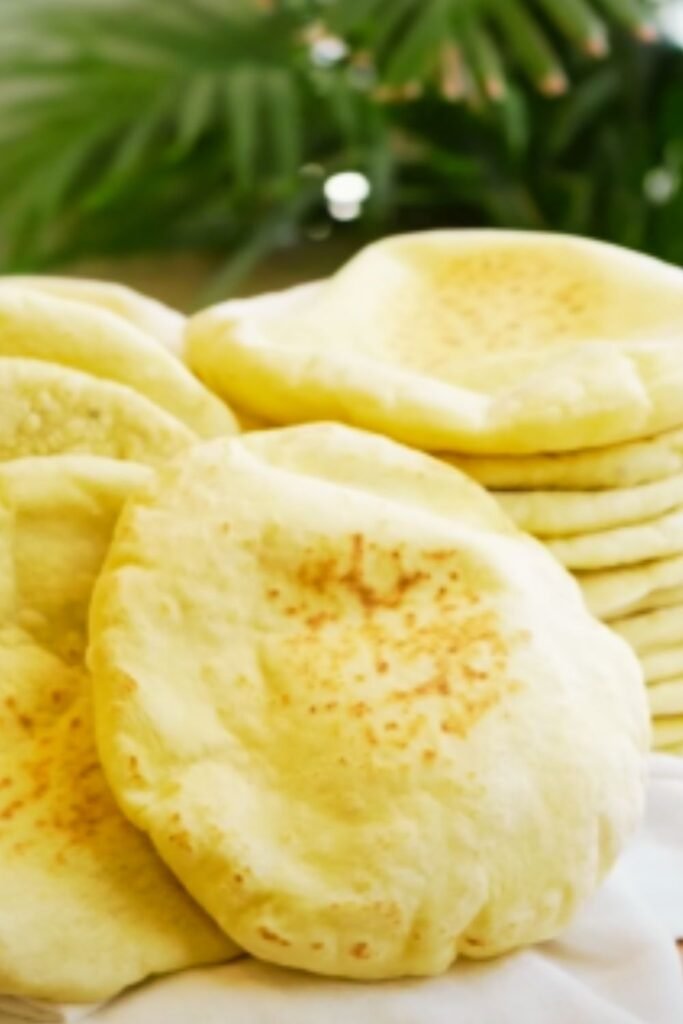
There’s nothing quite like the smell of freshly baked pita bread wafting through your kitchen. After years of buying store-bought versions, I finally decided to master homemade pita, and I’m excited to share everything I’ve learned with you today. This recipe focuses on whole wheat pita bread, which offers a nuttier flavor and added nutritional benefits compared to white flour versions.
What makes homemade pita special isn’t just the taste—it’s watching those magical pockets form as they puff up during baking. Whether you prefer using your oven or stovetop, I’ve got you covered with detailed instructions for both methods. Let’s dive into creating the perfect whole wheat pita bread from scratch!
What Makes Pita Bread Special?
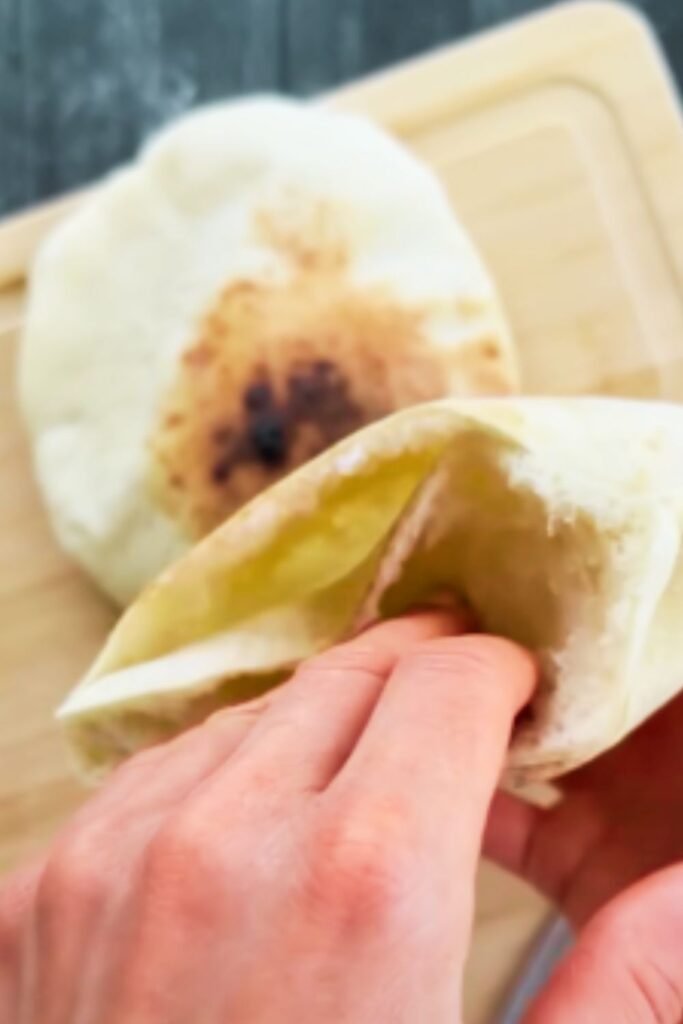
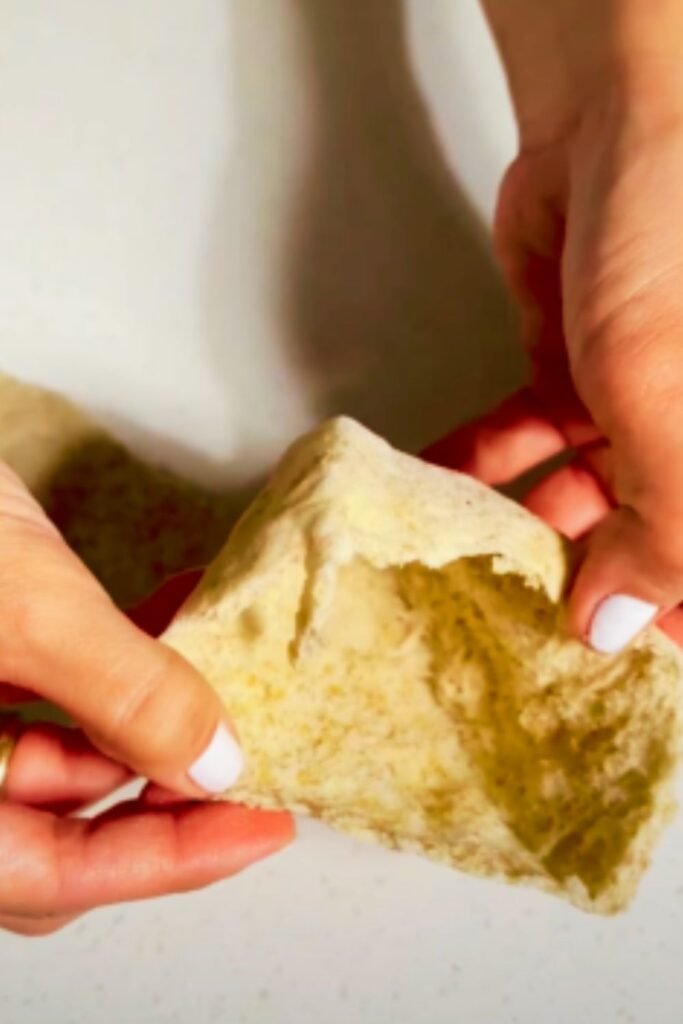
Pita bread stands apart from other flatbreads because of its distinctive pocket, which forms when moisture in the dough turns to steam during baking. This steam causes the dough to puff dramatically, creating two separate layers with an air pocket between them. Once cooled, the pocket remains, perfect for stuffing with your favorite fillings.
While traditional Middle Eastern pita uses white flour, my whole wheat version incorporates the nutritional benefits of whole grains while maintaining that authentic texture. The key is finding the right balance of whole wheat to bread flour and mastering the techniques that ensure a good pocket formation.
Ingredients for Whole Wheat Pita Bread
For this recipe, I’ve carefully balanced whole wheat and bread flour to create pitas that are nutritious yet still light and pliable. Here’s what you’ll need:
| Ingredient | Amount | Notes |
|---|---|---|
| Whole wheat flour | 2 cups (240g) | Use freshly milled if possible for best flavor |
| Bread flour | 1 cup (120g) | Provides necessary gluten for proper puffing |
| Active dry yeast | 2 1/4 tsp (1 packet) | Can substitute instant yeast (use 1 3/4 tsp) |
| Sugar | 1 tbsp | Helps activate the yeast |
| Salt | 1 1/2 tsp | Fine sea salt works best |
| Warm water | 1 1/4 cups (295ml) | Should be 105-110°F (40-43°C) |
| Extra virgin olive oil | 2 tbsp | Plus extra for coating the bowl |
| Optional dusting | 2 tbsp semolina or cornmeal | For dusting baking sheets |
Equipment You’ll Need
Before starting, gather these essential tools:
- Large mixing bowl (or stand mixer with dough hook)
- Measuring cups and spoons
- Kitchen scale (for precise measurements)
- Clean kitchen towel
- Rolling pin
- Baking sheets
- Pizza stone (optional, but creates better results)
- Cast iron skillet (for stovetop method)
- Cooling rack
Step-by-Step Pita Bread Recipe
Preparing the Dough
- Activate the yeast: In a large bowl, combine warm water (105-110°F/40-43°C) with sugar and yeast. Let it sit for 5-10 minutes until foamy. If it doesn’t foam, your yeast might be expired—start over with fresh yeast.
- Mix the dry ingredients: In a separate bowl, whisk together whole wheat flour, bread flour, and salt until well combined.
- Form the dough: Add olive oil to the yeast mixture, then gradually incorporate the flour mixture. Stir until a shaggy dough forms.
- Knead the dough:
- By hand: Turn dough onto a floured surface and knead for 8-10 minutes until smooth and elastic.
- With a stand mixer: Use the dough hook attachment and knead on medium-low speed for 5-7 minutes.
- First rise: Shape the dough into a ball and place in an oiled bowl, turning once to coat. Cover with a damp kitchen towel and let rise in a warm place for 1-2 hours, or until doubled in size.
Shaping and Second Rise
- Divide the dough: After the first rise, gently deflate the dough and divide it into 8 equal pieces (about 85-90g each). For more precise portions, use a kitchen scale.
- Shape into balls: Roll each piece into a smooth ball by cupping your hand over the dough and moving in a circular motion on a clean, unfloured surface.
- Rest the dough: Place the dough balls on a lightly floured surface, cover with a towel, and let rest for 20 minutes. This relaxes the gluten and makes rolling easier.
- Roll out the pitas: Using a rolling pin, roll each ball into a circle about 6-7 inches (15-18cm) in diameter and 1/8 inch (3mm) thick. Aim for even thickness throughout.
- Final rest: Place the rolled pitas on baking sheets lightly dusted with semolina or cornmeal. Cover with a clean kitchen towel and let rest for 30 minutes.
Baking Method (Oven)
- Preheat your oven: Place a pizza stone or inverted baking sheet in the oven and preheat to 475°F (245°C) for at least 30 minutes.
- Bake the pitas:
- Working in batches of 2-3 (depending on the size of your stone/sheet), carefully transfer the pitas onto the hot surface.
- Bake for 3-4 minutes until puffed and lightly golden on the edges.
- Don’t overbake! The pitas should be soft, not crispy.
- Remove and cool: Transfer baked pitas to a cooling rack and cover with a clean kitchen towel to keep them soft.
Cooking Method (Stovetop)
- Heat a cast iron skillet: Place a dry cast iron skillet over medium-high heat and allow it to become very hot (about 3-5 minutes).
- Cook the pitas:
- Place one pita in the hot skillet.
- Cook for about 30 seconds until bubbles start to form.
- Flip and cook for another 1-2 minutes until it puffs up dramatically.
- Flip once more and cook for an additional 30 seconds.
- Remove and cool: Transfer to a cooling rack and cover with a towel to maintain softness.
Troubleshooting: Why Didn’t My Pitas Puff?
If your pitas didn’t create a pocket, consider these common issues:
| Problem | Possible Cause | Solution |
|---|---|---|
| Dough too thick | Uneven or overly thick rolling | Roll to uniform 1/8 inch thickness |
| No puffing | Oven/pan not hot enough | Ensure cooking surface is thoroughly preheated |
| Partial puffing | Overworked dough | Handle dough gently, don’t overknead |
| Dry dough | Incorrect water ratio | Ensure proper measurement of ingredients |
| Dense texture | Insufficient rise time | Allow full rise and rest times |
| Tough pitas | Overbaking | Bake just until puffed with minimal browning |
Storage and Make-Ahead Tips
Homemade pita bread is best enjoyed fresh, but with proper storage, you can maintain its quality:
| Storage Method | Duration | Instructions |
|---|---|---|
| Room temperature | 2 days | Store in a plastic bag or airtight container |
| Refrigerator | 3-4 days | Place in ziplock bag; reheat before serving |
| Freezer | Up to 3 months | Freeze with parchment between pieces; thaw at room temperature |
| Make-ahead dough | 24 hours | Refrigerate after first rise; bring to room temperature before shaping |
To refresh day-old pitas, lightly sprinkle with water and microwave for 10-15 seconds, or wrap in foil and warm in a 350°F (175°C) oven for 5 minutes.
Nutritional Benefits of Whole Wheat Pita
My whole wheat pita recipe offers substantial nutritional advantages over white flour versions:
| Nutrient | Benefit | Approximate Amount Per Pita |
|---|---|---|
| Fiber | Improves digestion and promotes satiety | 3-4g |
| Protein | Supports muscle maintenance | 4-5g |
| B Vitamins | Boosts energy and metabolism | 10-15% daily value |
| Iron | Supports oxygen transportation | 6-8% daily value |
| Magnesium | Promotes muscle and nerve function | 8-10% daily value |
| Calories | 120-140 kcal |
Serving Suggestions
Whole wheat pita bread is incredibly versatile. Here are some of my favorite ways to enjoy it:
- Mediterranean Mezze: Serve with hummus, baba ganoush, tzatziki, and olives
- Falafel Pita Pocket: Stuff with homemade falafel, tahini sauce, and fresh vegetables
- Greek Salad Pita: Fill with cucumber, tomato, red onion, feta, and Greek dressing
- Breakfast Pita: Stuff with scrambled eggs, avocado, and a sprinkle of za’atar
- Pita Chips: Cut into triangles, brush with olive oil, season, and bake until crispy
- Pita Pizza: Top with sauce, cheese, and toppings for a quick personal pizza
- Sweet Treat: Spread with honey, cinnamon, and a sprinkle of crushed pistachios
Flavor Variations
While traditional pita is delicious on its own, consider these variations to expand your pita repertoire:
| Variation | Additional Ingredients | Best Paired With |
|---|---|---|
| Garlic & Herb | 2 minced garlic cloves, 1 tbsp mixed herbs | Mediterranean dishes |
| Seeded | 2 tbsp mixed seeds (sesame, flax, sunflower) | Avocado and eggs |
| Multigrain | Replace 1/2 cup whole wheat with mixed grains | Hearty stews and soups |
| Onion | 2 tbsp dried minced onion or 1/4 cup fresh | Kebabs and grilled meats |
| Spinach | 1/4 cup finely chopped spinach | Tzatziki and Greek dishes |
| Za’atar | 2 tbsp za’atar spice mix (add to dough) | Hummus and olive oil |
Frequently Asked Questions
Q: Can I make this recipe with 100% whole wheat flour?
Yes, but expect denser pitas with less dramatic puffing. For 100% whole wheat pitas, increase the water by 2 tablespoons and extend kneading time by 2-3 minutes to develop sufficient gluten. Allow for longer rise times as well.
Q: Why is my dough too sticky?
Whole wheat flour absorption varies by brand and freshness. If your dough feels too sticky, add flour one tablespoon at a time during kneading until it becomes manageable but still slightly tacky. Avoid adding too much flour, which can make pitas dense.
Q: Do I need a pizza stone to make good pita bread?
No, but it helps! A pizza stone provides even, intense heat that encourages puffing. Alternatives include an inverted baking sheet, cast iron skillet, or the stovetop method described above.
Q: My pitas didn’t form pockets. What went wrong?
Several factors affect pocket formation: dough thickness (aim for 1/8 inch), oven temperature (must be fully preheated), and proper proofing time. See the troubleshooting table above for specifics.
Q: Can I use instant yeast instead of active dry?
Yes! Use 1 3/4 teaspoons of instant yeast instead of 2 1/4 teaspoons active dry. You can add instant yeast directly to the dry ingredients without proofing in water first, though I still recommend dissolving it for reliable results.
Q: How can I make these pitas ahead for a party?
Prepare the dough up to the first rise, then refrigerate overnight. The next day, let it come to room temperature, then proceed with shaping and baking. Alternatively, fully bake pitas up to three days ahead and reheat wrapped in foil in a 350°F oven for 5-7 minutes before serving.
Q: Are pita breads vegan?
Yes! This recipe is completely vegan as written.
Final Tips for Perfect Pita Success
After numerous batches of pita bread, I’ve discovered these key insights:
- Temperature matters: Both your dough and your cooking surface need to be the right temperature. Room temperature dough and a blazing hot oven or skillet are crucial for proper puffing.
- Don’t rush the process: Each rest period allows gluten to develop and relax at the right times, creating that perfect texture.
- Watch like a hawk: The difference between perfectly puffed pitas and overcooked ones can be just 30 seconds. Stay attentive during cooking.
- Roll with precision: Even thickness throughout each pita ensures uniform puffing and cooking.
- Fresh is best: While storage methods work, nothing beats the taste and texture of freshly made pita bread.
With these guidelines, methods, and troubleshooting tips, you’re well-equipped to create perfect whole wheat pita bread at home. Whether using your oven or stovetop, the satisfaction of watching those pitas puff up is matched only by the delicious results. Happy baking!