When I first moved to Hawaii, I was completely enchanted by the local food culture. Among all the incredible dishes I discovered, manapua holds a special place in my heart. These fluffy, pillowy buns filled with savory char siu pork became my go-to comfort food, and I found myself buying them from local bakeries almost daily. Eventually, my wallet and my curiosity got the better of me, and I decided to learn how to make them at home.
What started as a budget-saving experiment turned into one of my favorite weekend cooking projects. I’ve spent years perfecting this recipe, testing different techniques, and learning from both successes and spectacular failures. Today, I’m sharing everything I’ve learned about making authentic Hawaiian-style manapua in your own kitchen.
Manapua isn’t just food—it’s a cultural bridge that connects Hawaii’s diverse communities. These steamed or baked buns represent the beautiful fusion of Chinese culinary traditions with local Hawaiian ingredients and preferences. When I make manapua, I’m not just preparing a meal; I’m participating in a tradition that spans generations and cultures.
Understanding Manapua: More Than Just a Bun
Manapua (noun): A Hawaiian adaptation of Chinese char siu bao, consisting of a sweet, fluffy yeast dough filled with seasoned barbecued pork, then either steamed or baked until golden.
Char Siu (noun): Cantonese-style barbecued pork, typically marinated in a sweet and savory sauce containing soy sauce, hoisin, honey, and Chinese five-spice powder.
Yeast Dough (noun): A leavened dough that rises due to the fermentation action of active yeast, creating the characteristic light and airy texture of manapua.
The beauty of manapua lies in its versatility. While traditional char siu pork remains the most popular filling, I’ve experimented with countless variations over the years. From chicken adobo to Portuguese sausage, and even vegetarian options with mushrooms and tofu, the possibilities are endless.
Essential Ingredients and Equipment
Creating perfect manapua requires understanding your ingredients and having the right tools. Through trial and error, I’ve learned that quality ingredients make an enormous difference in the final product.
Core Ingredients Breakdown
| Ingredient | Purpose | Quality Indicators | Substitution Options |
|---|---|---|---|
| Bread Flour | Provides structure and chewiness | High protein content (12-14%) | All-purpose flour + vital wheat gluten |
| Active Dry Yeast | Leavening agent for rise | Fresh expiration date, foams when proofed | Instant yeast (reduce by 25%) |
| Whole Milk | Adds richness and tenderness | Full-fat, not ultra-pasteurized | Evaporated milk + water |
| Sugar | Feeds yeast, adds sweetness | Pure cane sugar preferred | Brown sugar, honey (adjust liquid) |
| Lard or Shortening | Creates tender, flaky texture | Fresh, white appearance | Butter, vegetable oil |
| Char Siu Pork | Traditional filling | Proper caramelization, not too wet | Store-bought or homemade |
Equipment You’ll Need
The right equipment makes this process so much smoother. I learned this the hard way when I tried making my first batch with inadequate tools.
Stand Mixer (recommended): A powerful mixer with dough hook attachment significantly reduces kneading time and ensures proper gluten development.
Kitchen Scale (essential): Baking by weight rather than volume produces consistent results every time.
Instant-Read Thermometer (crucial): Monitoring dough temperature ensures optimal yeast activity and rise.
Bench Scraper (helpful): Makes dividing dough and cleaning surfaces much easier.
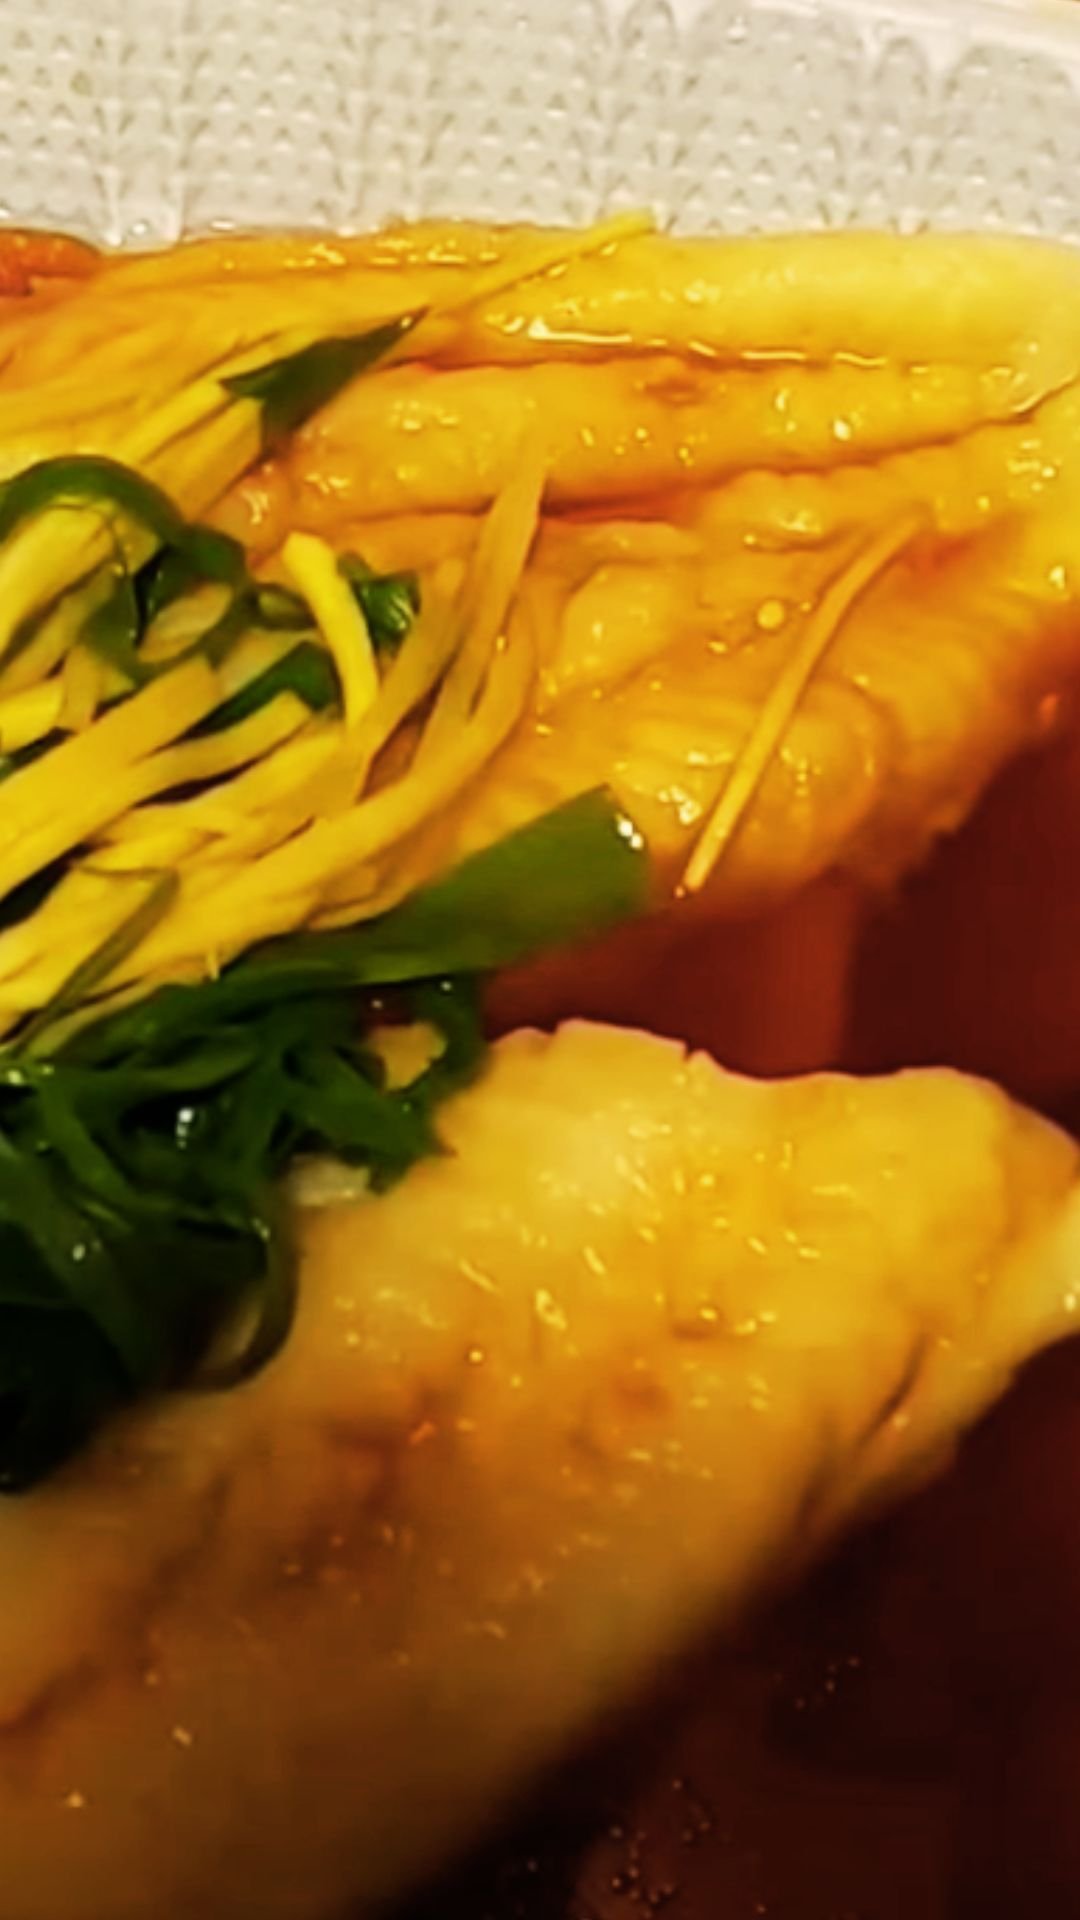
Preparing the Perfect Char Siu Filling
The filling makes or breaks your manapua. I’ve tried numerous approaches, from using leftover Chinese takeout to making everything from scratch. The key is achieving the right balance of sweet, savory, and umami flavors while maintaining the proper texture.
Homemade Char Siu Recipe
When I make char siu from scratch, I prefer using pork shoulder or pork butt because they stay moist and tender during the long cooking process. The marbling of fat ensures your filling won’t dry out.
Marinade Components:
- 3 tablespoons hoisin sauce
- 2 tablespoons soy sauce
- 2 tablespoons honey
- 1 tablespoon rice wine or dry sherry
- 1 teaspoon Chinese five-spice powder
- 2 cloves garlic, minced
- 1 tablespoon red food coloring (optional, for traditional appearance)
I marinate the pork for at least 4 hours, but overnight produces the best results. The enzymes in the marinade break down the proteins, creating incredibly tender meat that absorbs all those wonderful flavors.
Cooking Method
My preferred method involves roasting at 375°F for about 25-30 minutes, turning once halfway through. I brush the pork with reserved marinade every 10 minutes to build up those beautiful caramelized layers.
The internal temperature should reach 145°F for food safety, but I often cook it slightly longer to develop deeper flavors. Once cooled, I dice the pork into small, uniform pieces—about ¼-inch cubes work perfectly.
Mastering the Manapua Dough
Creating the perfect dough took me months of experimentation. The texture should be soft and pillowy, yet strong enough to hold the filling without tearing. Temperature control is absolutely critical throughout this process.
Dough Preparation Steps
Proofing the Yeast: I always start by proofing my yeast in warm milk (around 110°F) with a pinch of sugar. This step confirms your yeast is active and gives it a head start on fermentation.
Mixing Technique: In my stand mixer, I combine the flour, remaining sugar, and salt first. Then I add the proofed yeast mixture, followed by melted lard or shortening. The key is mixing just until the ingredients come together before beginning the kneading process.
Kneading Process: I knead for about 8-10 minutes on medium speed until the dough becomes smooth and elastic. Proper gluten development is crucial—the dough should pass the windowpane test, where you can stretch a small piece thin enough to see light through it without tearing.
First Rise Technique
| Stage | Duration | Temperature | Visual Cues |
|---|---|---|---|
| Initial Rise | 1-1.5 hours | 75-80°F | Doubled in size |
| Punch Down | 30 seconds | Room temp | Deflated, smooth |
| Rest Period | 10 minutes | Room temp | Relaxed gluten |
| Shaping | 15-20 minutes | Room temp | Smooth, pliable |
During the first rise, I place the dough in a lightly oiled bowl and cover it with a damp towel. The ideal environment is slightly warm and humid—I often use my oven with just the light on to create the perfect proofing chamber.
Shaping and Assembly Techniques
This is where the magic happens, and honestly, where I struggled the most initially. Getting the right ratio of dough to filling, ensuring proper sealing, and creating those beautiful pleated tops requires practice and patience.
Portion Control
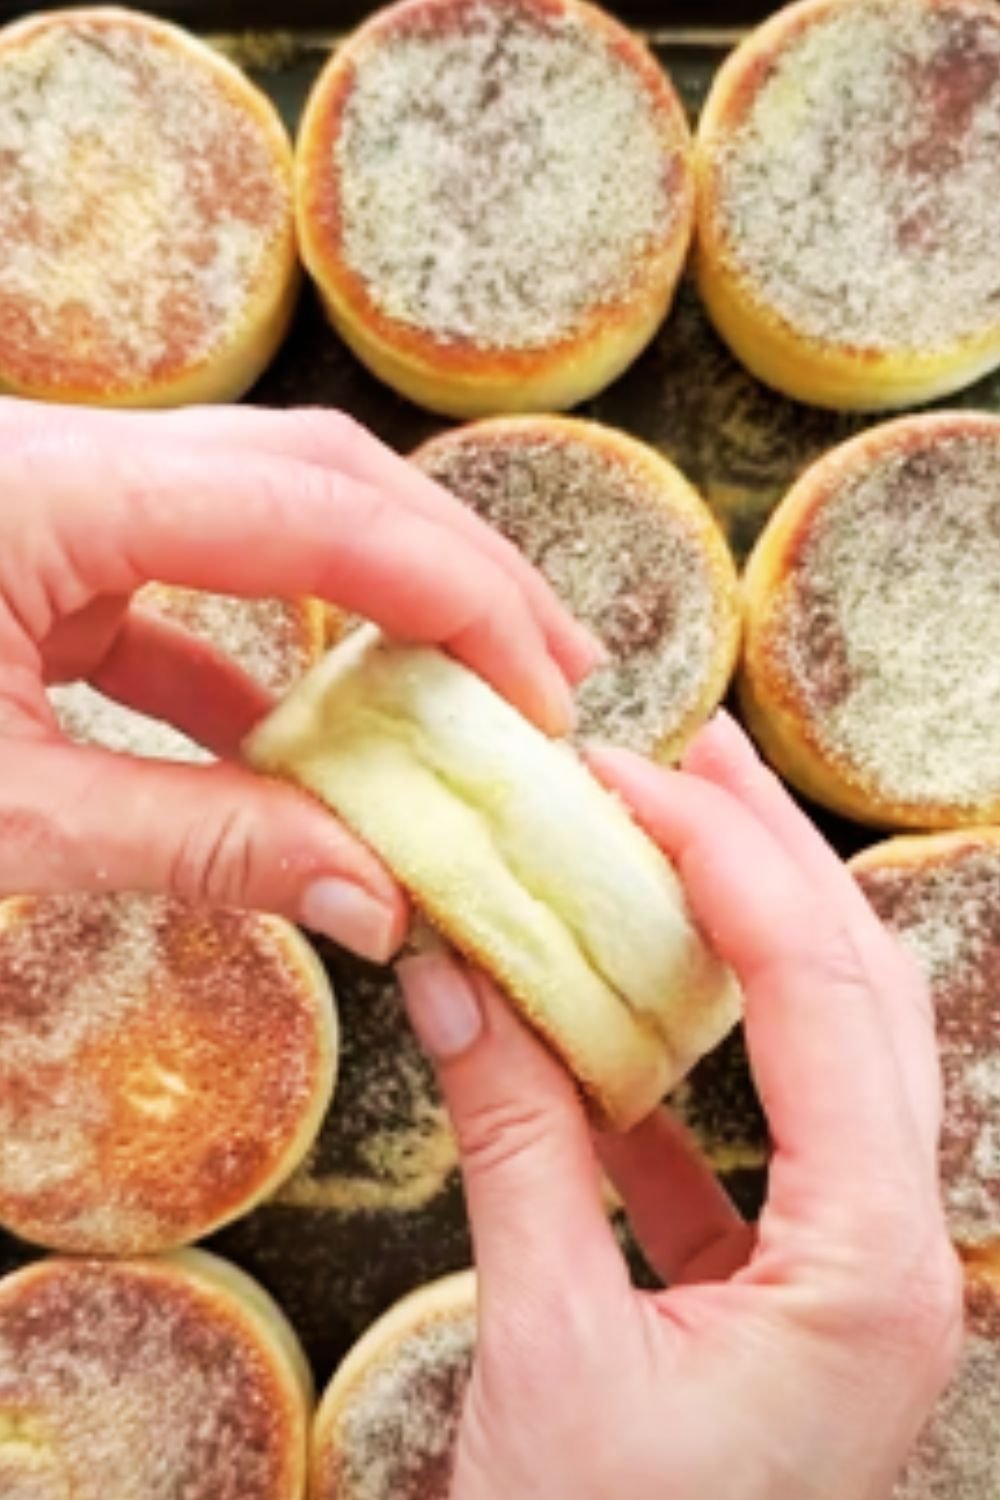
I divide my dough into 12 equal pieces, each weighing approximately 2.5 ounces. Consistent sizing ensures even baking and professional-looking results. Each piece gets rolled into a smooth ball and rested for 10 minutes to relax the gluten.
Rolling and Filling Process
Rolling Technique: I roll each piece into a 4-inch circle, keeping the center slightly thicker than the edges. This prevents the bottom from becoming too thin and potentially breaking during baking.
Filling Amount: About 2 tablespoons of char siu filling per bun works perfectly. Too much filling makes sealing difficult, while too little leaves you with disappointing, hollow-tasting buns.
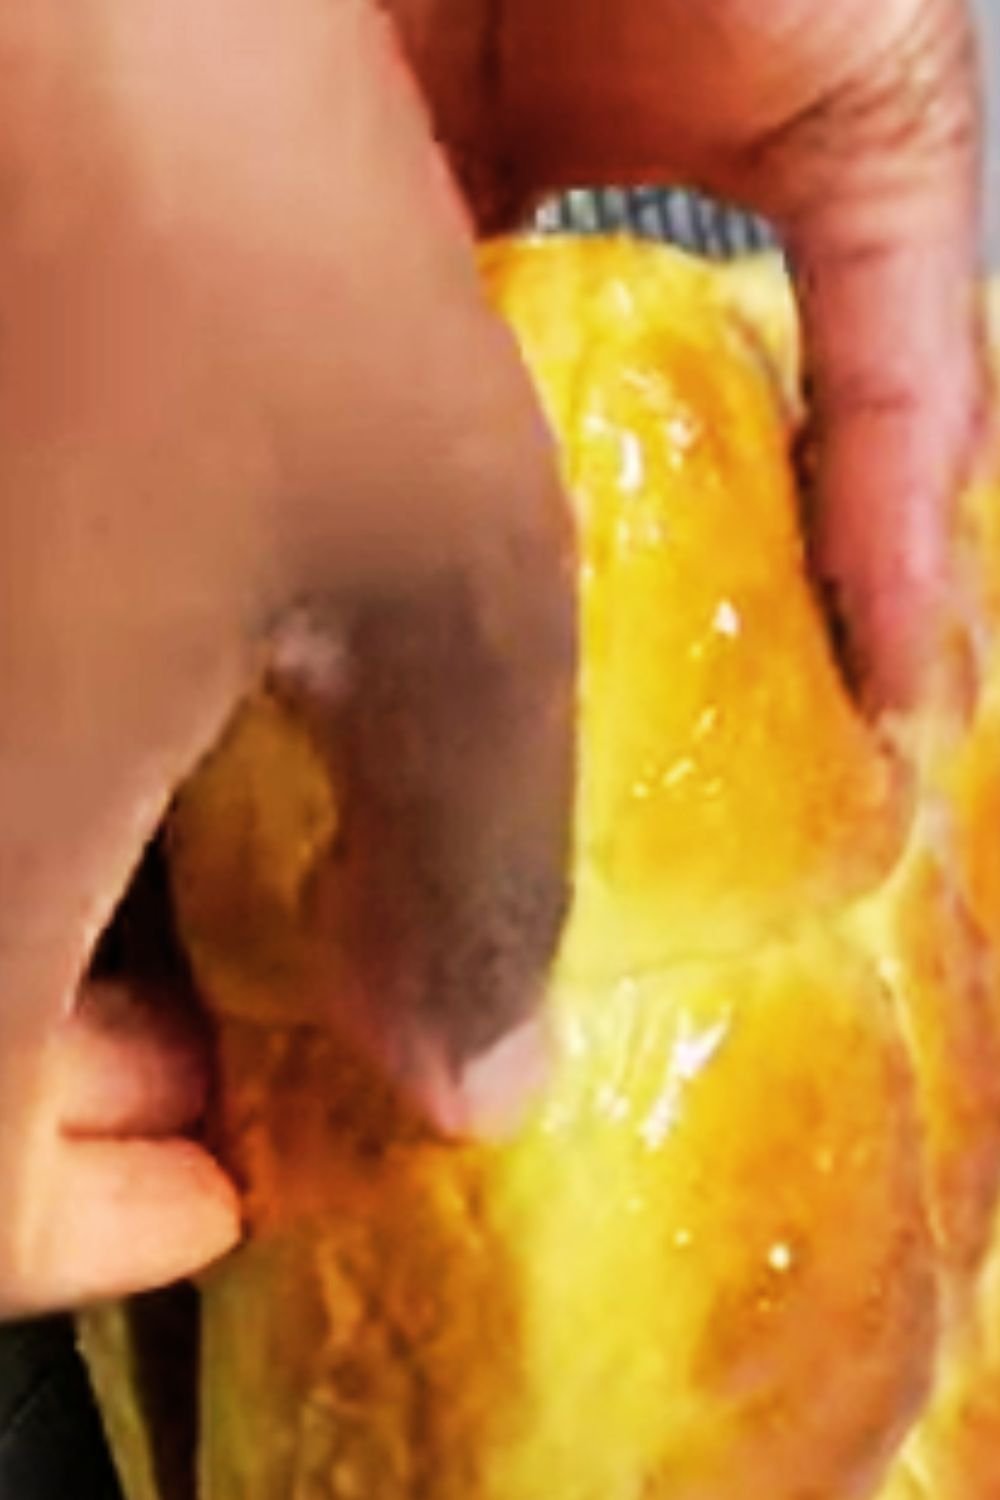
Sealing Method: I gather the edges of the dough around the filling, pinching and pleating to create a secure seal. The key is working quickly but gently to avoid overworking the dough.
Professional Shaping Tips
The traditional pleating technique takes practice, but I’ve developed a foolproof method. I make 8-10 small pleats around the circumference, then twist and pinch the center to create a tight seal. The twisted portion becomes the bottom of the bun during baking.
Baking to Perfection
While traditional manapua are steamed, I’ve grown to prefer the baked version for its golden, slightly crispy exterior and more pronounced flavor development. The baking process requires careful attention to timing and temperature.
Pre-Baking Preparation
After shaping, I place the buns on parchment-lined baking sheets, sealed side down. The second rise is crucial—about 30-40 minutes until they’re puffy and nearly doubled again. I cover them lightly with plastic wrap to prevent surface drying.
Egg Wash Application
My egg wash consists of one beaten egg mixed with a tablespoon of milk. I brush this gently over the tops just before baking, which creates that beautiful golden-brown finish. Some bakers add a pinch of sugar to the egg wash for extra browning.
Baking Parameters
| Phase | Temperature | Duration | Key Indicators |
|---|---|---|---|
| Initial Bake | 375°F | 15 minutes | Light golden color |
| Continued Bake | 350°F | 10-12 minutes | Deep golden brown |
| Final Check | Internal temp | 190°F | Fully cooked through |
| Cooling | Room temp | 15 minutes | Set structure |
I start at a higher temperature to encourage initial rise and browning, then reduce the heat to ensure thorough cooking without over-browning. The internal temperature should reach 190°F for properly cooked dough.
Variations and Creative Fillings
One of my favorite aspects of making manapua is experimenting with different fillings. While char siu remains the classic, I’ve discovered numerous delicious alternatives that work beautifully with the sweet dough.
Protein Alternatives
Chicken Adobo Filling: I use leftover adobo chicken, chopped finely and mixed with a bit of the sauce. The vinegar and soy flavors complement the sweet dough perfectly.
Portuguese Sausage: A local Hawaiian favorite, I sauté diced Portuguese sausage with onions and a touch of brown sugar.
Teriyaki Beef: Ground beef cooked in teriyaki sauce makes an excellent filling, though I add cornstarch to thicken the sauce and prevent soggy bottoms.
Vegetarian Options
Mushroom and Tofu: I sauté shiitake mushrooms with firm tofu, seasoned with soy sauce, sesame oil, and a touch of sugar.
Curry Vegetable: A mixture of potatoes, carrots, and peas in a mild curry sauce creates a satisfying vegetarian option.
Sweet Variations
Red Bean Paste: Traditional Chinese red bean paste (azuki bean) makes for a dessert-style manapua.
Coconut Custard: A Hawaiian twist using coconut custard creates a tropical dessert version.
Storage and Reheating Methods
Proper storage extends the life of your manapua significantly. I’ve learned several techniques through experience, including some disappointing experiments with improper storage methods.
Short-Term Storage
Fresh manapua stay best at room temperature for up to 2 days when stored in an airtight container. I place a paper towel in the container to absorb excess moisture, which prevents the buns from becoming soggy.
Long-Term Storage Options
| Method | Duration | Quality Retention | Reheating Instructions |
|---|---|---|---|
| Refrigeration | 5-7 days | Good texture | Microwave 30 seconds |
| Freezing | 3 months | Excellent | Thaw overnight, steam 5 minutes |
| Flash Freezing | 3 months | Superior | Steam directly from frozen |
For freezing, I wrap each bun individually in plastic wrap, then place them in freezer bags. This prevents freezer burn and makes it easy to reheat individual portions.
Reheating Techniques
Steaming Method: My preferred reheating method involves steaming for 3-5 minutes until heated through. This restores the original soft texture.
Microwave Method: Quick but can make the texture slightly tough. I cover with a damp paper towel and heat in 30-second intervals.
Oven Method: Wrap in foil and heat at 300°F for 10-12 minutes. This works well for multiple buns.
Troubleshooting Common Issues
During my manapua-making journey, I’ve encountered virtually every problem possible. Here are the most common issues and their solutions.
Dough Problems
Dense, Heavy Texture: Usually caused by over-kneading, expired yeast, or insufficient rising time. Check your yeast activity and ensure proper fermentation conditions.
Tough, Chewy Buns: Often results from using too much flour during rolling or insufficient fat in the dough. Measure ingredients by weight for consistency.
Uneven Rising: Temperature variations cause uneven rising. Use an oven with just the light on to create a consistent proofing environment.
Filling Issues
Soggy Bottoms: Excess moisture in the filling seeps through the dough. Always drain fillings well and use cornstarch to thicken saucy mixtures.
Filling Leakage: Inadequate sealing or overfilling causes this problem. Practice proper pleating techniques and measure filling portions consistently.
Bland Filling: Under-seasoned fillings disappoint. Taste and adjust seasonings, remembering that the sweet dough will balance salty flavors.
Serving Suggestions and Pairings
Manapua work wonderfully as part of a larger meal or as satisfying snacks on their own. I’ve served them at everything from casual family dinners to more formal gatherings.
Traditional Accompaniments
Hot Tea: Chinese oolong or jasmine tea complements the rich, savory flavors perfectly. The tannins help cut through the richness of the pork filling.
Pickled Vegetables: I serve quick-pickled daikon radish or cucumber as a refreshing contrast to the rich buns.
Simple Soup: A light chicken broth or wonton soup makes an excellent pairing for a complete meal.
Modern Serving Ideas
Bao Sliders: I sometimes slice the buns horizontally and add fresh vegetables for a fusion slider experience.
Breakfast Style: Served warm with fresh fruit and coffee, they make an excellent weekend breakfast.
Party Appetizers: Mini versions make fantastic party food—I scale down the recipe to create bite-sized portions.
Nutritional Considerations
Understanding the nutritional content helps with meal planning and dietary considerations. While manapua aren’t exactly health food, they can fit into a balanced diet when enjoyed in moderation.
Nutritional Breakdown (Per Standard Bun)
| Nutrient | Amount | % Daily Value |
|---|---|---|
| Calories | 285 | 14% |
| Protein | 12g | 24% |
| Carbohydrates | 38g | 13% |
| Fat | 8g | 12% |
| Fiber | 2g | 8% |
| Sodium | 420mg | 18% |
These values vary depending on filling choices and preparation methods. Using leaner proteins or vegetarian fillings can significantly reduce the calorie and fat content.
Making Healthier Versions
Whole Wheat Flour: Substituting 25% of the bread flour with whole wheat flour adds fiber without significantly affecting texture.
Reduced Fat: Using vegetable oil instead of lard reduces saturated fat content.
Lean Proteins: Choosing chicken breast or lean pork reduces overall fat content.
Vegetable Additions: Adding finely diced vegetables to fillings increases nutritional value and fiber content.
Cultural Significance and History
Learning about manapua’s cultural background enhanced my appreciation for this wonderful food. Understanding its history connects me to the generations of cooks who perfected these techniques.
Origins and Evolution
Manapua originated from Chinese immigrants who brought char siu bao to Hawaii in the 19th century. The name itself comes from Hawaiian words “manapua” meaning “delicious pork thing,” though the etymology is sometimes debated among food historians.
The adaptation to local tastes included using local ingredients and adjusting flavors to suit Hawaiian preferences. Portuguese immigrants also influenced the baking method, as steaming equipment wasn’t always readily available.
Modern Hawaiian Food Culture
Today, manapua represents the multicultural nature of Hawaiian cuisine. Local bakeries throughout the islands serve their own variations, each with loyal followings and unique characteristics.
The food truck culture has also embraced manapua, with mobile vendors serving freshly made buns throughout urban areas. This accessibility has helped maintain the tradition while introducing it to new generations.
Questions and Answers
Q. Can I make the dough ahead of time and refrigerate it overnight?
Absolutely! Cold fermentation actually improves flavor development. After the first rise, punch down the dough, cover tightly, and refrigerate for up to 24 hours. Bring to room temperature before shaping—this usually takes about 30 minutes.
Q. Why do my buns sometimes collapse after baking?
Collapsing usually indicates under-proofing or too rapid temperature changes. Ensure your second rise is complete—the buns should feel light and airy when gently poked. Also avoid opening the oven door during the first 15 minutes of baking.
Q. Can I steam these instead of baking them?
Definitely! Traditional manapua are steamed. Place shaped buns on parchment paper squares and steam for 12-15 minutes over boiling water. The texture will be softer and more tender than baked versions.
Q. What’s the best way to ensure my char siu filling isn’t too wet?
Drain any excess marinade and pat the cooked pork dry before dicing. If using sauce in the filling, thicken it with a cornstarch slurry (1 tablespoon cornstarch mixed with 2 tablespoons water) and cook until thick.
Q. How do I know when my yeast is still active?
Proof your yeast by mixing it with warm liquid (105-110°F) and a pinch of sugar. It should foam and bubble within 5-10 minutes. If there’s no activity, your yeast is dead and needs replacement.
Q. Can I freeze the unbaked shaped buns?
Yes! Flash-freeze shaped buns on baking sheets, then transfer to freezer bags. They can be baked directly from frozen—just add 5-10 minutes to the baking time and cover with foil if they brown too quickly.
Q. What should I do if my dough feels too sticky to work with?
Resist adding too much flour, which makes the buns tough. Instead, lightly oil your hands and work surface. If the dough is extremely sticky, it might need a few more minutes of kneading to develop proper gluten structure.
Q. How can I tell if my manapua are fully baked?
The internal temperature should reach 190°F, and the buns should sound hollow when tapped on the bottom. They should also spring back when lightly pressed with a finger.
Q. Can I make mini versions for parties?
Absolutely! Divide the dough into 24 pieces instead of 12, use about 1 tablespoon of filling per bun, and reduce baking time to 12-15 minutes. These make excellent appetizers.
Q. What’s the secret to getting that professional bakery appearance?
Consistent sizing, proper sealing technique, and a good egg wash make the biggest difference. Practice your pleating technique—it takes time to develop muscle memory for those beautiful, uniform folds.
Making manapua at home connects me to Hawaiian food culture in a deeply personal way. Each batch I make carries forward traditions while allowing for creative expression. The process requires patience and practice, but the results—warm, fragrant buns filled with savory goodness—make every minute worthwhile.
Whether you’re recreating childhood memories, exploring new culinary territories, or simply wanting to fill your kitchen with incredible aromas, homemade manapua delivers satisfaction on multiple levels. Start with this basic recipe, master the techniques, then let your creativity guide you toward new flavor combinations and personal variations.
The journey of learning to make authentic manapua has taught me that cooking is about more than following recipes—it’s about understanding ingredients, respecting traditions, and creating connections through shared food experiences. Every time I shape those little buns and watch them transform in the oven, I’m reminded of the magic that happens when simple ingredients come together with care and attention.