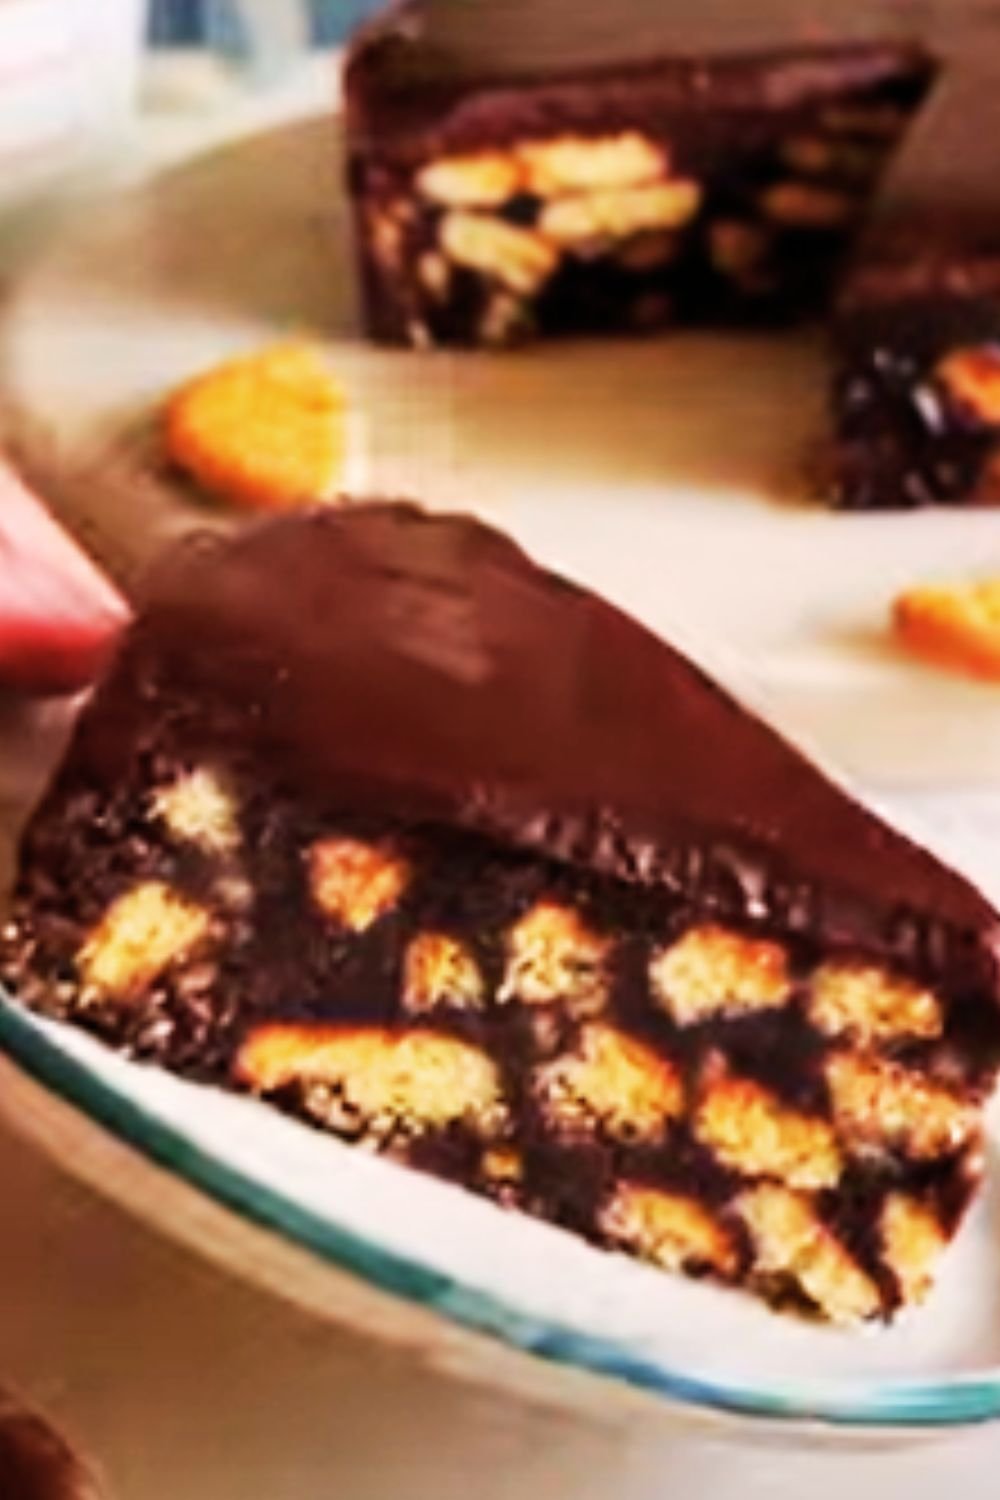
There’s something magical about the combination of chocolate and Oreos that makes my taste buds dance with joy. Today, I’m sharing my absolute favorite dessert recipe that never fails to impress at gatherings – a decadent Chocolate Oreo Cake that perfectly balances rich chocolate flavors with the beloved cookies-and-cream experience we all adore.
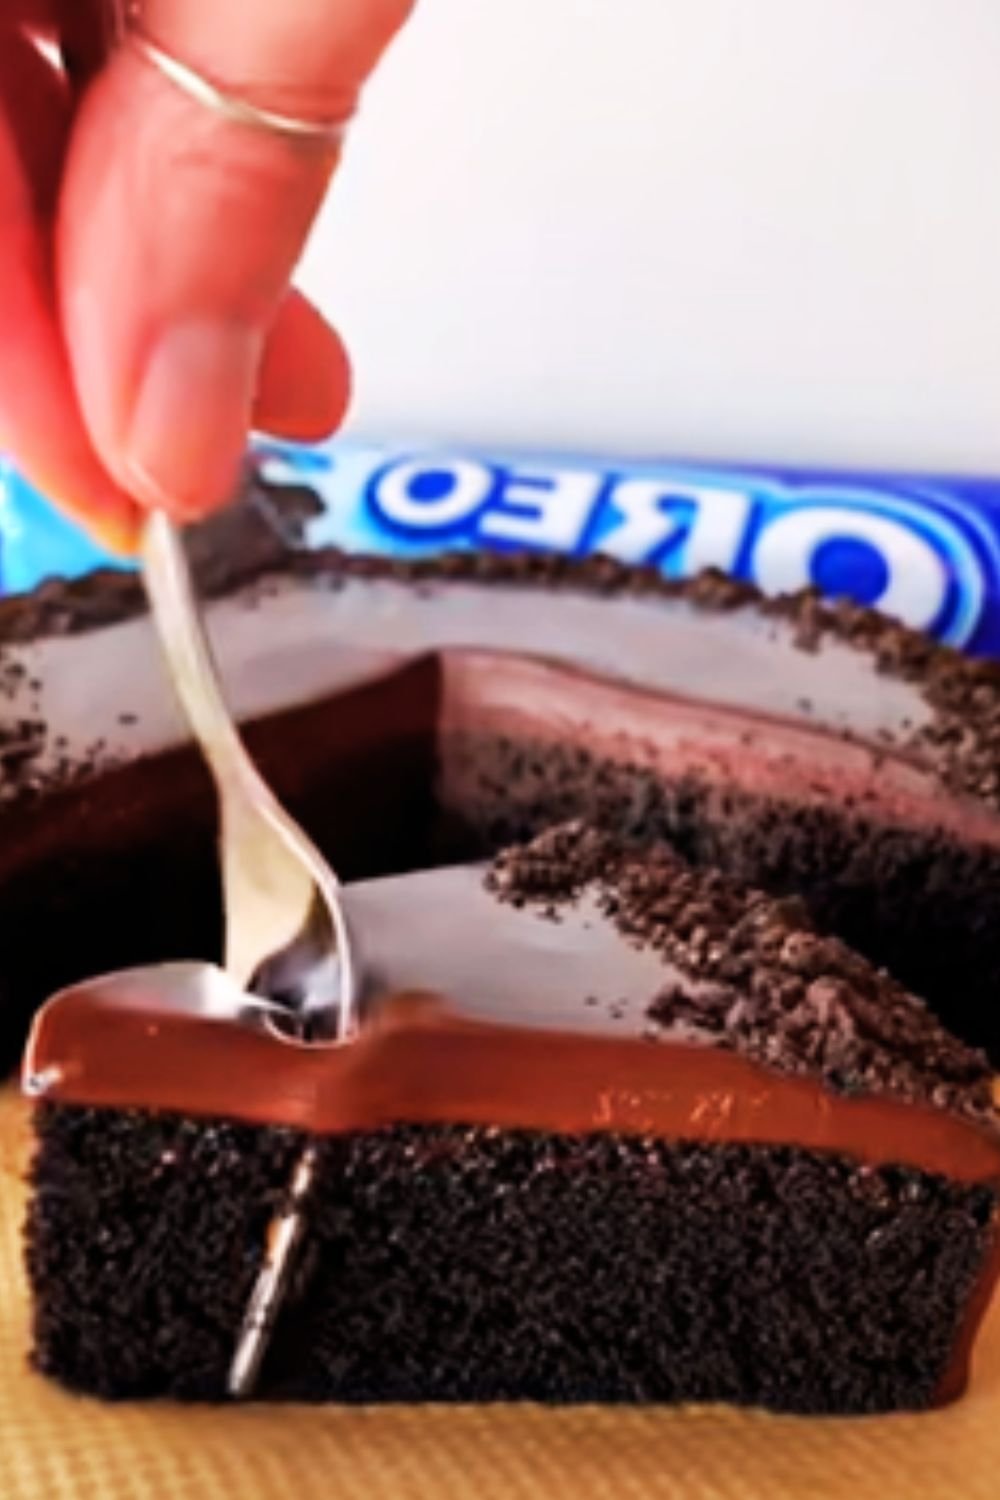
This isn’t just any ordinary chocolate cake. The addition of crushed Oreos in both the batter and frosting transforms it into a textural masterpiece with delightful cookie crunch in every bite. Whether you’re celebrating a special occasion or simply craving something indulgent, this cake delivers pure bliss on a plate.
Why This Chocolate Oreo Cake Will Become Your New Favorite
Before diving into the recipe, let me tell you why this particular cake holds a special place in my heart. I’ve been perfecting this recipe for years, and it’s evolved into what I consider the ultimate crowd-pleaser for several reasons:
- The cake layers are incredibly moist with a deep chocolate flavor
- The Oreo buttercream strikes the perfect balance between sweetness and cookie goodness
- It looks absolutely stunning with minimal decoration effort
- The recipe is surprisingly forgiving for home bakers of all skill levels
- Every single person who tries it asks for the recipe (seriously!)
I’ve served this cake at birthday parties, holiday gatherings, and even as a surprise weekend treat. The reactions are always the same – wide eyes, audible gasps, and the inevitable “Can I have another slice?”
The Science Behind a Perfect Chocolate Cake
Creating a truly exceptional chocolate cake involves understanding a few key principles. The magic happens when we balance moisture, structure, and flavor in perfect harmony.
First, let’s talk about the chocolate component. I use both cocoa powder and melted chocolate in this recipe for a reason. The cocoa powder provides intense flavor while the melted chocolate adds richness and moisture. The combination creates depth that single-chocolate cakes simply can’t achieve.
Second, the addition of buttermilk is crucial. Its acidity not only activates the baking soda for proper rise but also breaks down the gluten strands, resulting in a more tender crumb. Science in action!
Finally, the incorporation of crushed Oreos requires careful consideration. Too many cookies in the batter can weigh down the cake, but too few won’t deliver that distinctive cookies-and-cream experience. Through extensive testing, I’ve found the perfect ratio that maintains the cake’s structure while maximizing Oreo flavor.
Essential Ingredients
For the Chocolate Oreo Cake Layers:
- 2 cups all-purpose flour
- 2 cups granulated sugar
- 3/4 cup unsweetened cocoa powder
- 2 teaspoons baking soda
- 1 teaspoon baking powder
- 1 teaspoon salt
- 2 large eggs, room temperature
- 1 cup buttermilk, room temperature
- 1/2 cup vegetable oil
- 2 teaspoons vanilla extract
- 1 cup hot coffee (or hot water)
- 15 Oreo cookies, roughly crushed
For the Oreo Buttercream Frosting:
- 1 1/2 cups unsalted butter, softened
- 5 cups powdered sugar
- 20 Oreo cookies, finely crushed with filling
- 3-4 tablespoons heavy cream
- 2 teaspoons vanilla extract
- 1/4 teaspoon salt
For Decoration:
- 8-10 whole Oreo cookies
- 1/4 cup chocolate ganache (optional)
- Chocolate shavings (optional)
Step-by-Step Baking Process
Preparing the Cake Layers
- Preheat your oven to 350°F (175°C). Grease and line three 8-inch round cake pans with parchment paper.
- In a large mixing bowl, whisk together the flour, sugar, cocoa powder, baking soda, baking powder, and salt until well combined.
- In a separate bowl, beat the eggs, then add buttermilk, vegetable oil, and vanilla extract. Mix until smooth.
- Gradually add the wet ingredients to the dry ingredients, mixing on medium speed until just combined. Be careful not to overmix!
- Slowly pour in the hot coffee (or water) and mix on low speed until incorporated. The batter will be quite thin – this is normal and the secret to a moist cake!
- Gently fold in the crushed Oreo cookies, being careful not to overmix and break them down too much.
- Divide the batter evenly among the prepared cake pans and smooth the tops with a spatula.
- Bake for 25-30 minutes, or until a toothpick inserted into the center comes out with a few moist crumbs (not wet batter).
- Allow the cakes to cool in their pans for 10 minutes before transferring to wire racks to cool completely.
Creating the Perfect Oreo Buttercream
- In a food processor, pulse the Oreo cookies (with filling) until they become fine crumbs. Set aside.
- Using a stand mixer with the paddle attachment, beat the softened butter on medium-high speed until creamy and pale in color, about 3-4 minutes.
- Gradually add the powdered sugar, one cup at a time, beating well after each addition and scraping down the sides of the bowl as needed.
- Add the vanilla extract and salt, then beat for another minute.
- Mix in the crushed Oreo crumbs until fully incorporated.
- Add heavy cream one tablespoon at a time until you reach your desired consistency – the frosting should be smooth and spreadable but still hold its shape.
Assembling Your Masterpiece
- Once the cake layers are completely cool, place the first layer on your serving plate or cake stand.
- Spread a generous layer of Oreo buttercream on top, ensuring it’s even.
- Place the second cake layer on top and repeat with more frosting.
- Add the final cake layer and apply a thin layer of frosting over the entire cake to create a crumb coat. Refrigerate for 20 minutes to set.
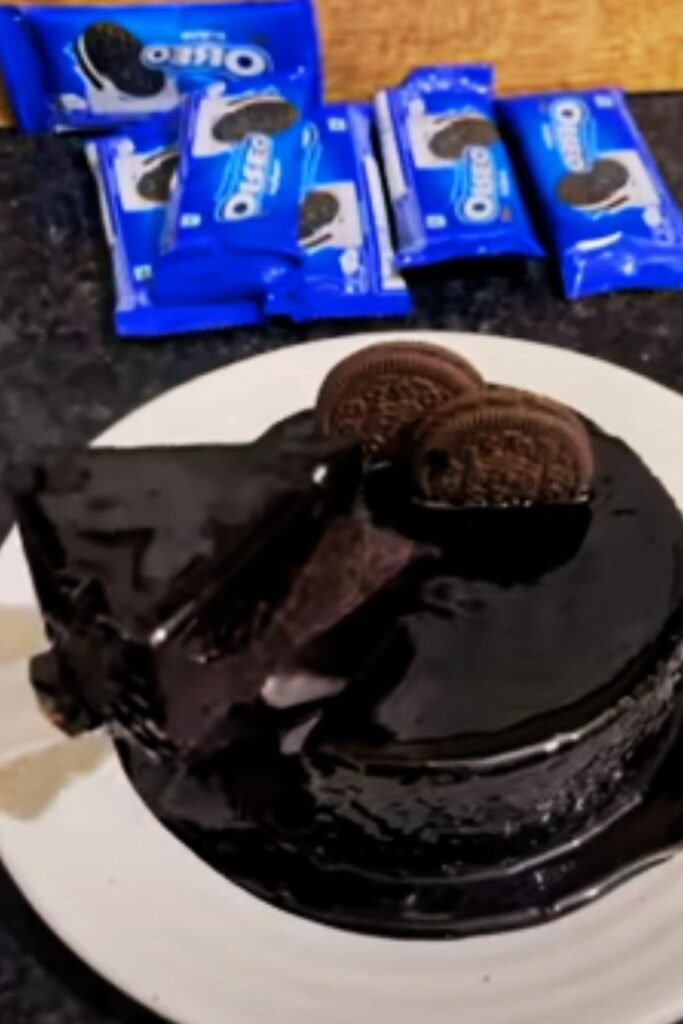
- Apply the remaining frosting to the chilled cake, creating a smooth finish or textured design as desired.
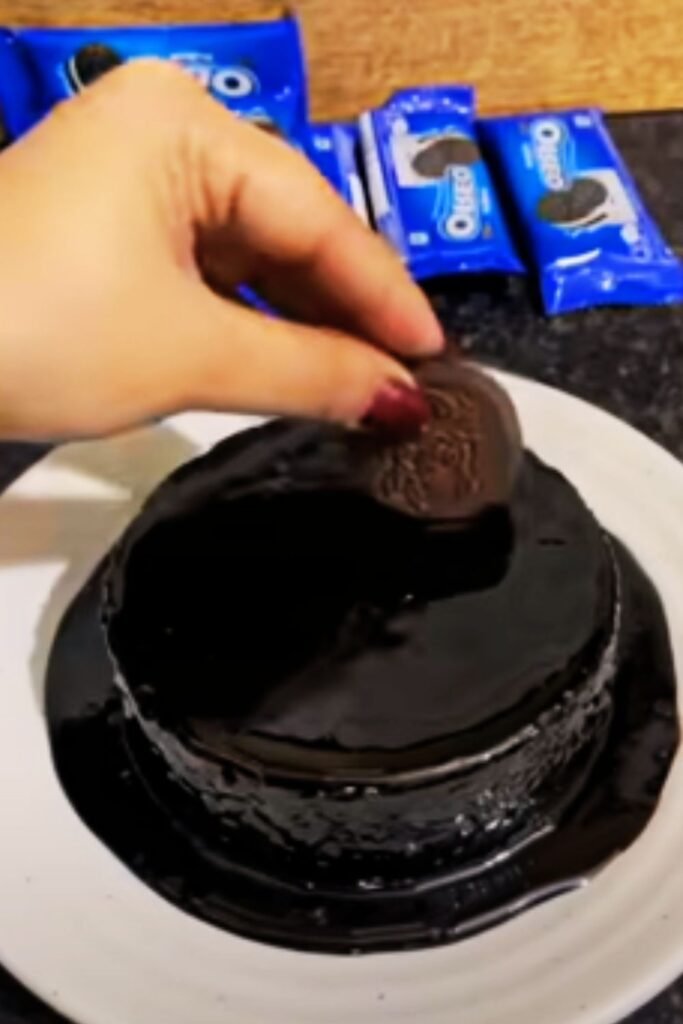
- Decorate the top with whole Oreo cookies, arranging them in a circle or other pattern.
- For an extra touch of decadence, drizzle chocolate ganache over the top and allow it to drip down the sides.
- Finish with chocolate shavings if desired.
Troubleshooting Common Issues
| Problem | Possible Cause | Solution |
|---|---|---|
| Cake layers sinking in the middle | Oven temperature too high or opening oven door too early | Use an oven thermometer to verify temperature and resist opening the oven during the first 20 minutes of baking |
| Dry cake texture | Overbaking or incorrect measurement of ingredients | Use the toothpick test carefully – a few moist crumbs are perfect; measure ingredients precisely |
| Frosting too soft to work with | Butter too warm or not enough powdered sugar | Refrigerate frosting for 15-20 minutes before using; add more powdered sugar 1/4 cup at a time |
| Oreos becoming soggy in the cake | Crushed too finely or overmixing | Keep Oreo pieces chunky and fold them in gently just before baking |
| Cake layers sticking to pans | Insufficient greasing or not using parchment | Always line pans with parchment circles and grease sides well |
| Uneven cake layers | Uneven distribution of batter | Use a kitchen scale to measure batter into each pan equally |
| Frosting with Oreo chunks too difficult to spread | Oreos not crushed finely enough for frosting | For frosting, ensure Oreos are processed to fine crumbs; save bigger pieces for decoration |
Variations to Try

Oreo Cookies and Cream Filling
For an extra Oreo surprise, try this variation for the filling between layers:
- 8 oz cream cheese, softened
- 1 cup powdered sugar
- 1 cup heavy cream, whipped to stiff peaks
- 15 Oreos, finely crushed
- 1 teaspoon vanilla extract
Mix the cream cheese and powdered sugar until smooth, fold in the whipped cream, vanilla, and crushed Oreos. Use this as the filling between cake layers for an extraordinary cookies and cream experience.
Mini Chocolate Oreo Cupcakes
The same recipe makes approximately 30 cupcakes:
- Fill cupcake liners 2/3 full
- Bake at 350°F for 18-20 minutes
- Core the center and fill with crushed Oreo pieces mixed with a bit of frosting
- Frost with Oreo buttercream and top with half an Oreo cookie
Chocolate Oreo Sheet Cake
For casual gatherings or potlucks:
- Pour batter into a 9×13 inch pan
- Bake at 350°F for 35-40 minutes
- Frost with Oreo buttercream and decorate with a pattern of whole and crushed Oreos
Storage and Make-Ahead Tips
This Chocolate Oreo Cake actually tastes even better the day after baking, as the flavors have time to meld. Here’s how I recommend handling storage:
Short-term Storage:
- Unfrosted cake layers can be wrapped tightly in plastic wrap and stored at room temperature for up to 2 days.
- Fully assembled cake can be stored in an airtight container at room temperature for up to 3 days.
Long-term Storage:
- Unfrosted cake layers can be wrapped in plastic wrap, then aluminum foil, and frozen for up to 2 months.
- Frosting can be refrigerated for up to 1 week or frozen for up to 1 month.
- Thaw frozen components in the refrigerator overnight before assembling.
Make-Ahead Strategy:
If preparing for an event, here’s my recommended timeline:
- 2-3 days before: Bake cake layers, cool completely, wrap tightly and refrigerate
- 1 day before: Prepare frosting and assemble cake, refrigerate overnight
- Day of serving: Remove from refrigerator 2-3 hours before serving to allow cake to come to room temperature for optimal flavor and texture
Serving Suggestions
This cake is already a showstopper on its own, but here are some ways to elevate the serving experience:
- Warm individual slices for 10-15 seconds in the microwave and serve with a scoop of vanilla ice cream for the ultimate contrast of warm and cold
- Drizzle chocolate sauce and add fresh berries on the plate for an elegant presentation
- Pair with a cold glass of milk (especially for children) or a hot cup of coffee for adults
- For special occasions, add a sparkler candle just before serving for a dramatic effect
- Garnish each plate with a light dusting of cocoa powder and a mint leaf for a professional touch
Nutritional Information
| Nutrient | Amount per Serving (1/12 of cake) |
|---|---|
| Calories | 685 |
| Total Fat | 34g |
| – Saturated Fat | 15g |
| Cholesterol | 89mg |
| Sodium | 480mg |
| Total Carbohydrates | 92g |
| – Dietary Fiber | 2g |
| – Sugars | 68g |
| Protein | 6g |
| Calcium | 85mg |
| Iron | 3mg |
Note: This nutritional information is an estimate based on the ingredients listed. Actual values may vary.
Special Dietary Adaptations
While this classic recipe contains dairy, eggs, and gluten, I’ve experimented with several modifications for different dietary needs:
Gluten-Free Version:
- Replace all-purpose flour with a high-quality gluten-free 1:1 baking flour
- Verify that your Oreos are gluten-free (or use another gluten-free chocolate sandwich cookie)
- Add 1/4 teaspoon xanthan gum if your flour blend doesn’t already include it
Dairy-Free Option:
- Substitute buttermilk with almond milk plus 1 tablespoon vinegar
- Use dairy-free butter alternatives in the frosting
- Look for dairy-free chocolate sandwich cookies
Egg-Free Adaptation:
- Replace each egg with a flax egg (1 tablespoon ground flaxseed mixed with 3 tablespoons water, allowed to gel for 15 minutes)
- Increase baking powder by 1/4 teaspoon to maintain proper rise
Why My Recipe Stands Out
After years of testing and tweaking, I’ve discovered several key techniques that make this Chocolate Oreo Cake superior to others you might find:
- The hot coffee trick: Adding hot coffee (not just hot water) enhances the chocolate flavor dramatically without making the cake taste like coffee. The heat also helps bloom the cocoa powder, intensifying its flavor.
- Strategic Oreo placement: Rather than randomly mixing cookies throughout, I’ve found that specific ratios and methods of incorporating Oreos lead to the best texture contrast.
- The two-stage frosting method: By first creating a smooth buttercream base and then folding in the Oreo crumbs, you get a more stable frosting that still showcases the Oreo texture.
- Room temperature ingredients matter: This isn’t just baking folklore! Having eggs, buttermilk, and butter at room temperature creates a more homogeneous batter that traps air effectively during baking.
- The crumb coat revelation: Taking time to apply a thin layer of frosting and chilling before the final coat makes the difference between an amateur-looking cake and a professional finish.
Frequently Asked Questions
Q: Can I make this cake without a stand mixer? A: Absolutely! While a stand mixer makes the process easier, you can use a hand mixer for both the cake batter and frosting. For the cake batter, you can even mix by hand with a whisk, though you’ll need to put in some elbow grease!
Q: How far in advance can I make this cake? A: The cake layers can be made up to 2 days in advance and stored wrapped at room temperature, or frozen for up to 2 months. The fully assembled cake tastes best when made 1 day ahead, allowing flavors to meld.
Q: My frosting looks grainy. What went wrong? A: This usually happens when the butter isn’t soft enough or when the powdered sugar isn’t fully incorporated. Make sure your butter is truly at room temperature (should easily dent when pressed) and sift your powdered sugar if it has lumps.
Q: Can I use regular milk instead of buttermilk? A: You can create a buttermilk substitute by adding 1 tablespoon of white vinegar or lemon juice to 1 cup of regular milk and letting it sit for 5 minutes. This acidity is important for the cake’s texture and rise.
Q: Do I have to use coffee in the recipe? A: The coffee enhances the chocolate flavor without making the cake taste like coffee. However, you can substitute hot water if preferred. The hot liquid is crucial for blooming the cocoa powder and creating proper batter consistency.
Q: How should I store leftover cake? A: Cover any cut surfaces with plastic wrap or store in an airtight container. The cake will stay fresh at room temperature for up to 3 days, or refrigerated for up to 5 days. Let refrigerated cake come to room temperature before serving.
Q: Can I use this recipe for cupcakes instead? A: Yes! This recipe yields about 30 cupcakes. Bake at 350°F for 18-20 minutes. For an extra surprise, core the center of each baked and cooled cupcake and fill with additional Oreo crumbs mixed with a bit of frosting.
Q: My cake layers didn’t rise properly. What happened? A: Check that your baking powder and baking soda are fresh (replace every 6 months). Also, make sure you’re using the proper measurement of ingredients and that your oven temperature is accurate – an oven thermometer is a worthy investment!
Q: Can I omit the Oreos from the cake batter and just use them in the frosting? A: Certainly! The cake will still be delicious as a classic chocolate cake with Oreo frosting. This is actually a good option if you prefer a more uniform cake texture.
Q: How do I get perfectly even cake layers? A: Use a kitchen scale to divide the batter evenly among your pans. You can also use cake strips (soaked fabric strips wrapped around the pans) to prevent doming, or simply trim the tops of the baked cakes with a serrated knife.
My Personal Chocolate Oreo Cake Journey
I still remember the first time I attempted this cake – it was for my niece’s birthday several years ago. Being an Oreo fanatic, she had requested “the most Oreo cake ever.” What started as a simple chocolate cake with some cookies mixed in has evolved through countless iterations into the recipe I’m sharing today.
The biggest revelation came when I started exploring the science behind ingredient interactions. Understanding why hot liquid blooms cocoa powder or how the fat content in Oreo filling affects frosting stability transformed my approach to baking.
Now, this cake has become somewhat of a signature dish among my friends and family. I’ve made it for milestone birthdays, holiday gatherings, and office potlucks. Each time, watching someone take their first bite and experience that moment of pure dessert happiness makes all the effort worthwhile.
Whether you’re an experienced baker or trying your hand at layer cakes for the first time, I encourage you to give this recipe a try. The techniques you’ll learn here will elevate your baking skills, and the result is truly worth celebrating.
Happy baking, and may your kitchen be filled with the irresistible aroma of chocolate and Oreos!
Reader Comments and Variations
I love hearing how this recipe works in different kitchens around the world! Here are some adaptations readers have shared:
- Melissa from Denver made a high-altitude version by adding an extra 2 tablespoons of flour and reducing the baking powder to 3/4 teaspoon.
- James created a mint version by using Mint Oreos and adding 1/2 teaspoon of peppermint extract to the frosting.
- Sarah made a stunning birthday version by decorating with chocolate-dipped Oreos arranged in a crown shape on top.
- The Rodriguez family turned this into their Thanksgiving tradition by adding 1/2 teaspoon of cinnamon to the batter and decorating with fall-colored sprinkles.
I’d love to hear your experience with this recipe too! What occasion did you make it for? Did you try any variations? The beauty of baking is how recipes evolve as they’re shared and loved.