Have you ever craved that perfect combination of crispy, sweet, and savory all in one bite? Well, you’re in for a treat! Today, I’m sharing my absolute favorite recipe for Crispy Baked Honey Garlic Chicken. This dish has become a staple in my kitchen, and I’m excited to show you how to make it without the mess and guilt of deep-frying.
The Story Behind This Recipe
As someone who’s always looking for healthier alternatives to takeout favorites, I spent months perfecting this baked version of honey garlic chicken. Trust me, after countless attempts and tweaks, this recipe delivers that satisfying crunch and sticky-sweet coating we all love, but with significantly less oil than its deep-fried cousin.

Ingredients
For the Chicken:
- 2 pounds chicken thighs, boneless and skinless
- 2 cups panko breadcrumbs
- 2 large eggs
- 1 cup all-purpose flour
- 1 teaspoon garlic powder
- 1 teaspoon onion powder
- 1 teaspoon paprika
- 1/2 teaspoon black pepper
- 1 teaspoon salt
- Cooking spray
For the Honey Garlic Sauce:
- 1/2 cup honey
- 6 cloves garlic, minced
- 1/4 cup soy sauce (low-sodium)
- 2 tablespoons rice vinegar
- 1 tablespoon cornstarch
- 1/4 cup water
- 1 teaspoon sesame oil
- 1/4 teaspoon red pepper flakes (optional)
For Garnish:
- Green onions, finely chopped
- Sesame seeds
- Fresh cilantro (optional)
Kitchen Equipment Needed
- Large baking sheet
- Parchment paper
- 3 shallow dishes for breading station
- Medium saucepan
- Measuring cups and spoons
- Wire rack
- Whisk
- Tongs
Nutritional Information
| Nutrient | Amount per Serving |
|---|---|
| Calories | 420 |
| Protein | 32g |
| Carbohydrates | 45g |
| Fat | 14g |
| Fiber | 2g |
| Sugar | 18g |
| Sodium | 680mg |
Serving size: 1/6 of recipe
Step-by-Step Instructions
Preparing the Chicken
- Preheat your oven to 400°F (200°C). Line a large baking sheet with parchment paper and place a wire rack on top. Spray the rack with cooking spray.
- Set up your breading station:
- Bowl 1: Mix flour with garlic powder, onion powder, paprika, salt, and pepper
- Bowl 2: Beat the eggs with 2 tablespoons of water
- Bowl 3: Pour in the panko breadcrumbs
- Pat the chicken thighs dry with paper towels. If they’re very thick, gently pound them to even thickness.
- Dredge each piece of chicken:
- First in the seasoned flour mixture
- Then dip in the beaten egg
- Finally, coat thoroughly with panko breadcrumbs
- Place on the prepared wire rack
- Spray the breaded chicken pieces generously with cooking spray. This helps achieve that golden-brown color.
Baking Process
- Bake for 15 minutes at 400°F (200°C).
- Flip the pieces and spray again with cooking spray.
- Continue baking for another 10-15 minutes until golden brown and internal temperature reaches 165°F (74°C).
Making the Honey Garlic Sauce
- While the chicken bakes, combine in a saucepan:
- Minced garlic
- Honey
- Soy sauce
- Rice vinegar
- Sesame oil
- Red pepper flakes (if using)
- In a small bowl, whisk together cornstarch and water.
- Heat the sauce mixture over medium heat until it starts to simmer.
- Add the cornstarch slurry and whisk constantly until the sauce thickens (about 2-3 minutes).
Final Assembly
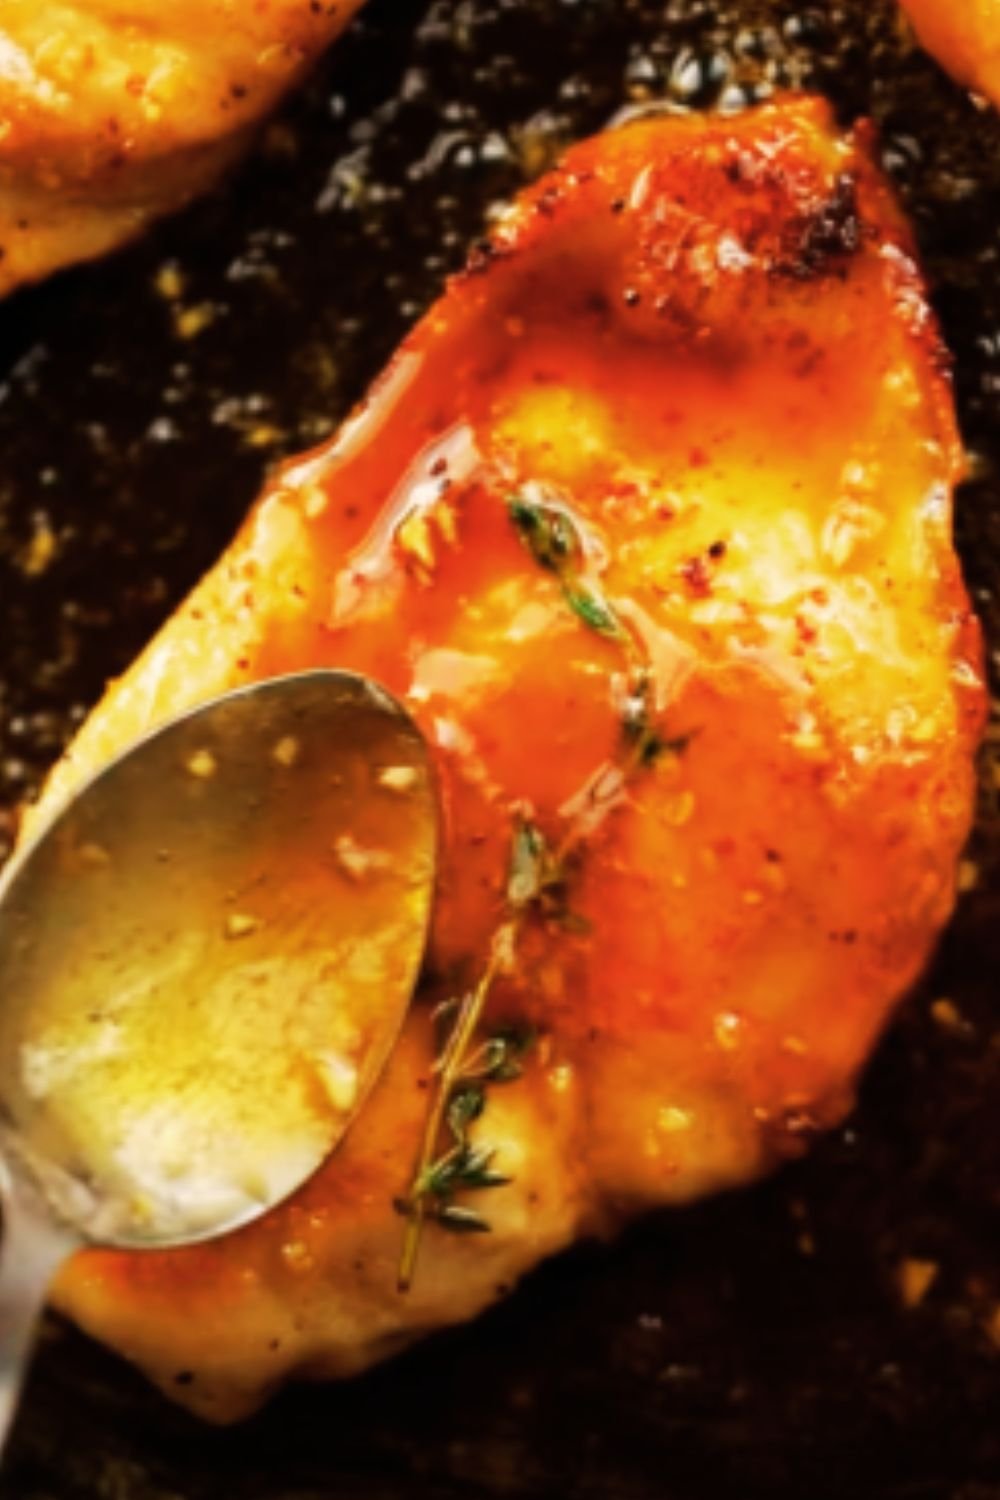
- Once the chicken is done, brush each piece generously with the honey garlic sauce.
- Return to the oven for 2-3 minutes to let the sauce caramelize slightly.
- Garnish with chopped green onions, sesame seeds, and cilantro if desired.
Pro Tips for Perfect Results
- Don’t skip patting the chicken dry – this helps the breading stick better
- Keep one hand for wet ingredients and one for dry during breading
- Let the breaded chicken sit for 5-10 minutes before baking to help the coating adhere
- Use an instant-read thermometer to ensure chicken is properly cooked
- For extra crunch, broil for the last 1-2 minutes (watch carefully!)
Storage and Reheating
Store leftover chicken in an airtight container in the refrigerator for up to 3 days. To reheat:
- Place on a wire rack in a 350°F (175°C) oven
- Heat for 10-12 minutes until crispy and hot throughout
- Add a fresh brush of sauce if desired
Serving Suggestions
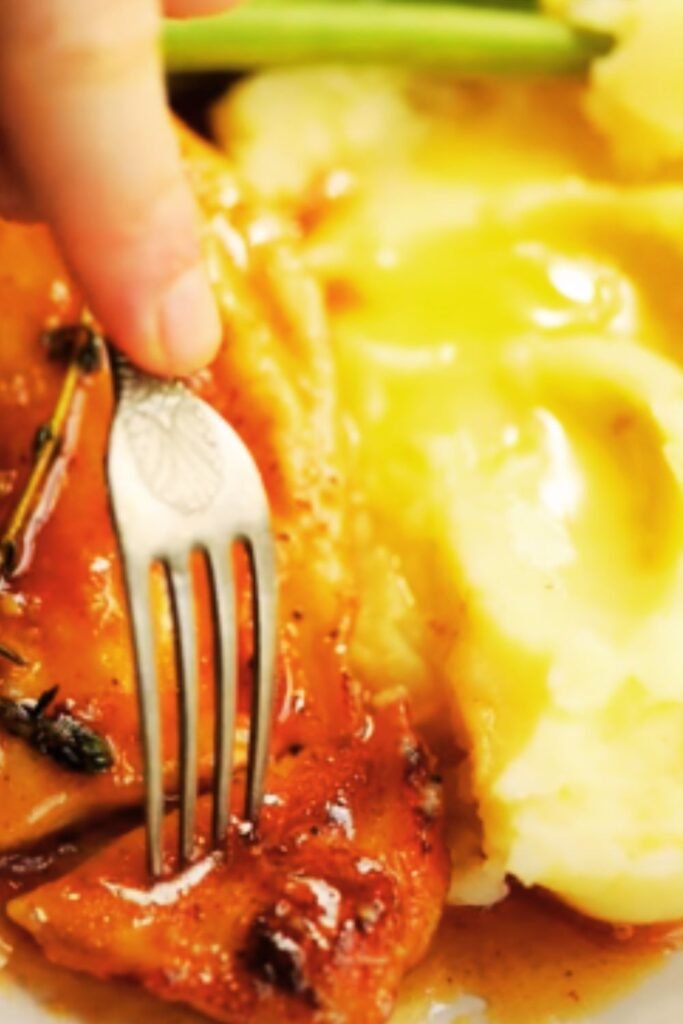
- Serve over steamed jasmine rice or brown rice
- Pair with stir-fried vegetables like broccoli, snap peas, or bell peppers
- Add a side of kimchi for a Korean-inspired twist
- Create a grain bowl with quinoa and fresh vegetables
- Serve alongside a crisp Asian slaw
Common Questions & Answers
Q: Can I use chicken breasts instead of thighs?
A: Yes! Adjust cooking time accordingly as breasts tend to cook faster. I recommend checking the internal temperature after 20 minutes.
Q: How do I prevent the breading from falling off?
A: Make sure to pat the chicken dry, and don’t skip the flour step. The order of flour, egg, then breadcrumbs is crucial for proper adhesion.
Q: Can I make this gluten-free?
A: Absolutely! Use gluten-free panko breadcrumbs, gluten-free flour, and tamari instead of soy sauce. I’ve tested this version and it works great.
Q: Is there a way to make this ahead for a party?
A: You can bread the chicken up to 8 hours ahead and keep it refrigerated. The sauce can be made 2-3 days in advance. Bake just before serving.
Q: How can I make this less spicy for kids?
A: Simply omit the red pepper flakes from the sauce. The garlic and honey flavors are still delicious without the heat.
Troubleshooting Tips
If your chicken isn’t getting crispy enough:
- Ensure your oven is fully preheated
- Don’t overcrowd the baking sheet
- Use enough cooking spray on both sides
- Check that your panko breadcrumbs are fresh
If your sauce is too thick:
- Whisk in warm water, one tablespoon at a time
- Remember the sauce will thicken as it cools
If your sauce is too thin:
- Mix 1 teaspoon cornstarch with 1 tablespoon cold water
- Add to simmering sauce and whisk until desired thickness
Recipe Variations
Spicy Version
- Add 1 tablespoon of gochugaru (Korean red pepper flakes)
- Include 1 tablespoon of gochujang in the sauce
Citrus Twist
- Add orange zest to the sauce
- Replace half the honey with fresh orange juice
Extra Crispy
- Use a mixture of panko and regular breadcrumbs
- Double-coat the chicken (flour-egg-breadcrumbs, then repeat)
Remember, cooking should be fun and adaptable to your taste. Don’t be afraid to experiment with these variations once you’ve mastered the basic recipe. I’d love to hear about your experience with this recipe and any creative twists you add to make it your own!