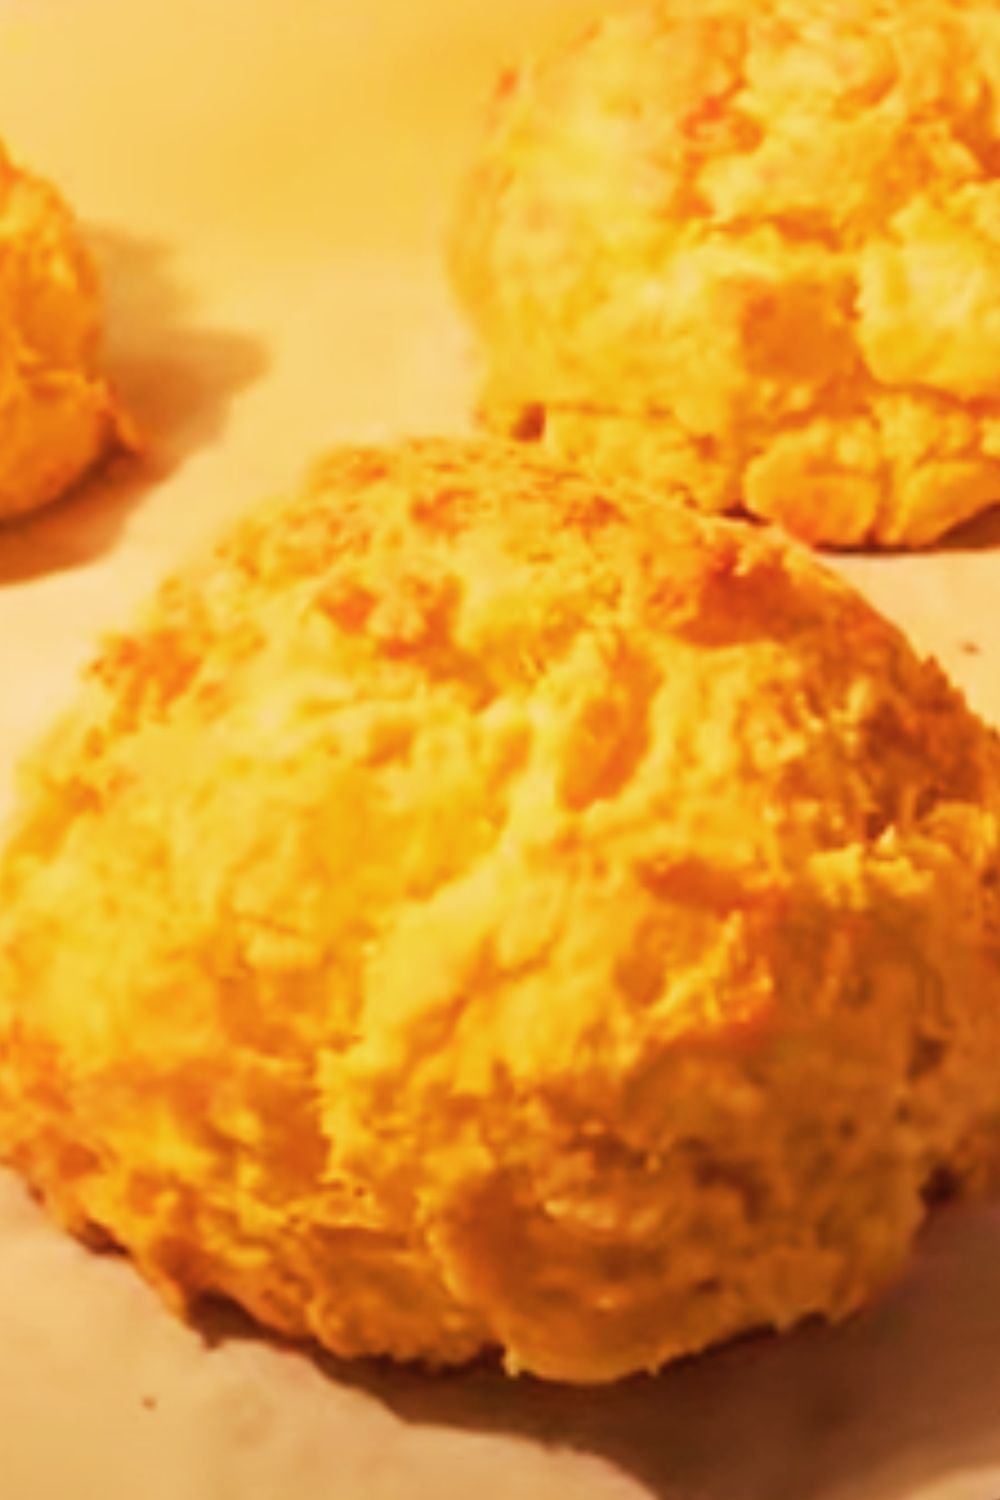
There’s something magical about biting into a perfectly toasted English muffin – those iconic nooks and crannies holding pools of melted butter, the slight tang from the yeast, and that satisfying chew that makes breakfast feel special. I’ve been making English muffins at home for years, and I can confidently say that once you try homemade ones, you’ll never want to go back to store-bought versions.
The beauty of making English muffins at home lies not just in their superior taste, but in the control you have over every ingredient. You know exactly what goes into them – no preservatives, no artificial flavors, just simple, wholesome ingredients that transform into breakfast gold. Plus, there’s an undeniable satisfaction in creating something from scratch that rivals what you’d find in the finest bakeries.
Understanding English Muffins: More Than Just Bread
Before we dive into the recipe, let me share what makes English muffins unique in the world of breakfast breads. Unlike regular bread that’s baked in an oven, English muffins are cooked on a griddle or in a skillet, which gives them their distinctive flat shape and creates those famous nooks and crannies.
Yeast Fermentation: The key to authentic English muffin flavor
- Creates the characteristic tangy taste through slow fermentation
- Develops the proper texture that forms natural pockets when split
- Requires patience but delivers superior results
Griddle Cooking Method: Traditional technique for authentic texture
- Low, steady heat creates the perfect crust
- Allows interior to cook thoroughly without burning
- Results in the ideal density for toasting
Cornmeal Coating: Essential for authentic appearance and texture
- Prevents sticking during cooking
- Adds subtle crunch and rustic appearance
- Traditional ingredient that shouldn’t be skipped
The Perfect English Muffin Recipe
After countless batches and minor adjustments over the years, I’ve perfected this recipe that consistently produces bakery-quality English muffins. The secret lies in the technique as much as the ingredients.
Essential Ingredients
| Ingredient | Amount | Purpose | Quality Tips |
|---|---|---|---|
| All-purpose flour | 4 cups | Structure and texture | Use unbleached for better flavor |
| Active dry yeast | 1 packet (2¼ tsp) | Leavening and flavor | Check expiration date |
| Warm milk | 1 cup | Moisture and richness | 110°F is ideal temperature |
| Warm water | ½ cup | Activates yeast | Same temperature as milk |
| Sugar | 1 tablespoon | Feeds yeast | Granulated works best |
| Salt | 1 teaspoon | Flavor enhancement | Fine sea salt preferred |
| Butter | 2 tablespoons | Richness and texture | Unsalted, room temperature |
| Cornmeal | ½ cup | Coating and authenticity | Coarse grind preferred |
Step-by-Step Instructions
Preparing the Yeast Mixture
I always start by proofing my yeast – it’s a crucial step that ensures your muffins will rise properly. In a small bowl, I combine the warm water with a pinch of the sugar, then sprinkle the yeast over the top. After letting it sit for about 5 minutes, it should become foamy and fragrant. If it doesn’t foam, your yeast might be dead, and you’ll need to start over with fresh yeast.
Creating the Dough
In a large mixing bowl, I combine the flour and salt, making a well in the center. I pour in the proofed yeast mixture, warm milk, remaining sugar, and softened butter. Using a wooden spoon, I mix everything until it forms a soft, slightly sticky dough. The texture should be softer than typical bread dough – this is what creates those perfect nooks and crannies.
The First Rise
I transfer the dough to a greased bowl, cover it with a damp kitchen towel, and let it rise in a warm, draft-free place for about 1 hour, or until it doubles in size. During colder months, I sometimes place the bowl on top of my refrigerator or near a sunny window to maintain the ideal temperature.

Shaping the Muffins
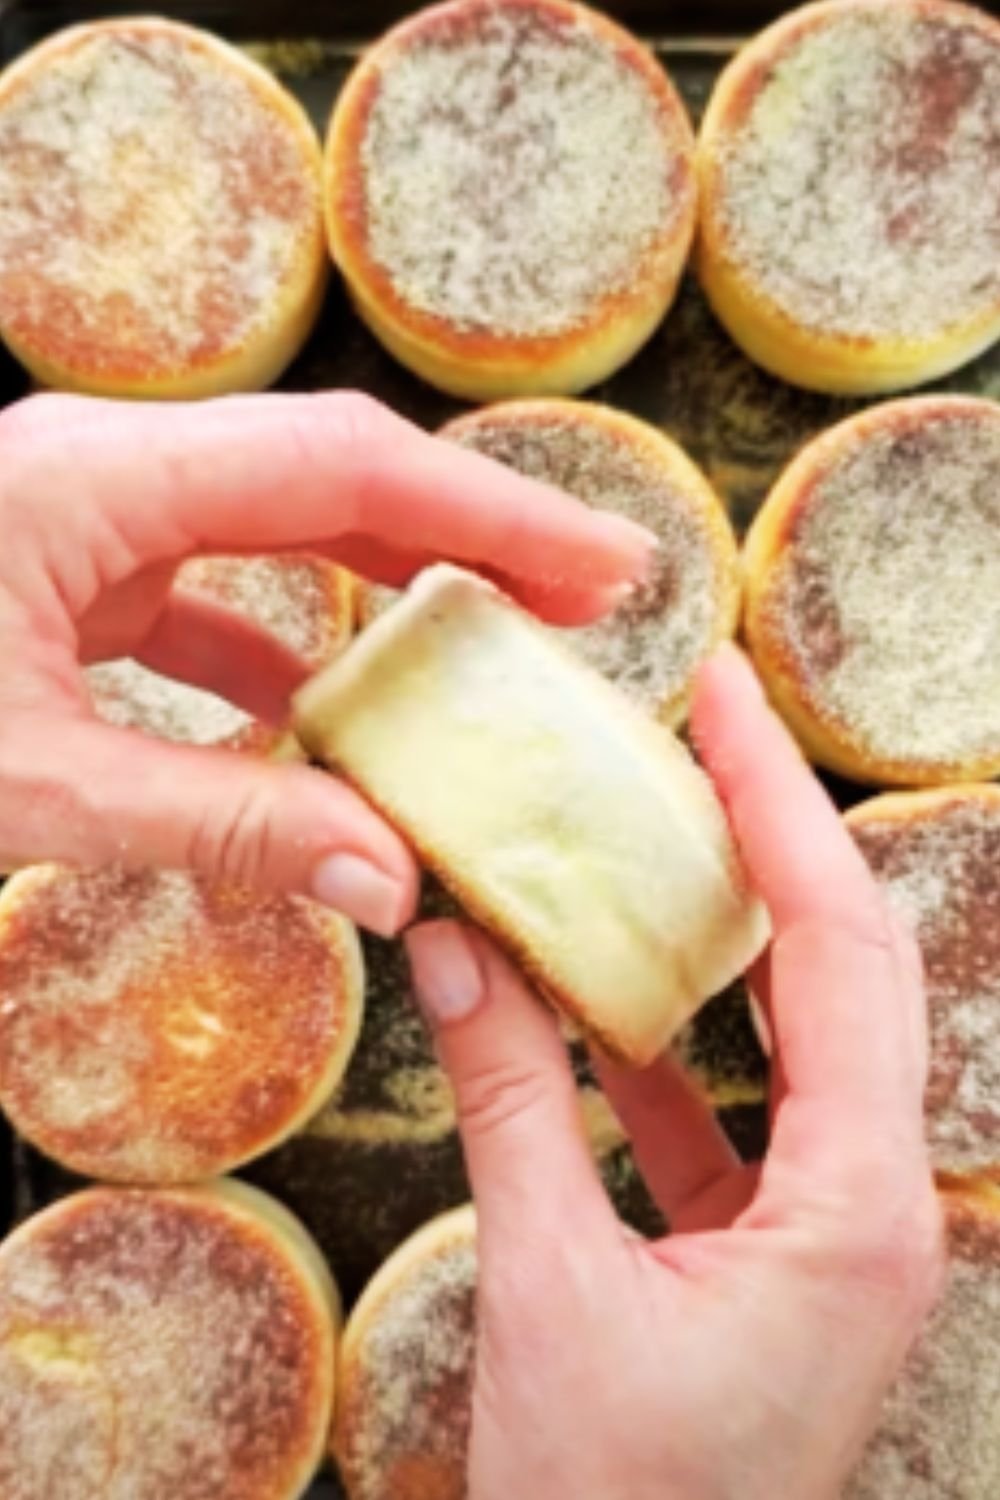
Once the dough has doubled, I gently punch it down and turn it out onto a surface generously dusted with cornmeal. Using a rolling pin, I roll the dough to about ¾-inch thickness – this is crucial for achieving the right proportions. Then, using a 3-inch round cookie cutter or a clean can, I cut out the muffins, placing them on a cornmeal-dusted baking sheet.
The Second Rise
The cut muffins need another rise, about 30 minutes, until they’re puffy but not doubled. This second rise is what gives them their light, airy texture while maintaining enough density to hold up to toasting.
Cooking on the Griddle
Here’s where the magic happens. I heat my griddle or large skillet over medium-low heat – patience is key here. If the heat is too high, the outsides will burn before the insides cook through. I cook the muffins for about 8-10 minutes on each side, until they’re golden brown and sound hollow when tapped.
Nutritional Breakdown
| Nutrient | Per Muffin | Daily Value % |
|---|---|---|
| Calories | 185 | 9% |
| Carbohydrates | 32g | 11% |
| Protein | 6g | 12% |
| Fat | 3g | 5% |
| Fiber | 1.5g | 6% |
| Sodium | 220mg | 10% |
| Iron | 2mg | 11% |
| Calcium | 85mg | 8% |
Troubleshooting Common Issues
Over the years, I’ve encountered nearly every possible English muffin mishap, and I’ve learned how to fix them. Here are the most common problems and their solutions:
Dense, Heavy Muffins
- Usually caused by too much flour or insufficient rising time
- Always measure flour by spooning it into the cup and leveling off
- Ensure your rising environment is warm enough (75-80°F is ideal)
Lack of Nooks and Crannies
- Often results from overworking the dough or cooking temperature too high
- Mix just until ingredients come together
- Keep griddle temperature at medium-low for even cooking
Burning on Outside, Raw Inside
- Heat is too high – lower temperature and increase cooking time
- Use a thermometer to check internal temperature (190°F when done)

Storage and Freezing Tips
Fresh English muffins will keep at room temperature for up to 3 days when stored in an airtight container. For longer storage, I recommend freezing them, which actually works beautifully with English muffins.
Proper Freezing Technique
- Allow muffins to cool completely before freezing
- Wrap individually in plastic wrap, then place in freezer bags
- They’ll keep for up to 3 months in the freezer
- To use, simply toast directly from frozen – no thawing necessary
Refreshing Day-Old Muffins
- Lightly mist with water and toast for extra crispiness
- Or split and toast in a toaster oven for best results
Creative Variations and Flavor Additions
Once you’ve mastered the basic recipe, there are countless ways to customize your English muffins. I love experimenting with different flavors and additions.
Sweet Variations
| Variation | Addition | Amount | Best Pairings |
|---|---|---|---|
| Cinnamon Raisin | Ground cinnamon + raisins | 1 tsp + ½ cup | Cream cheese, butter |
| Honey Wheat | Whole wheat flour + honey | 1 cup + 2 tbsp | Almond butter, jam |
| Cranberry Orange | Dried cranberries + orange zest | ½ cup + 1 tbsp | Mascarpone, marmalade |
Savory Options
Everything Bagel English Muffins: I add 2 tablespoons of everything bagel seasoning to the dough for a savory twist that’s perfect with cream cheese and lox.
Herb and Cheese Muffins: Adding dried herbs like rosemary or thyme, along with grated parmesan cheese, creates sophisticated muffins perfect for breakfast sandwiches.
Whole Grain Versions: Substituting up to half the all-purpose flour with whole wheat flour adds fiber and nutrients while maintaining good texture.
Serving Suggestions and Breakfast Ideas
The versatility of English muffins makes them perfect for any meal, though they truly shine at breakfast. Here are my favorite ways to serve them:
Classic Preparations
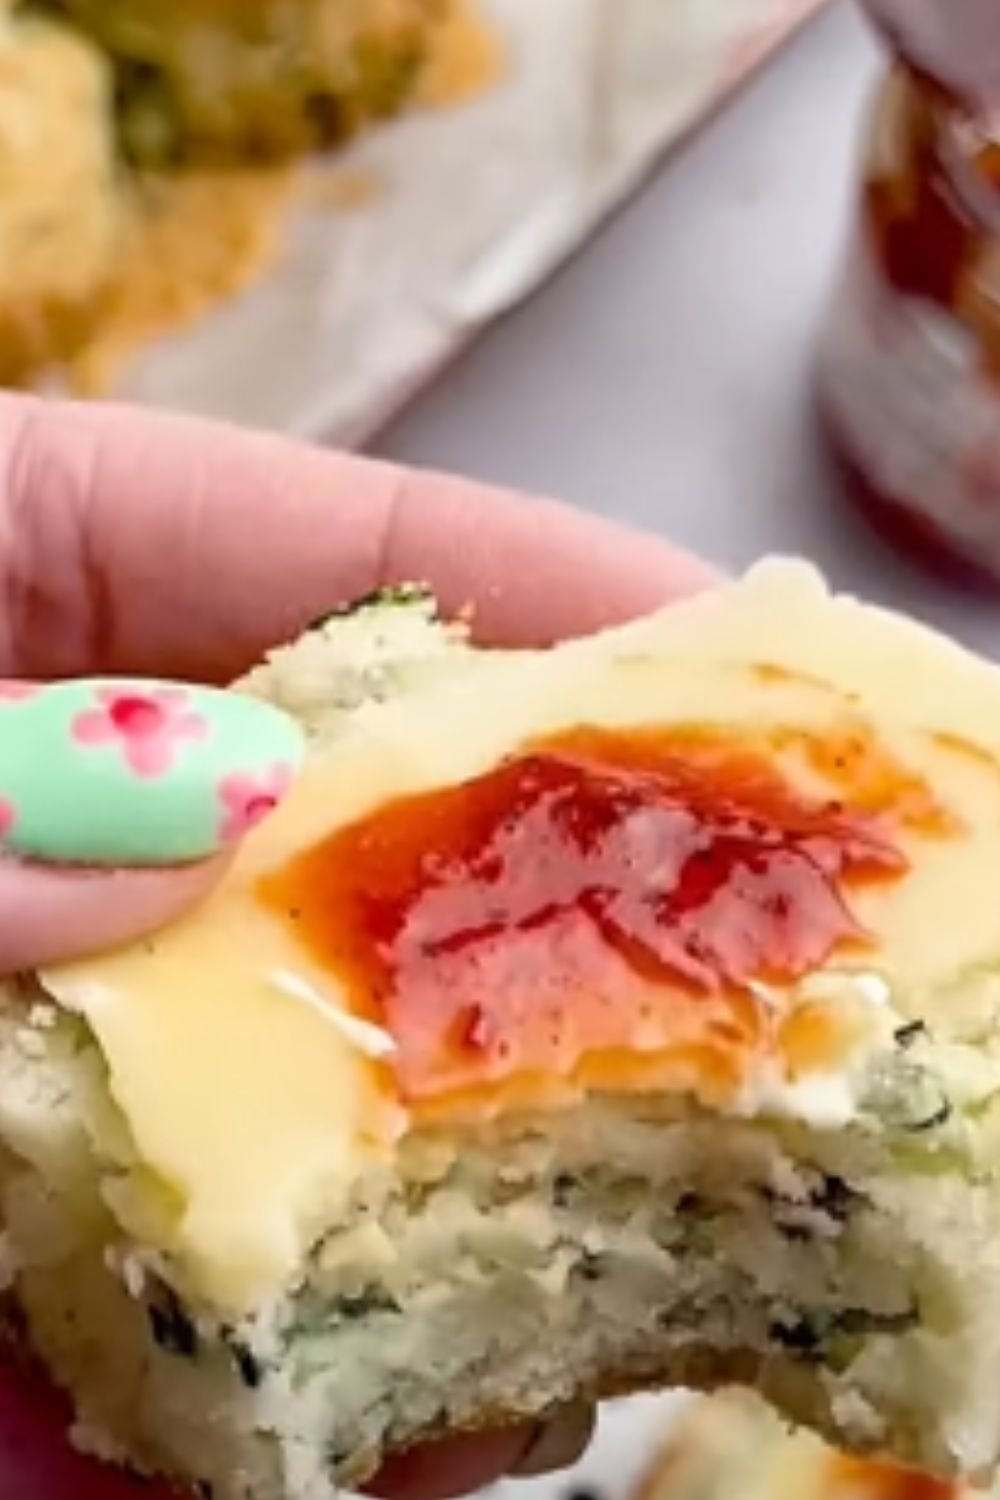
- Simply toasted with butter and jam
- Eggs Benedict with hollandaise sauce
- Breakfast sandwich with egg, cheese, and Canadian bacon
- Open-faced with avocado and tomato
Creative Breakfast Options
- Mini pizzas with tomato sauce and mozzarella
- French toast made with thick English muffin slices
- Bread pudding using day-old muffins
- Croutons for breakfast salads

The Science Behind Perfect English Muffins
Understanding the science behind English muffin making has helped me achieve consistent results every time. The fermentation process is crucial – it’s what develops the characteristic tangy flavor and creates the gas pockets that form those famous nooks and crannies.
The griddle cooking method is equally important. Unlike oven baking, griddle cooking creates a different moisture environment that results in the dense-yet-airy texture we associate with authentic English muffins. The slower, gentler heat allows the interior to cook thoroughly while developing the proper crust.
Temperature control is critical throughout the process. The yeast needs warmth to activate and multiply, but too much heat will kill it. During cooking, moderate heat ensures even browning without burning while allowing the interior to reach the proper temperature.
Making English Muffins with Kids
I love involving children in the English muffin making process. It’s educational, fun, and creates wonderful family memories. Kids can help measure ingredients, watch the yeast foam (they find this fascinating), and assist with cutting out the muffin shapes.
The griddle cooking phase requires adult supervision, but children can help monitor the timing and watch for the golden-brown color that indicates doneness. It’s a great way to teach patience and attention to detail in cooking.
Frequently Asked Questions
Q: Can I make English muffin dough ahead of time? Yes, you can prepare the dough up to 24 hours in advance. After the first rise, punch down the dough, cover tightly, and refrigerate. Let it come to room temperature before shaping and proceeding with the recipe.
Q: Why don’t my English muffins have enough nooks and crannies? The nooks and crannies form naturally when you split the muffin with a fork rather than cutting with a knife. Also, ensure your dough isn’t too stiff – it should be slightly sticky. Overworking the dough can also reduce the formation of air pockets.
Q: Can I use bread flour instead of all-purpose flour? While you can use bread flour, all-purpose flour actually works better for English muffins. Bread flour has higher protein content, which can make the muffins too chewy and dense.
Q: How do I know when my English muffins are fully cooked? They should be golden brown on both sides and sound hollow when tapped. The internal temperature should reach 190°F. If you’re unsure, it’s better to cook them a bit longer at lower heat than to undercook them.
Q: Can I make mini English muffins? Absolutely! Use a smaller cutter (about 2 inches) and reduce the cooking time to 5-6 minutes per side. They make adorable appetizer bases or perfect portions for children.
Q: What’s the difference between English muffins and regular muffins? English muffins are yeasted breads cooked on a griddle, while regular muffins are quick breads (using baking powder/soda) baked in an oven. They’re completely different in texture, preparation, and serving style.
Q: Can I make these without a griddle? Yes, a large skillet or even a cast-iron pan works perfectly. The key is maintaining steady, moderate heat throughout the cooking process.
Q: Why do my English muffins spread too much during cooking? This usually happens when the dough is too wet or the second rise was too long. Make sure your dough has enough flour and don’t let the shaped muffins over-proof before cooking.
Making homemade English muffins is one of those skills that seems intimidating at first but becomes second nature with practice. The reward – fresh, warm English muffins with perfect nooks and crannies – is absolutely worth the effort. I encourage you to try this recipe and experience the satisfaction of creating something truly special in your own kitchen.
The next time you’re enjoying a perfectly toasted English muffin topped with your favorite spread, you’ll appreciate not just the flavor, but the craftsmanship that went into creating it. There’s something deeply satisfying about mastering this traditional technique and sharing the results with family and friends.