When I first discovered the magic of sourdough baking, I found myself with a common problem that every sourdough enthusiast faces: what to do with all that discarded starter? After countless experiments in my kitchen, I’ve fallen head over heels for these incredible sourdough discard peanut butter cookies. They’ve become my go-to solution for turning what would otherwise be waste into pure cookie heaven.
The beauty of these cookies lies in their perfect balance of tangy sourdough complexity and rich, nutty peanut butter comfort. Unlike traditional peanut butter cookies, the sourdough discard adds a subtle depth of flavor that transforms an ordinary treat into something extraordinary. I’ve served these at family gatherings, potluck dinners, and quiet afternoons with coffee, and they never fail to impress.
Understanding Sourdough Discard in Baking
Sourdough Discard: The portion of sourdough starter that’s removed and typically discarded during the feeding process to maintain the starter’s health and activity levels.
Active vs. Discard Starter: Active starter is bubbly and recently fed, while discard starter is the older, less active portion that’s perfect for adding flavor to baked goods without requiring rising time.
Flavor Profile: Discard starter contributes a mild tanginess and complex flavor notes that complement sweet applications beautifully.
The key to success with sourdough discard lies in understanding its properties. My discard usually sits in the refrigerator for up to a week, developing deeper flavors that actually enhance these cookies. The natural acidity in the starter interacts wonderfully with the alkaline baking soda, creating cookies with a tender crumb and slightly chewy texture.
Essential Ingredients Breakdown
Creating the perfect sourdough discard peanut butter cookies requires understanding each ingredient’s role in the final product. I’ve experimented with countless variations to bring you this foolproof recipe.
| Ingredient | Amount | Purpose | Substitution Options |
|---|---|---|---|
| Sourdough Discard | 1 cup (240g) | Adds tangy flavor and tender texture | None – this is the star ingredient |
| Creamy Peanut Butter | 1 cup (260g) | Primary flavor and binding agent | Natural peanut butter, almond butter |
| Brown Sugar | 3/4 cup (165g) | Sweetness and moisture retention | Coconut sugar, white sugar |
| Granulated Sugar | 1/4 cup (50g) | Texture and additional sweetness | Brown sugar, coconut sugar |
| Large Egg | 1 | Binding and structure | Flax egg, applesauce |
| Vanilla Extract | 2 teaspoons | Flavor enhancement | Almond extract, maple extract |
| All-Purpose Flour | 1 1/4 cups (156g) | Structure and texture | Whole wheat flour, gluten-free blend |
| Baking Soda | 1 teaspoon | Leavening agent | Baking powder (use 2 tsp) |
| Salt | 1/2 teaspoon | Flavor balance | Sea salt, kosher salt |
| Butter | 1/4 cup (57g), melted | Richness and texture | Coconut oil, vegetable oil |
Step-by-Step Baking Process
My method for these cookies has evolved through countless batches, and I’ve refined each step to ensure consistent results every time.
Preparation Phase
First, I always start by bringing my sourdough discard to room temperature. This usually takes about 30 minutes if it’s been refrigerated. Cold discard doesn’t incorporate as smoothly, leading to uneven texture in the final cookies.
Preheat your oven to 350°F (175°C) and line two large baking sheets with parchment paper. I prefer parchment over silicone mats for these cookies because it allows for better browning on the bottom.
Mixing the Dough
In a large mixing bowl, I combine the room temperature sourdough discard with the peanut butter. This is where the magic begins – the starter’s tanginess starts to meld with the rich nuttiness of the peanut butter. Mix these together until they’re completely combined and smooth.
Add both sugars to the peanut butter mixture. The combination of brown and granulated sugar creates the perfect texture balance – brown sugar provides moisture and chewiness, while granulated sugar contributes to the cookies’ structure and slight crispness around the edges.
Beat in the egg and vanilla extract until the mixture is light and fluffy. This usually takes about 2-3 minutes with an electric mixer, or 5 minutes by hand. The mixture should look creamy and well-incorporated.
In a separate bowl, whisk together the flour, baking soda, and salt. This ensures even distribution of the leavening agent, which is crucial when working with the acidic sourdough discard.
Gradually fold the dry ingredients into the wet mixture, alternating with the melted butter. I always add the flour mixture in three additions, being careful not to overmix. Overmixing develops too much gluten, resulting in tough cookies.
Shaping and Baking
The dough should be soft but manageable. If it’s too sticky, I refrigerate it for 15-20 minutes. Using a cookie scoop or tablespoon, portion the dough into 1.5-inch balls and place them on the prepared baking sheets, spacing them about 2 inches apart.
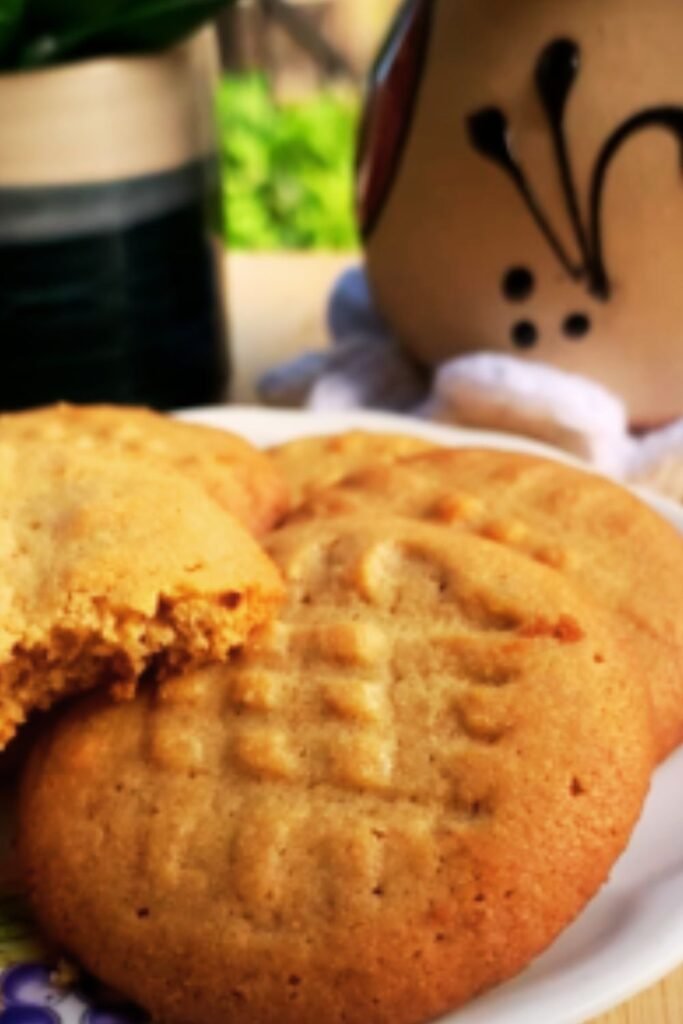
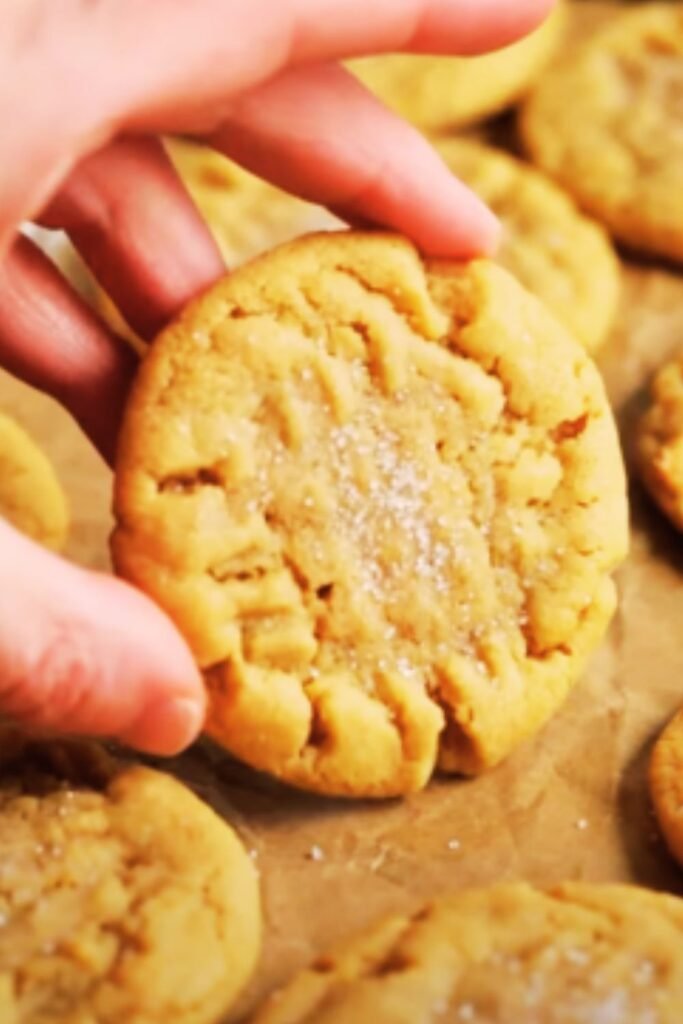
Here’s my signature technique: using a fork, create the classic crisscross pattern on top of each cookie. This isn’t just for looks – it helps the cookies bake more evenly and creates those lovely crispy edges we all love.
Bake for 10-12 minutes, or until the edges are lightly golden but the centers still look slightly underdone. The cookies will continue cooking on the hot pan after removal from the oven. I’ve learned that slightly underbaking is key to achieving that perfect chewy texture.
Perfecting Texture and Flavor
| Texture Goal | Technique | Result |
|---|---|---|
| Extra Chewy | Underbake by 1-2 minutes | Soft, tender centers |
| Crispy Edges | Bake full time, flatten slightly | Golden, crisp exterior |
| Cake-like | Add extra 2 tbsp flour | Softer, more tender crumb |
| Dense & Fudgy | Reduce flour by 2 tbsp | Rich, dense texture |
The beauty of these cookies lies in their adaptability. I’ve discovered that the age of your sourdough discard dramatically affects the final flavor. Week-old discard produces cookies with more pronounced tang, while fresher discard creates a mellower flavor profile.
Temperature control is absolutely crucial. I always use an oven thermometer because even a 25-degree difference can mean the difference between perfectly chewy cookies and overcooked disappointments. My oven runs slightly hot, so I actually bake at 340°F for the best results.
Storage and Freshness Tips
Proper storage has been a game-changer for maintaining these cookies’ perfect texture. I store them in an airtight container at room temperature for up to one week. For longer storage, I freeze the baked cookies for up to three months.
Storage Methods Comparison:
| Storage Method | Duration | Texture Retention | Best For |
|---|---|---|---|
| Room Temperature (airtight) | 1 week | Excellent | Daily snacking |
| Refrigerated (airtight) | 2 weeks | Good (slightly firmer) | Humid climates |
| Frozen (wrapped individually) | 3 months | Excellent when thawed | Batch preparation |
| Cookie jar (loose lid) | 3 days | Fair (becomes softer) | Quick consumption |
Pro tip: I always place a slice of bread in the container with the cookies. The bread releases just enough moisture to keep the cookies perfectly chewy without making them soggy.
Creative Variations and Add-ins
My basic recipe serves as a fantastic foundation for countless variations. Here are some of my favorite modifications:
Chocolate Chip Paradise: Add 1 cup of semi-sweet chocolate chips to the dough. The combination of chocolate, peanut butter, and sourdough tang is absolutely divine.
Oatmeal Crunch: Replace 1/2 cup of flour with old-fashioned oats for added texture and nutrition. These cookies become heartier and more filling.
Spiced Delight: Add 1 teaspoon cinnamon and 1/4 teaspoon nutmeg for a warm, spiced version that’s perfect for fall.
Nutty Explosion: Fold in 1/2 cup chopped peanuts or mixed nuts for extra crunch and nutty flavor.
Jam Thumbprints: Create an indentation in each cookie before baking and fill with your favorite jam after they cool slightly.
Troubleshooting Common Issues
Through my years of perfecting this recipe, I’ve encountered and solved virtually every problem that can arise:
Cookies Spreading Too Much: This usually indicates the dough is too warm or the butter was too hot when added. Chill the dough for 30 minutes before baking.
Dry, Crumbly Texture: Often caused by too much flour or overbaking. Measure flour by weight if possible, and remember that slightly underbaked is better than overdone.
Lack of Peanut Butter Flavor: Use a high-quality peanut butter with good oil content. Natural peanut butters sometimes work better than heavily processed varieties.
Cookies Not Rising: Check the freshness of your baking soda. It should bubble vigorously when mixed with a small amount of vinegar.
Nutritional Benefits and Considerations
While these are definitely treat cookies, the sourdough discard does add some nutritional benefits that traditional cookies lack:
| Nutritional Aspect | Benefit | Details |
|---|---|---|
| Probiotics | Digestive health | Fermented starter contains beneficial bacteria |
| B Vitamins | Energy metabolism | Naturally present in fermented grains |
| Protein | Satiety | Both peanut butter and starter contribute |
| Fiber | Digestive health | Whole grain benefits from starter |
| Lower Glycemic Impact | Blood sugar | Fermentation reduces sugar spikes |
Per cookie (makes approximately 36):
- Calories: 145
- Protein: 4.2g
- Carbohydrates: 16.8g
- Fat: 7.3g
- Fiber: 0.8g
Serving Suggestions and Pairings
These cookies pair beautifully with various beverages and accompaniments. My personal favorite is enjoying them with a cup of freshly brewed coffee – the slight acidity in both the coffee and the sourdough creates a harmonious balance.
For special occasions, I love serving them with a glass of cold milk for the kids and herbal tea for adults. The cookies also make an excellent base for ice cream sandwiches using vanilla or chocolate ice cream.
During holidays, I arrange them on platters alongside other baked goods, and they always disappear first. Their unique flavor profile makes them a conversation starter at gatherings.
Advanced Techniques for Cookie Perfection
After making hundreds of batches, I’ve developed some advanced techniques that take these cookies from good to extraordinary:
The Chilling Method: For cookies with the perfect texture balance, I chill half the dough for 30 minutes and bake the other half immediately. This gives me both slightly crispy and perfectly chewy cookies in one batch.
Double Panning: Placing one baking sheet inside another prevents the bottoms from browning too quickly, especially important if your oven runs hot like mine.
Steam Injection: Placing a small oven-safe dish of water on the bottom rack during the first 5 minutes of baking creates a slightly more tender cookie with better rise.
Seasonal Adaptations
I’ve found that these cookies adapt beautifully to seasonal ingredients and themes:
Spring Version: Add lemon zest and chopped dried apricots for a fresh, bright flavor.
Summer Twist: Incorporate freeze-dried strawberries for a fruity surprise.
Fall Comfort: Mix in pumpkin pie spice and mini chocolate chips.
Winter Warmth: Add crushed peppermint candies and a touch of cocoa powder.
Q&A Section
Q: Can I use active sourdough starter instead of discard? I don’t recommend using active starter because it’s too valuable for maintaining your sourdough culture. Discard works perfectly and has the ideal consistency and flavor development for cookies.
Q: How long can I keep sourdough discard before using it in cookies? I’ve successfully used discard that’s been refrigerated for up to two weeks. Older discard actually develops more complex flavors that enhance the cookies. Just make sure there’s no mold or off-putting smells.
Q: Why are my cookies too salty? This usually happens when using salted peanut butter. If your peanut butter is salted, reduce the added salt to 1/4 teaspoon or omit it entirely.
Q: Can I make these cookies gluten-free? Absolutely! I substitute the all-purpose flour with a 1:1 gluten-free baking blend. The texture is slightly different but still delicious. Make sure your sourdough starter is also gluten-free.
Q: My cookies turned out flat. What went wrong? Flat cookies usually result from too much butter, too warm dough, or old baking soda. Make sure your baking soda is fresh and consider chilling the dough before baking.
Q: Can I freeze the cookie dough? Yes! I portion the dough into balls and freeze them on a baking sheet. Once frozen solid, I transfer them to freezer bags. They can be baked directly from frozen, adding 1-2 extra minutes to the baking time.
Q: What’s the best type of peanut butter to use? I prefer creamy, commercial peanut butter like Jif or Skippy for consistent results. Natural peanut butters work too, but make sure to stir them well first as the oil separation can affect texture.
Q: Can I reduce the sugar content? You can reduce the sugar by up to 1/4 cup total, but this will affect both flavor and texture. The cookies will be less sweet and slightly more dense.
Q: Why do my cookies taste too tangy? If the sourdough flavor is too pronounced, your discard might be very mature or you might be using too much. Try using 3/4 cup discard instead of a full cup, or use fresher discard.
Q: How do I know when the cookies are perfectly done? The edges should be lightly golden, and the centers should still look slightly underdone and soft. They’ll continue cooking on the hot pan after removal from the oven.
These sourdough discard peanut butter cookies have become more than just a recipe in my kitchen – they’re a symbol of resourcefulness and creativity. Every time I make them, I’m reminded of how something as simple as leftover starter can be transformed into moments of pure joy. Whether you’re a seasoned sourdough baker or just starting your fermentation journey, these cookies offer the perfect introduction to using discard in sweet applications.
The combination of tangy sourdough complexity with beloved peanut butter comfort creates cookies that are both familiar and surprisingly sophisticated. I hope they bring as much happiness to your kitchen as they have to mine.