There’s something magical about Red Lobster’s Shrimp Scampi that keeps people coming back for more. That perfect balance of garlic, butter, and tender shrimp has become legendary in the restaurant world. As someone who’s obsessed with recreating restaurant classics at home, I’ve spent years perfecting this recipe, and I’m thrilled to share my discoveries with you today.
A Love Affair with Shrimp Scampi
My fascination with Red Lobster’s Shrimp Scampi began during a family celebration years ago. The moment those sizzling shrimp arrived at our table, the aroma of garlic and butter wafting through the air, I knew I had to master this dish in my own kitchen. Dozens of attempts later, I believe I’ve cracked the code to what makes their version so special.
The beauty of making this at home is that you can adjust everything to your taste. Want more garlic? Go for it! Prefer a spicier kick? Add some red pepper flakes! The recipe I’m sharing today stays true to the Red Lobster experience while giving you the freedom to make it your own.
What Makes Red Lobster’s Shrimp Scampi Special?
Before diving into the recipe, let’s understand what sets Red Lobster’s version apart:
- Butter Quality: They use a specific blend of butter and oil that creates a rich, silky sauce.
- Perfectly Cooked Shrimp: Their shrimp maintains that perfect tender texture without becoming rubbery.
- Garlic Balance: The garlic presence is unmistakable without being overwhelming.
- White Wine Selection: The subtle acidity from white wine cuts through the richness.
- Perfectly Emulsified Sauce: Their sauce never separates, maintaining a creamy consistency.
With these elements in mind, I’ve developed a recipe that captures the essence of Red Lobster’s famous dish while being completely manageable in a home kitchen.
Essential Ingredients for Authentic Red Lobster Shrimp Scampi

Let’s break down the essential ingredients that make this dish special:
| Ingredient | Amount | Notes |
|---|---|---|
| Large shrimp | 1 pound (16-20 count) | Peeled and deveined, tails on for authentic presentation |
| Unsalted butter | 6 tablespoons | High-quality European-style butter recommended |
| Olive oil | 3 tablespoons | Extra virgin for better flavor |
| Garlic | 6-8 cloves | Freshly minced, not from a jar |
| White wine | 1/4 cup | Dry variety like Pinot Grigio or Sauvignon Blanc |
| Lemon juice | 2 tablespoons | Freshly squeezed only |
| Parsley | 1/4 cup | Finely chopped fresh Italian parsley |
| Red pepper flakes | 1/4 teaspoon | Adjust according to heat preference |
| Salt | 1/2 teaspoon | Kosher or sea salt recommended |
| Black pepper | 1/4 teaspoon | Freshly ground |
| Italian seasoning | 1/2 teaspoon | For authentic Red Lobster flavor |
The Secret Ingredient
One ingredient that many copycat recipes miss is a dash of Old Bay seasoning (about 1/4 teaspoon). This subtle addition gives the dish that distinctive Red Lobster flair that’s hard to identify but definitely noticeable when missing.
Equipment You’ll Need
For best results, gather these kitchen tools before starting:
- Large skillet (preferably stainless steel or cast iron)
- Sharp knife for mincing garlic
- Citrus juicer for fresh lemon juice
- Wooden spoon or silicone spatula
- Measuring cups and spoons
- Small bowl for mixing seasonings
Step-by-Step Cooking Process
Now let’s break down the cooking process into manageable steps:
Preparation Phase
- Prepare Shrimp: If using frozen shrimp, thaw completely under cold running water. Pat dry with paper towels (this is crucial for getting a good sear).
- Prep Ingredients: Mince garlic, chop parsley, and measure all other ingredients before starting to cook.
- Season Shrimp: In a bowl, toss shrimp with salt, pepper, and a pinch of Italian seasoning.
Cooking Phase
- Heat the Pan: Heat a large skillet over medium-high heat. Add 2 tablespoons of butter and 2 tablespoons of olive oil.
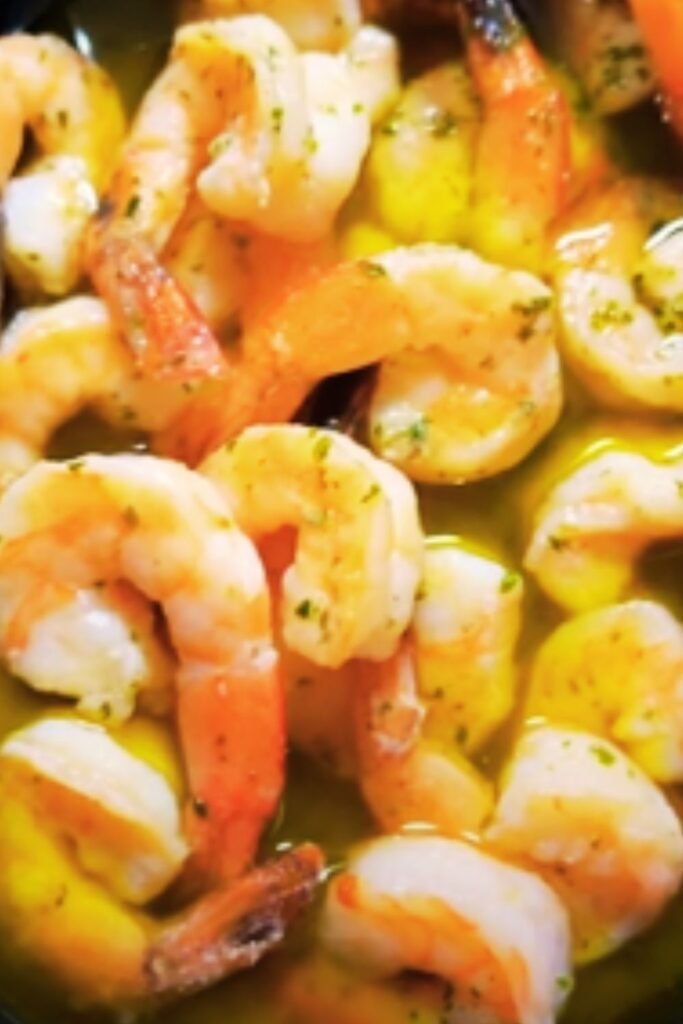
- Cook Shrimp: Once the butter has melted and stopped foaming, add the shrimp in a single layer. Cook for 1-2 minutes per side until just pink and beginning to curl. Be careful not to overcook! Remove shrimp to a plate and set aside.
- Create the Sauce Base: In the same pan, reduce heat to medium-low. Add the remaining butter and oil.
- Add Aromatics: Add minced garlic and red pepper flakes, cooking until fragrant but not browned (about 30-45 seconds).
- Deglaze: Add white wine and increase heat to medium-high, scraping up any browned bits from the bottom of the pan.
- Reduce: Let the wine reduce by half (about 2-3 minutes).
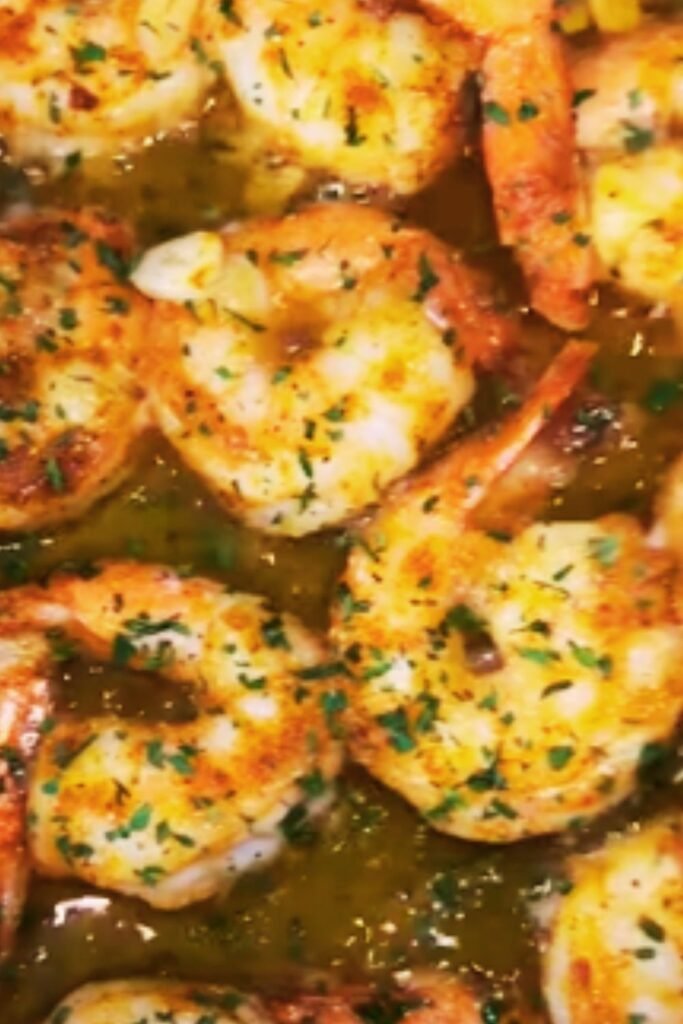
- Finish Sauce: Add lemon juice, Old Bay seasoning, and remaining Italian seasoning. Stir to combine.
- Return Shrimp: Return shrimp to the pan along with any accumulated juices. Toss to coat in the sauce and heat through (about 1 minute).
- Final Touch: Remove from heat and stir in fresh parsley.
Advanced Technique: Creating the Perfect Scampi Sauce
The key to restaurant-quality scampi sauce is emulsification. For a perfectly emulsified sauce:
- Make sure your butter is cold and cut into small pieces before adding it to the pan.
- Add butter gradually while whisking continuously.
- If your sauce begins to separate, remove from heat immediately and add 1-2 tablespoons of cold water while whisking vigorously.
Nutritional Information
For those watching their intake, here’s a breakdown of the nutritional content per serving (assuming 4 servings):
| Nutrient | Amount |
|---|---|
| Calories | 310 |
| Total Fat | 22g |
| Saturated Fat | 10g |
| Cholesterol | 215mg |
| Sodium | 890mg |
| Total Carbohydrates | 3g |
| Dietary Fiber | 0g |
| Sugars | 0g |
| Protein | 24g |
Serving Suggestions
The perfect Red Lobster Shrimp Scampi experience isn’t complete without proper accompaniments. Here are my favorite ways to serve this dish:
Classic Pairings
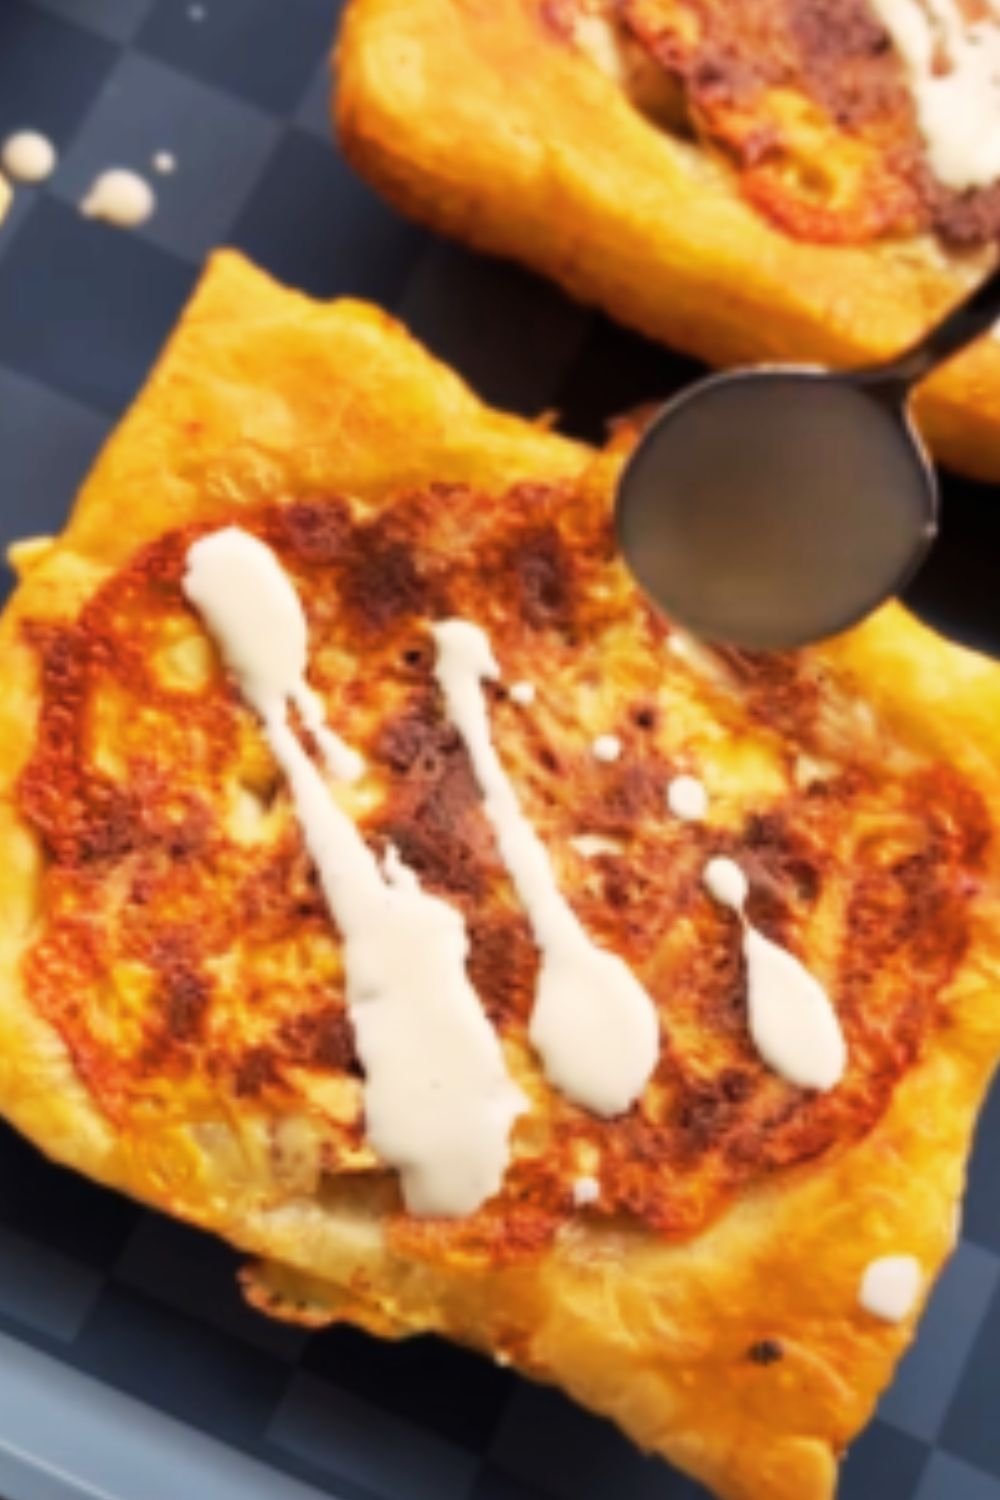
- Garlic Bread: Essential for soaking up that delicious sauce.
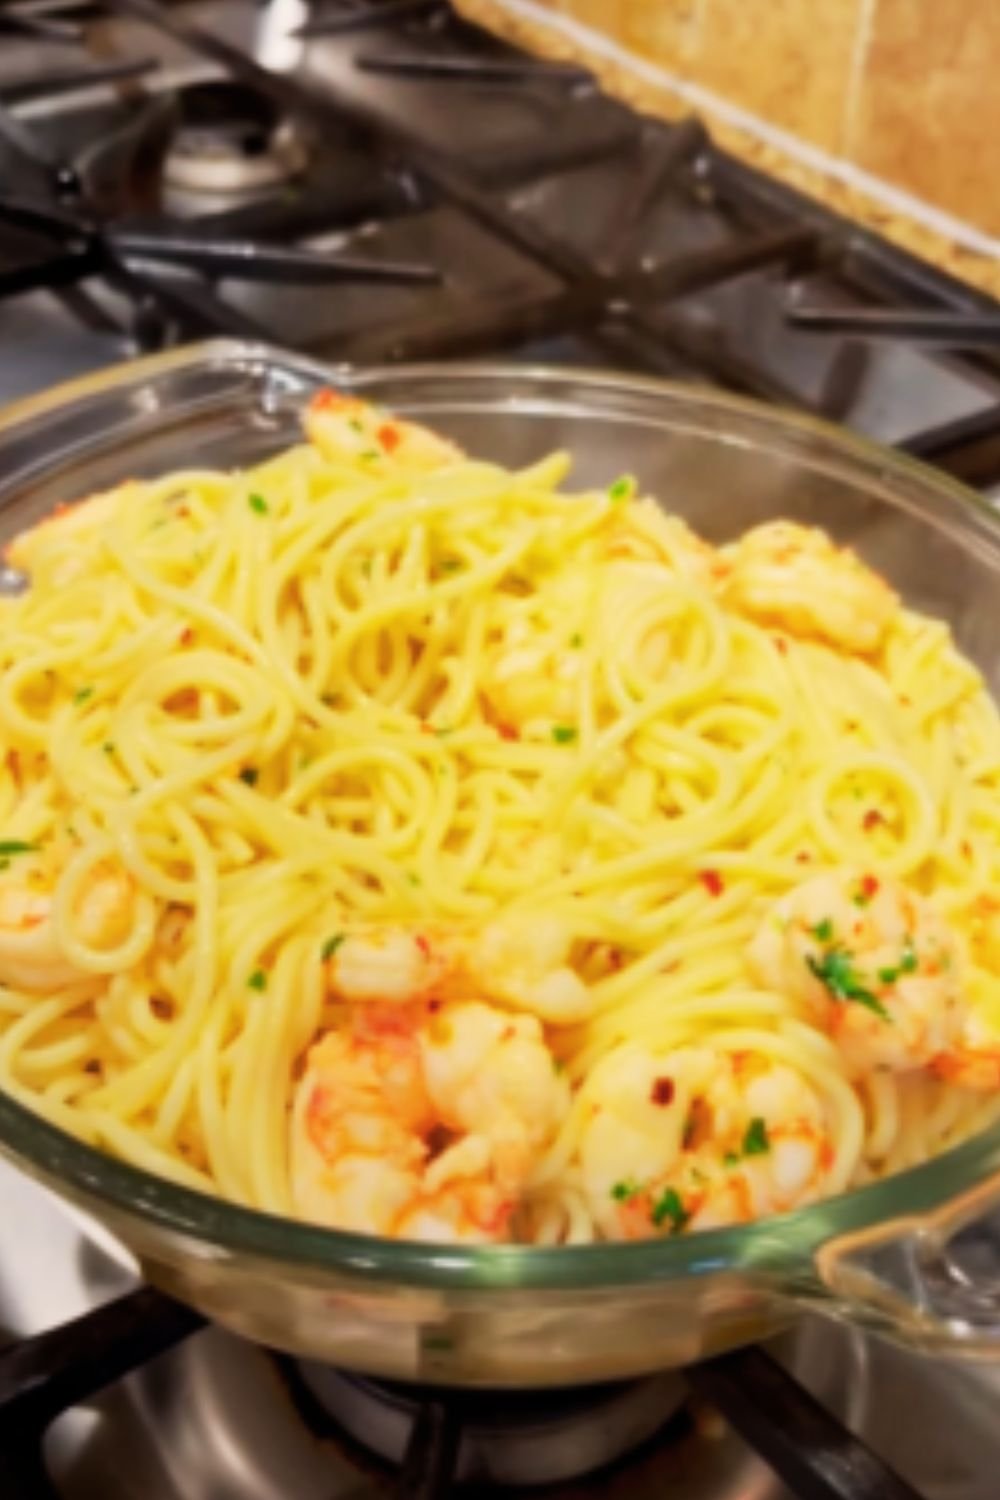
- Angel Hair Pasta: Toss the pasta with a bit of the scampi sauce before plating.
- Steamed Rice: A lighter option that still captures all that wonderful flavor.
- Roasted Asparagus: The slight bitterness balances the richness of the dish.
- Fresh Garden Salad: A simple salad with a light vinaigrette provides a refreshing contrast.
Plating Like a Pro
For that restaurant-quality presentation:
- If serving with pasta, create a small nest of pasta in the center of a warm plate.
- Arrange shrimp in a circular pattern around or on top of the pasta.
- Spoon additional sauce over the shrimp and pasta.
- Garnish with extra chopped parsley and a lemon wedge.
- Serve immediately while still hot and sizzling.
Common Mistakes to Avoid
Even experienced home cooks can fall into these traps:
- Overcooking the Shrimp: This is the number one mistake! Shrimp cook very quickly and continue cooking in residual heat. Remove them from the heat just as they turn pink.
- Using Pre-Minced Garlic: The flavor difference between freshly minced garlic and the jarred version is significant in this dish.
- Skipping the Wine: The acidity and flavor from the wine are essential. If you must avoid alcohol, substitute with chicken broth and an extra teaspoon of lemon juice.
- Cooking with Cold Shrimp: Cooking shrimp straight from the refrigerator can lead to uneven cooking. Let them come to room temperature for about 10 minutes before cooking.
- Using a Non-Stick Pan: While convenient, you won’t get the same flavor development as with stainless steel or cast iron.
Customization Options
The beauty of making this dish at home is that you can adapt it to your preferences:
Spice Level Variations
- Mild: Omit red pepper flakes entirely.
- Medium: Use the recommended 1/4 teaspoon of red pepper flakes.
- Hot: Increase to 1/2 teaspoon of red pepper flakes and add a dash of hot sauce.
Dietary Adaptations
- Dairy-Free: Substitute butter with a high-quality dairy-free butter alternative.
- Gluten-Free: The recipe is naturally gluten-free; just ensure your accompaniments are also gluten-free.
- Lower Calorie: Reduce butter by half and increase the proportion of olive oil.
Storage and Reheating
Ideally, shrimp scampi is best enjoyed fresh. However, if you have leftovers:
- Refrigeration: Store in an airtight container for up to 2 days.
- Reheating: Gentle reheating is crucial. Place in a skillet over low heat with a splash of water to revive the sauce. Heat just until warmed through to avoid overcooking the shrimp.
- Freezing: Not recommended as the texture of the shrimp will deteriorate.
Budget-Friendly Tips
Making restaurant-quality shrimp scampi doesn’t have to break the bank:
- Buy Shrimp on Sale: Watch for sales and stock up. Frozen shrimp works perfectly in this recipe.
- Use Smaller Shrimp: Medium shrimp (21-25 count) are less expensive than jumbo and work well in this dish.
- Make Your Own Garlic Bread: Instead of buying pre-made, make your own with day-old bread, butter, and garlic.
Frequently Asked Questions
Q: Can I use frozen shrimp for this recipe?
Absolutely! In fact, unless you live on the coast with access to truly fresh shrimp, frozen is often better quality. Most “fresh” shrimp in supermarkets was actually frozen and thawed. Just make sure to thaw completely and pat dry before cooking.
Q: What can I substitute for white wine?
If you prefer not to use alcohol, substitute with chicken broth plus an extra teaspoon of lemon juice. You’ll miss some of the complexity, but it will still be delicious.
Q: My sauce broke and looks oily. How can I fix it?
Remove from heat immediately and whisk in 1-2 tablespoons of cold water until it comes back together. In the future, make sure to add cold butter pieces gradually while whisking.
Q: Can I make this ahead of time for a party?
I don’t recommend making the entire dish ahead as the shrimp will overcook when reheated. However, you can prep all ingredients and even pre-make the sauce (minus the butter). Then quickly cook the shrimp and finish the sauce just before serving.
Q: Why do restaurant shrimp always seem more tender than when I make them at home?
Two reasons: First, restaurants often brine their shrimp briefly in saltwater with a touch of sugar, which improves texture. Second, they’re vigilant about cooking time, often slightly undercooking as the shrimp will continue to cook from residual heat.
Q: What’s the best type of shrimp to use?
Look for wild-caught shrimp when possible, as they have better flavor. Gulf shrimp or Argentine pink shrimp are excellent choices. Size-wise, large (16-20 count per pound) works best for this dish.
Expert Tips from a Home Cook Who’s Made This Hundreds of Times
After years of perfecting this recipe, here are my top tips:
- Temperature Matters: Start with a very hot pan for the initial sear, then reduce heat to properly develop the sauce.
- Mise en Place: Have everything prepared and within reach before turning on the stove, as this dish comes together quickly.
- Watch the Bubbles: When reducing wine, look for the bubbles to change from large and fast to smaller and slower – that’s your indicator it’s reduced by half.
- Finish with Cold Butter: For an extra silky sauce, whisk in one final cold butter cube off heat just before serving.
- Quality Ingredients: This simple dish relies on quality ingredients – use the best butter, freshest garlic, and good quality shrimp you can afford.
The History Behind Red Lobster’s Famous Dish
Shrimp scampi has Italian origins, where “scampi” actually refers to langoustines or Dublin Bay prawns, not the preparation method. The dish evolved in America, with Red Lobster playing a significant role in popularizing their butter-forward version nationwide since the 1970s.
Their version became so beloved that it’s now one of the most frequently ordered items on their menu. My recipe pays homage to this American classic while giving you the tools to recreate it perfectly at home.
Final Thoughts: Why Homemade is Better
While Red Lobster’s version will always have a special place in my heart, there’s something magical about creating this dish in your own kitchen. You control the quality of ingredients, the amount of garlic (never enough, in my opinion!), and the precise cooking of the shrimp to your preference.
Plus, serving homemade shrimp scampi to guests never fails to impress. There’s something about the sizzle of the pan and the incredible aroma that makes people think you’ve spent years mastering culinary arts – and I’ll never tell them how simple it actually is to make!
So next time you’re craving that Red Lobster experience, skip the wait and the check. With this recipe in your arsenal, restaurant-quality shrimp scampi is just 15 minutes away in your own kitchen.
Q&A Section
Q: How do I know when my shrimp are perfectly cooked?
Look for these three signs: they turn from gray/translucent to pink/opaque, they form a loose “C” shape (if they curl into a tight “O” shape, they’re overcooked), and they feel slightly firm but still have a bit of spring when pressed.
Q: Can I make this recipe with chicken instead of shrimp?
Yes! For a chicken scampi, use 1-inch cubes of boneless, skinless chicken breast and increase the cooking time to about 4-5 minutes per side until the internal temperature reaches 165°F. The rest of the recipe remains the same.
Q: What’s the best wine to use in shrimp scampi?
Use a dry white wine that you’d enjoy drinking. Pinot Grigio, Sauvignon Blanc, or an unoaked Chardonnay work beautifully. Avoid sweet wines like Riesling or Moscato as they’ll make the dish too sweet.
Q: How can I make this dish spicier?
Besides increasing the red pepper flakes, you can add a diced fresh jalapeño or serrano pepper when sautéing the garlic, or finish the dish with a few dashes of your favorite hot sauce.
Q: Is there a low-carb way to serve shrimp scampi?
Absolutely! Serve it over cauliflower rice, zucchini noodles, or spaghetti squash for a delicious low-carb meal that still captures all the wonderful flavors of the dish.
Q: Why does my garlic always burn?
Garlic burns easily, especially when minced finely. Add it to the pan only after reducing the heat, and sauté for just 30-45 seconds until fragrant before moving to the next step. You can also add half the garlic earlier in cooking and reserve half to add later for a more complex garlic flavor.